
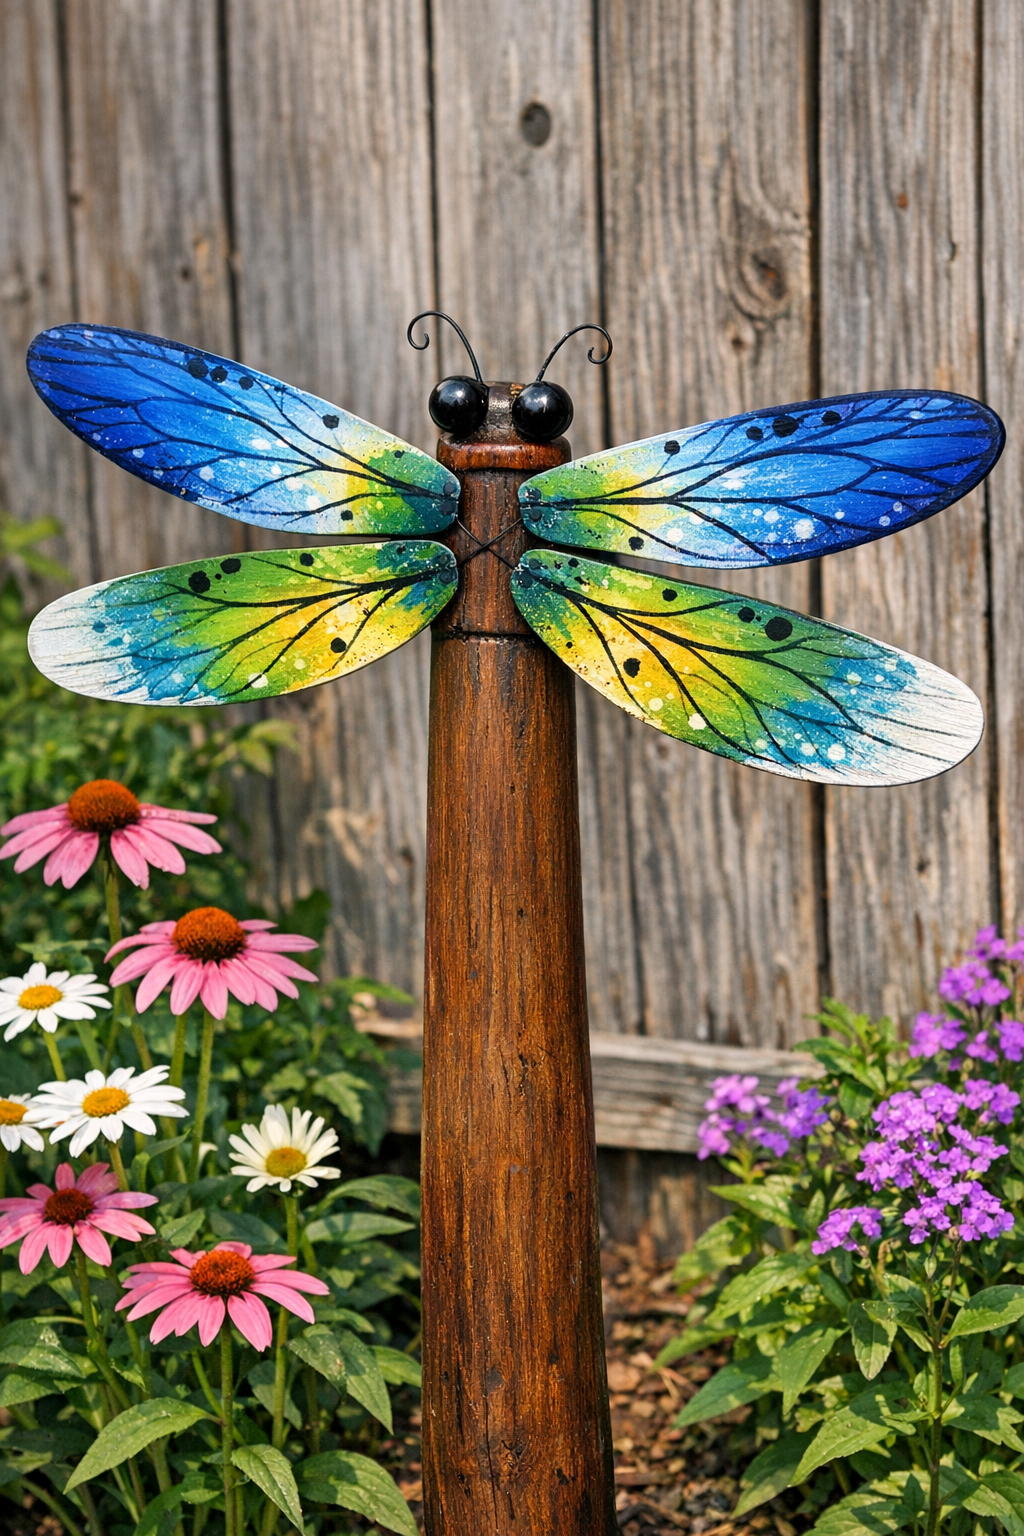
There is something especially satisfying about turning a pile of old house parts into a bit of yard art that makes people stop and smile. This giant backyard dragonfly is made from four old wooden ceiling fan blades and one thick brown wooden table leg, and once it is painted and assembled, it has that charming, weathered-farmhouse look that fits right into a garden bed, along a fence, or beside a porch.
I have always had a soft spot for projects like this because they remind me of the way folks used to make do with what they had on hand. If you enjoy easy upcycling projects, porch decorating, or adding a handmade touch to your outdoor space without spending much, this is a lovely afternoon project that looks far more impressive than the work it takes.
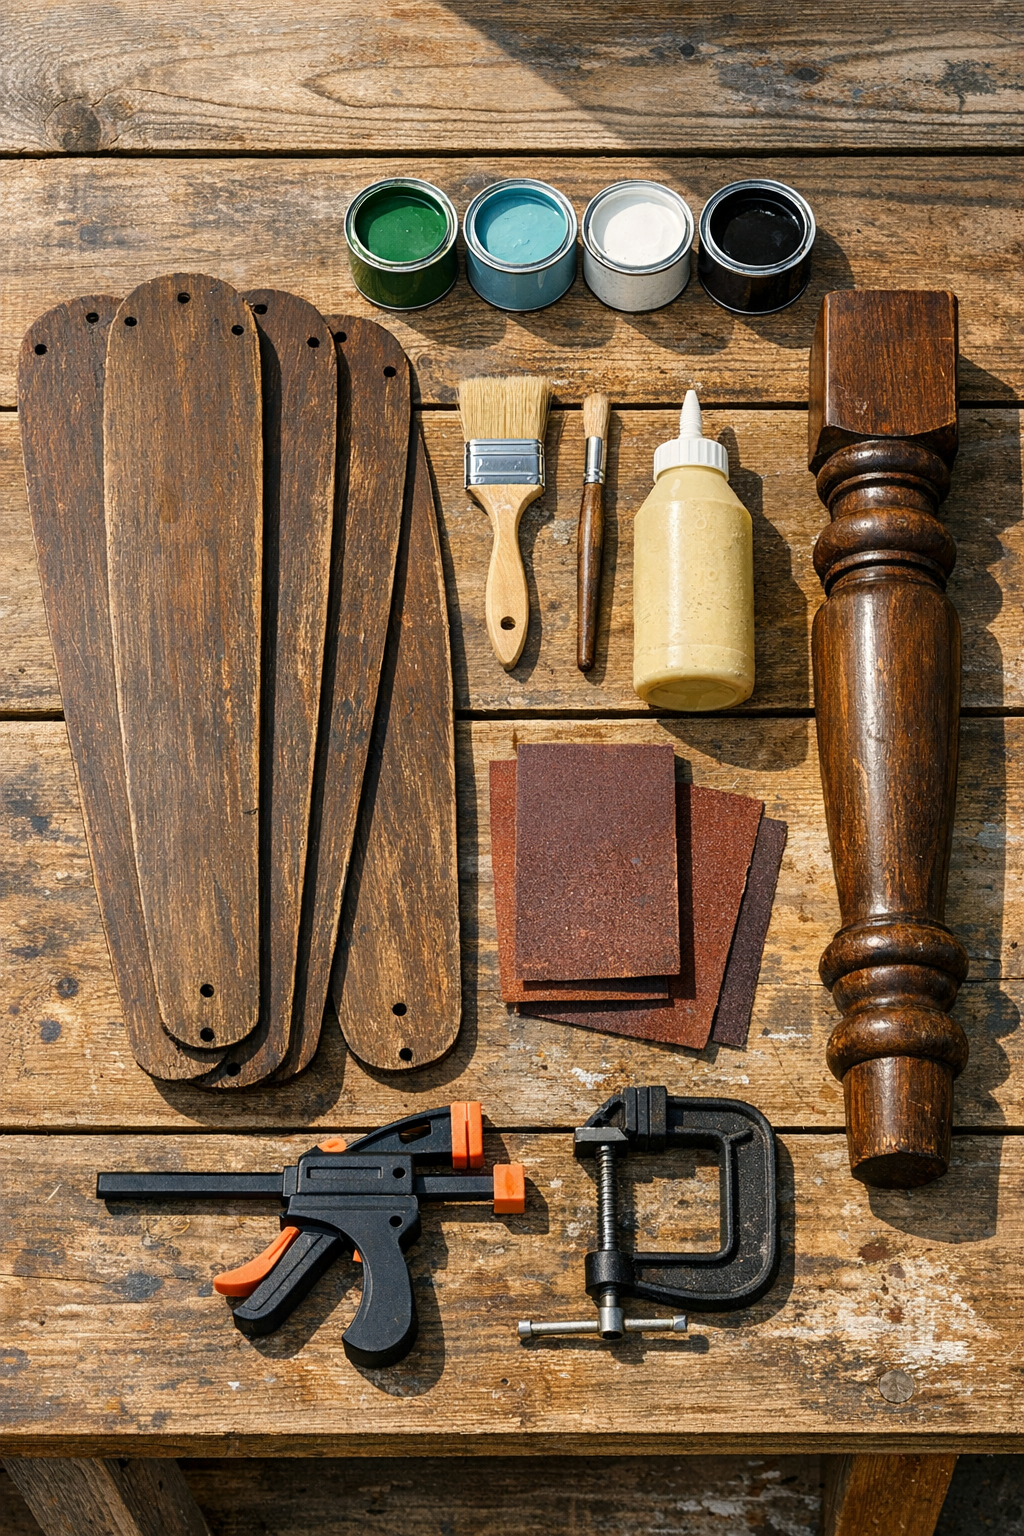
Materials
Instructions
1. Lay out the four ceiling fan blades and the table leg on a protected work surface, and check that all pieces are clean, solid, and dry. Remove any loose hardware or stickers so you have smooth wood to work with.
2. Sand both sides of the fan blades with 120-grit sandpaper, then lightly go over them with 220-grit for a smoother painted finish. Sand the table leg as well if it has a glossy coating or rough spots.
3. Wipe away all sanding dust with a tack cloth or a clean rag. If the wood is very dark, glossy, or uneven in color, brush on a thin coat of exterior primer and let it dry completely.
4. Paint the four fan blades in your chosen wing color, covering both sides and the edges with thin, even coats. Let the first coat dry before adding a second coat for full coverage.
5. Paint the table leg brown if needed, or leave its original brown finish if it already looks good. This piece becomes the dragonfly body, so make sure the color is even and fully dry.
6. If you want a little extra character, add simple vein lines or subtle edge details to the blades with a small brush and black paint. Keep the accents light so the dragonfly still looks clean and rustic from a distance.
7. Arrange the table leg vertically on your work surface and lay the four blades across it in two matching pairs, with two wings at the top and two just below. Adjust the spacing until the shape looks balanced, then mark the placement lightly with chalk or pencil.
8. Apply a generous bead of exterior wood glue where the first wing will meet the table leg, then press it firmly into place. Repeat with the remaining three blades, keeping the wings symmetrical as you go.
9. Clamp the glued wing joints carefully and let the piece dry according to the glue directions, preferably several hours or overnight. Avoid moving it during this time so the wings stay aligned.
10. Once the glue is fully cured, brush on a clear outdoor sealer over the entire dragonfly, including the edges and glued areas. Let it dry completely, then add a second coat if the piece will live outdoors year-round.
11. Display the finished dragonfly on a fence, shed wall, porch, or garden post, securing it in the way that best suits your space. Step back and make any tiny touch-ups to the paint if needed.
Variations & Tips
Color choice: Soft blue, sage green, creamy white, or pale yellow all give this dragonfly a sweet cottage-garden look. If your yard is full of bold flowers, a deeper teal or barn red can be striking too.
Weather protection: If the dragonfly will hang out in open sun and rain, use exterior paint and at least two coats of outdoor sealer. That little bit of extra care will help the colors hold up through the seasons.
Wing matching: Try to pair blades of the same shape across from one another so the dragonfly looks balanced. Even if the blades are a little worn, matching the curves makes the finished piece look intentional.
Mounting idea: I like yard art that feels settled into its place, so fastening this to a fence or shed wall works beautifully. If you want it in a garden bed, you can attach the body to a sturdy wooden stake from the back.
Rustic finish: For an older farmhouse look, lightly sand the edges of the painted wings after they dry. That little worn touch can make a brand-new paint job feel like it has been part of the garden for years.
Glue tip: Strong exterior wood glue works well, but the surfaces need to be clean and flat where they meet. Dry-fit everything before gluing, because once those wings are in place, adjusting them gets tricky in a hurry.