
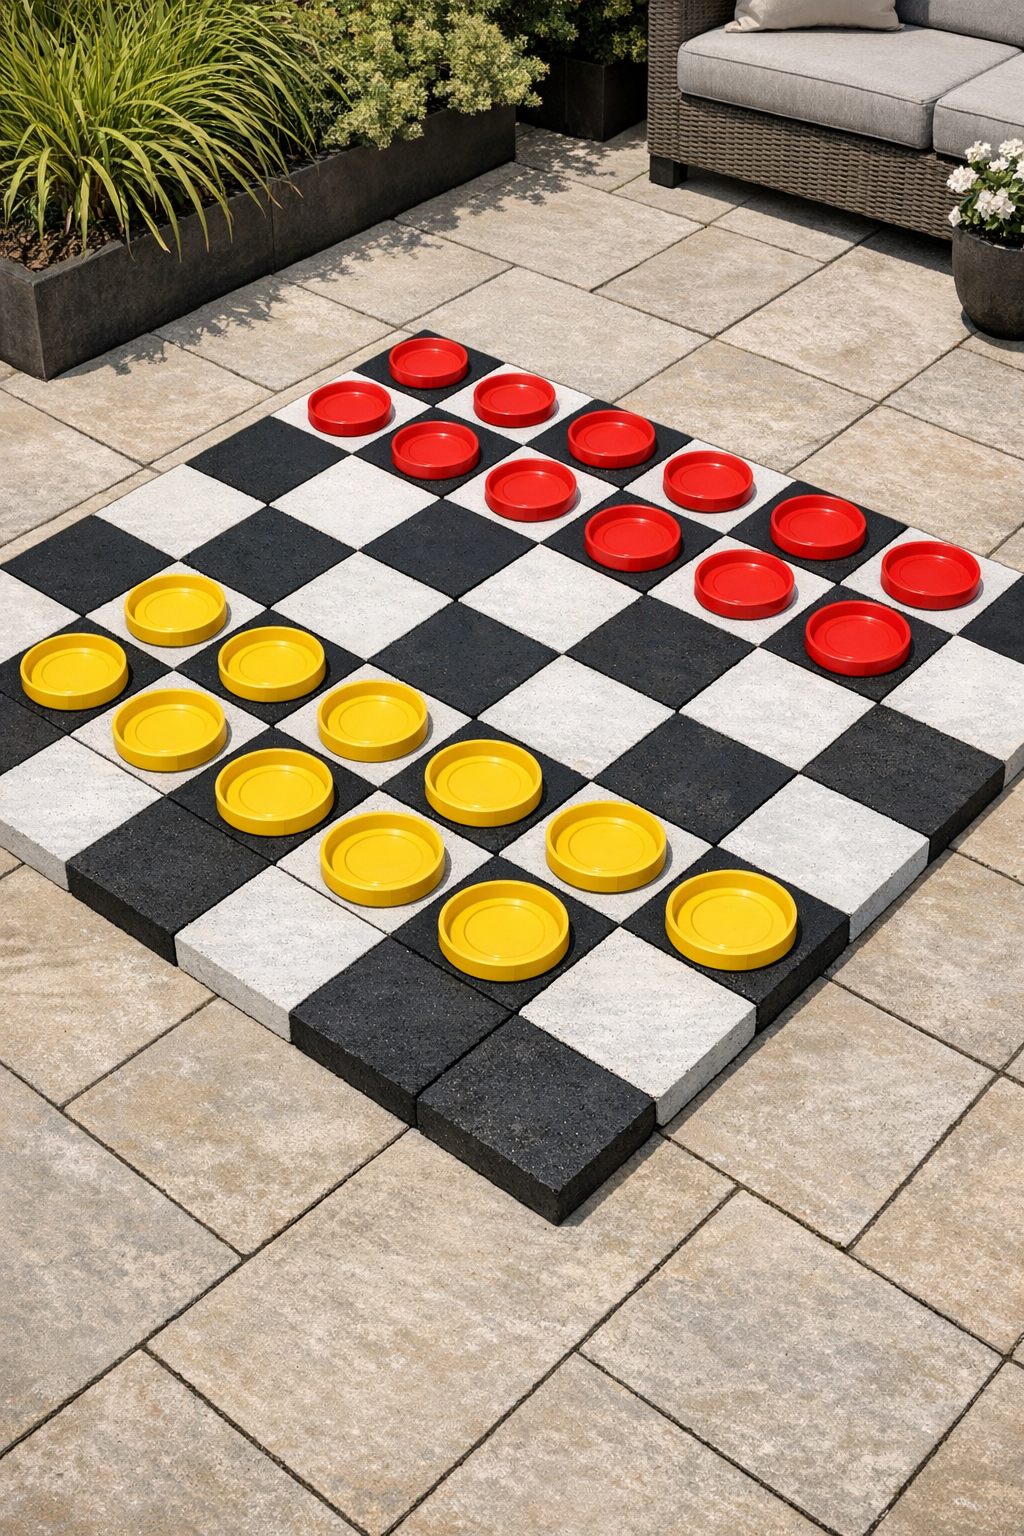
I love a project that gives a plain patio a little drama without requiring a contractor, and this oversized checkerboard does exactly that. The idea is simple: turn inexpensive square concrete pavers into a full 8-by-8 game board, then use round plastic plant saucers as lightweight checker pieces. It’s affordable, easy to customize, and satisfying in that “why didn’t I think of this sooner?” way.
This is a great weekend project for anyone who wants an outdoor game area, a fun conversation piece, or a low-cost patio refresh. Because the materials are basic and forgiving, it’s also beginner-friendly. If you can measure a square, roll on paint, and let things dry properly, you can make this.
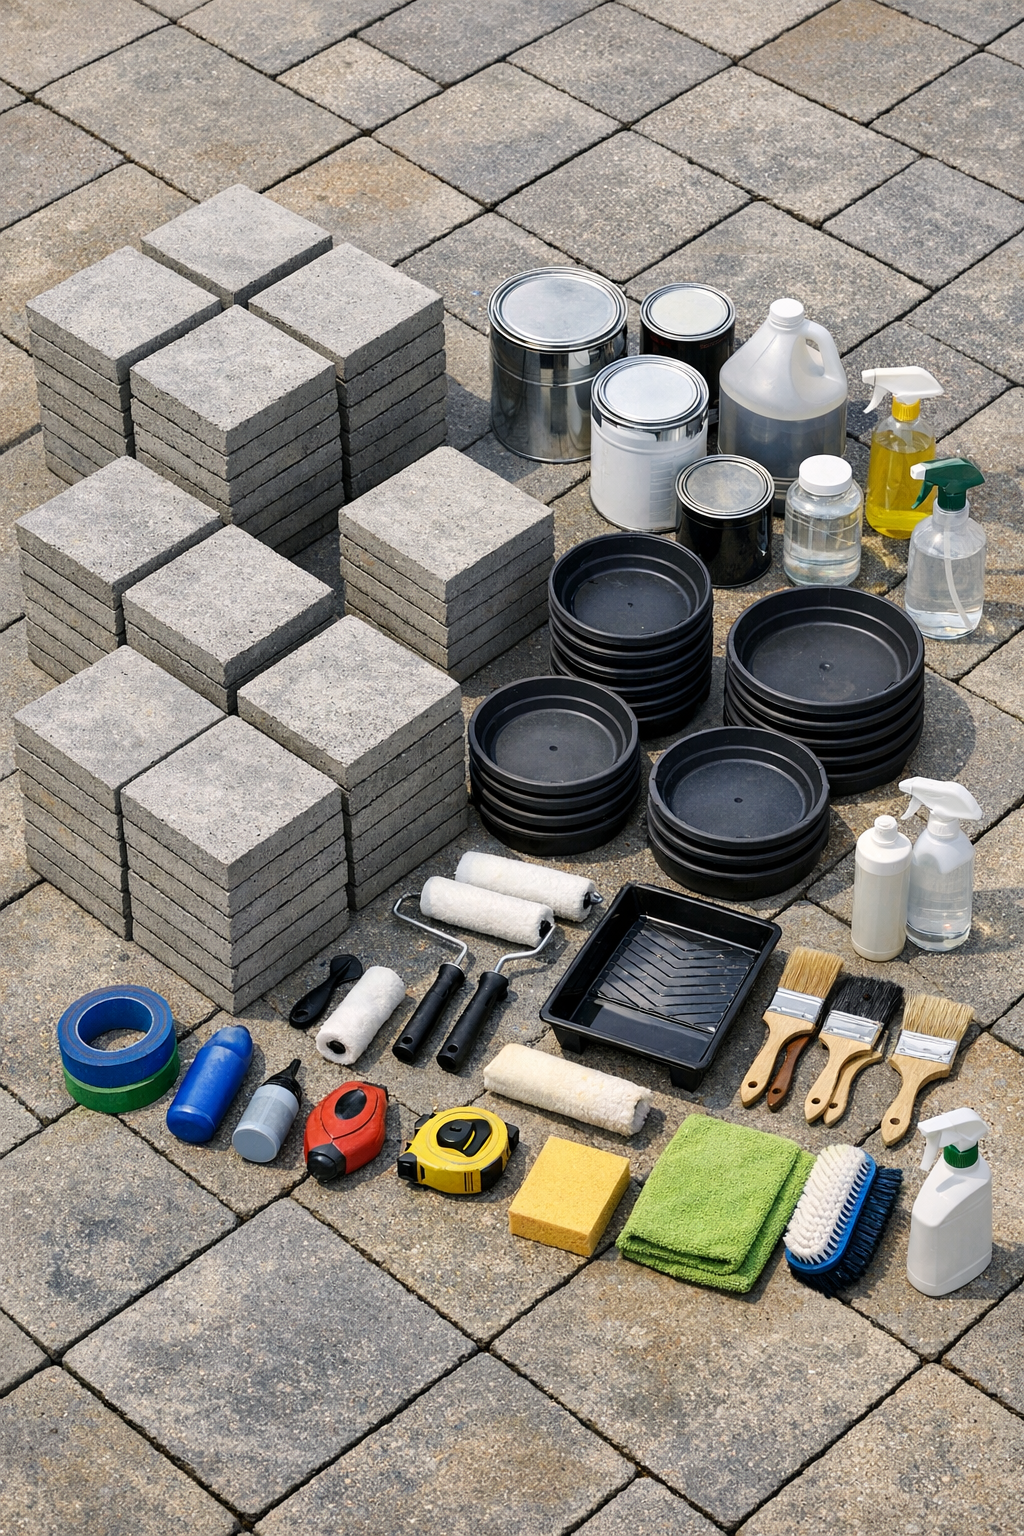
Materials
Instructions
1. Choose a flat area large enough for an 8-by-8 grid of pavers; with 12-inch stones, the finished board will measure about 8 feet by 8 feet. Sweep the area and make sure the surface drains well and doesn’t wobble underfoot.
2. Wash all 64 pavers with the detergent solution and scrub off dust, chalk, and loose grit. Rinse them well and let them dry completely before painting.
3. Separate the pavers into two groups of 32 so you can paint alternating board colors. I like to stack each group on opposite sides of the workspace to avoid mixing them up once the painting starts.
4. Apply exterior concrete primer to the top surface and edges of every paver with a roller or brush. Let the primer dry for the full time recommended by the manufacturer.
5. Paint 32 pavers with the light porch-and-patio paint and the other 32 with the dark contrasting color. Use two thin coats rather than one heavy coat so the finish cures more evenly and holds up better outdoors.
6. Seal the painted pavers with a clear exterior concrete sealer once the paint is fully dry. Coat the tops thoroughly and the edges lightly, then let them cure completely before assembly.
7. Paint 12 plastic plant saucers in one color and 12 in a second color to create the checker pieces. If the saucers are slick, lightly scuff them first and apply two light coats for better coverage.
8. Mark out an 8-foot-by-8-foot square on the patio using chalk and measuring tape. Check both diagonals to make sure the square is even, because a crooked layout is very noticeable on a checkerboard.
9. If the surface is uneven, spread a thin layer of leveling sand inside the marked area and smooth it flat. This step is worth doing if your pavers rock at all, since checker pieces slide best on a stable board.
10. Lay the first row of 8 pavers in alternating colors, then continue row by row, reversing the pattern each time. Keep the joints tight and check every few rows with a straightedge or tape measure so the board stays square.
11. Add joint sand between the pavers if you want a more finished look and a little less shifting. Sweep the sand into the gaps and brush off the tops so the painted surface stays clean.
12. Place the 24 saucers on the dark squares in standard checker starting positions, 12 per side across the first three rows on each end. If you want the pieces to feel heavier on windy patios, add a few pebbles or a dab of sand inside each saucer before setting them out.
Variations & Tips
Color choice: High contrast always reads best outdoors. Black and white is classic, but charcoal with ivory, navy with light gray, or terracotta with cream can look a little softer and warmer on a patio.
Piece size: Saucers that are roughly 10 to 12 inches wide look best on 12-inch pavers because they fill most of the square without overlapping the joints. If your pavers are larger, size up the saucers so the board still looks intentional.
Weather durability: Use paint and sealer rated for horizontal outdoor surfaces, not just general craft paint. In my experience, patio coatings are formulated to handle foot traffic, sun, and repeated wet-dry cycles much better.
Making kings: Keep 24 extra small adhesive circles, painted wood disks, or contrasting saucers on hand to stack on top when a piece is crowned. I like stackable kings because they’re easy to spot from across the yard.
Wind fix: If your patio gets gusty, weigh each saucer with a little sand, a few aquarium stones, or a dot of construction adhesive under a flat washer. You only need a bit of ballast to keep the game pieces from skittering away.
Permanent installation: For a board that stays put all season, edge the checkerboard with bricks, landscape edging, or pressure-treated trim around the outside perimeter. That small border helps the pavers stay aligned and makes the whole project look more finished.
Easy maintenance: Sweep the board regularly and rinse off pollen or dirt before it builds up. A fresh coat of sealer every year or two will keep the colors looking crisp and make cleanup easier.