
I’m always a little skeptical of “unbelievable” DIY claims, especially when they involve melted plastic and hardware. But this project is one of those practical little workshop hacks that can genuinely save the day when you need a tough custom anchor for a hollow wall, oversized hole, or awkward mounting spot. By melting down cheap plastic pencil boxes and combining that plastic with two common hardware items, you can make dense, custom-fit wall anchors that grip surprisingly well for utility storage, light shelving, and shop organization.
As someone who juggles a full workweek and still wants my home projects to be efficient, I love anything that turns dollar-store supplies into something useful. This tutorial is best for confident DIYers who are comfortable working carefully with heat and basic tools. I would not use these for life-safety or overhead loads, but for everyday household mounting jobs, they’re a smart little trick to keep in your back pocket.
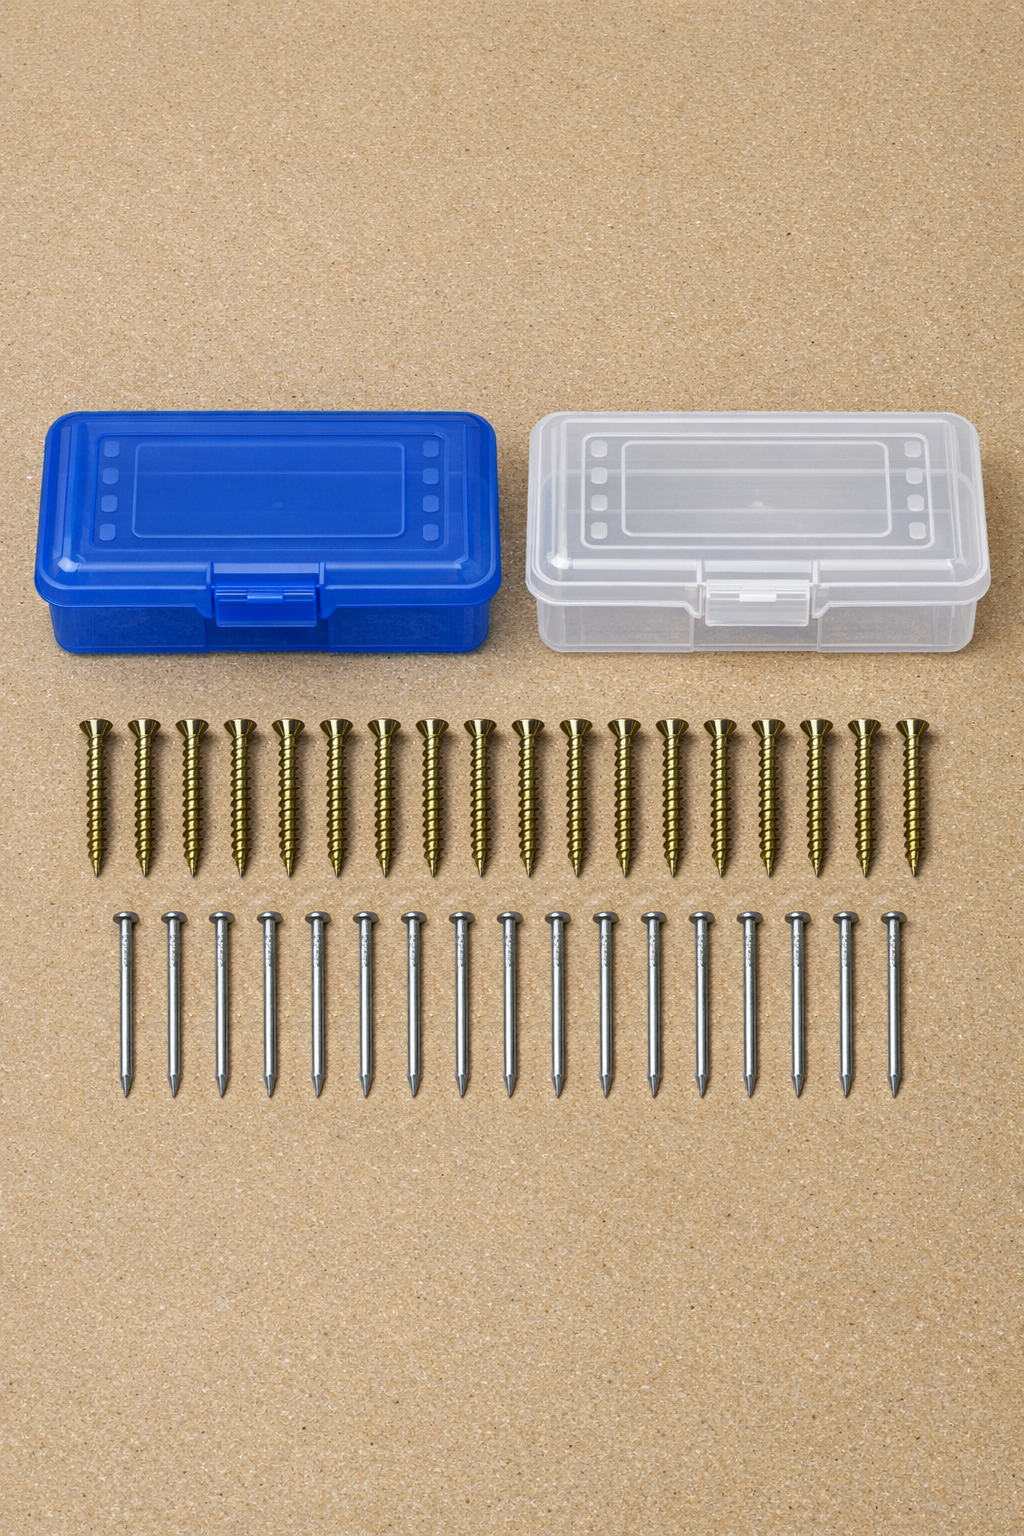
Materials
Instructions
1. Cut the pencil boxes into small pieces about 1 in. square so they melt more evenly and predictably.
2. Place a wood screw and a finishing nail side by side to check fit; the nail will act as a removable core so the finished anchor has a pilot channel through the plastic.
3. Heat a small metal mold or sacrificial metal cup until it is hot enough to soften the plastic pieces, then add a handful of the cut plastic and let it melt into a thick mass.
4. Stir the softened plastic carefully with the nail until it becomes uniform, then press in more plastic if needed to make a solid plug roughly 3 in. long and a little wider than the screw threads.
5. Insert the finishing nail straight through the center of the hot plastic plug to form the future screw channel, keeping it as centered as possible.
6. Let the plastic cool until firm but still slightly workable, then trim or roll it into a smooth anchor shape that matches the wall hole you need to fill.
7. Once fully cooled, twist and pull out the nail to leave a clean center hole through the anchor.
8. Test the anchor by driving the wood screw into the center hole; it should bite firmly and expand the plastic without splitting it.
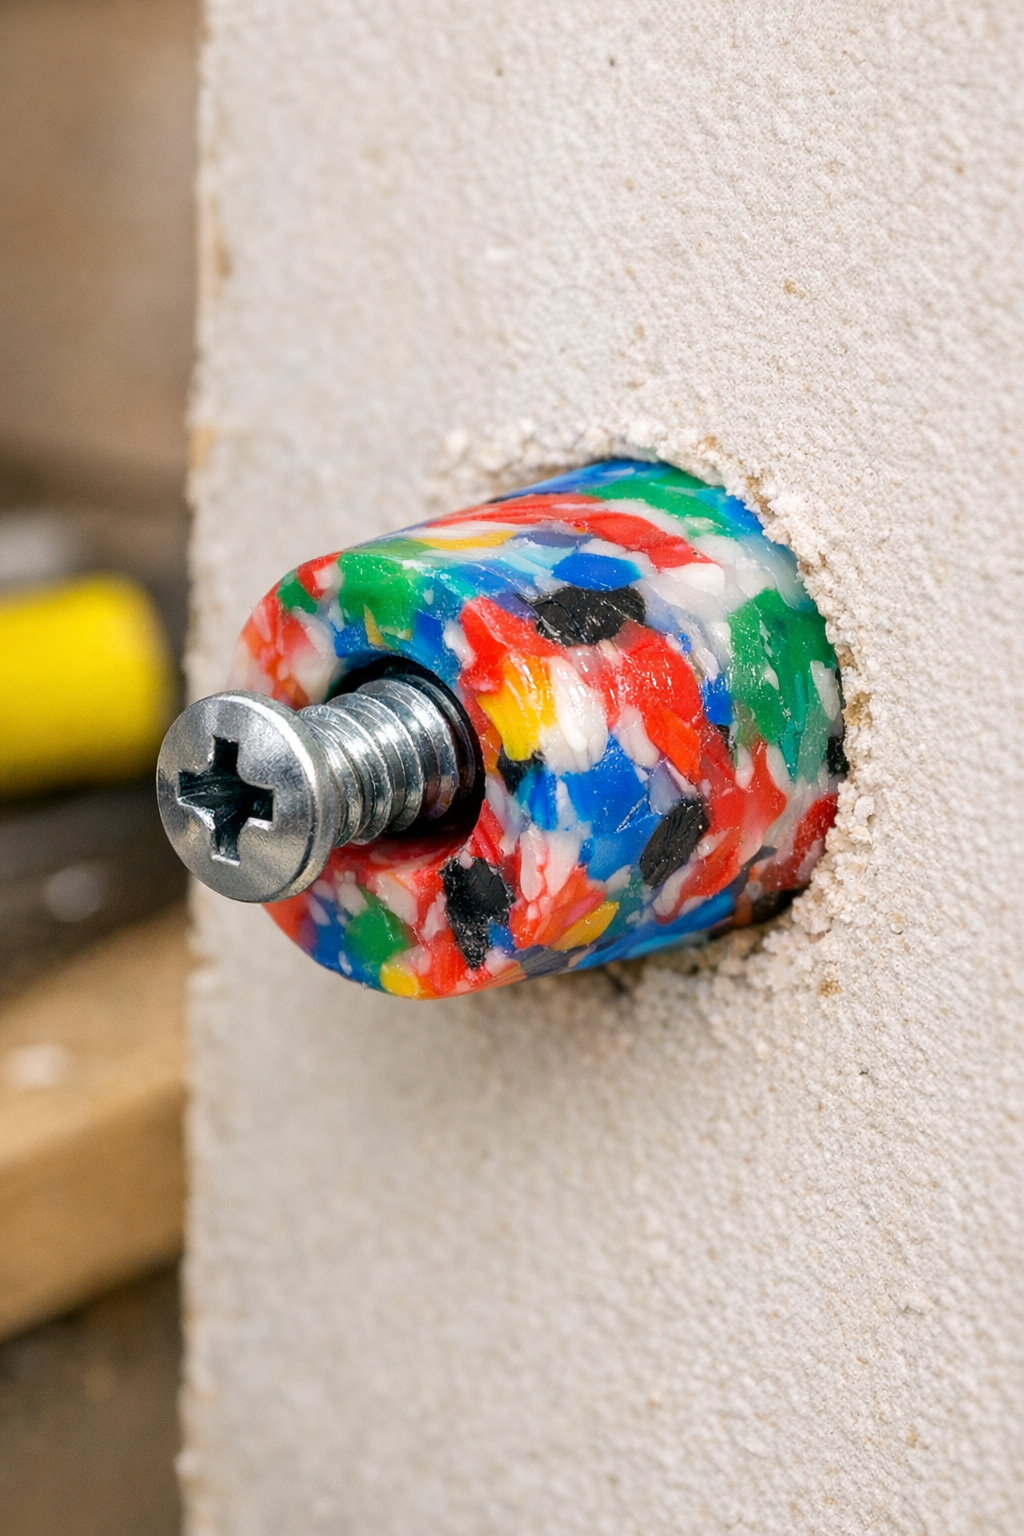
9. Push the finished anchor into a properly sized wall hole so it fits snugly; shave the outside slightly if the fit is too tight.
10. Drive the screw into the installed anchor until the plastic expands and locks in place, then mount your item and tighten just until secure.
Variations & Tips
For oversized holes: Make the plastic plug slightly thicker than needed, then shave or sand it down after cooling for a precise friction fit. This is especially helpful when an old anchor has blown out the drywall.
For better screw grip: Use coarse-thread screws rather than fine-thread screws. I’ve found they grab the plastic much more confidently, which matters when you’re trying to mount something quickly after work and don’t want to redo the hole.
For anchor sizing: Match the anchor length to the wall thickness and the item you’re mounting. For most drywall repairs or utility mounts, 1 1/2 to 2 in. of anchor body is usually plenty.
For cleaner shaping: While the plastic is warm, roll it between two flat metal surfaces or press it gently in a simple channel mold to get a more consistent anchor shape.
Heat safety: Melt plastic only in a well-ventilated workspace and use dedicated tools and containers that will never return to food use. This is one of those projects where a little caution goes a long way.
Best uses: These homemade anchors are great for utility hooks, lightweight organizers, and workshop fixtures. I would skip them for TVs, grab bars, ceiling-mounted items, or anything where failure could cause injury or major damage.
Batch prep: If you already have the setup out, make several anchors in different diameters at once. That’s the kind of practical prep I love, because it turns a random hardware problem next month into a two-minute fix.