
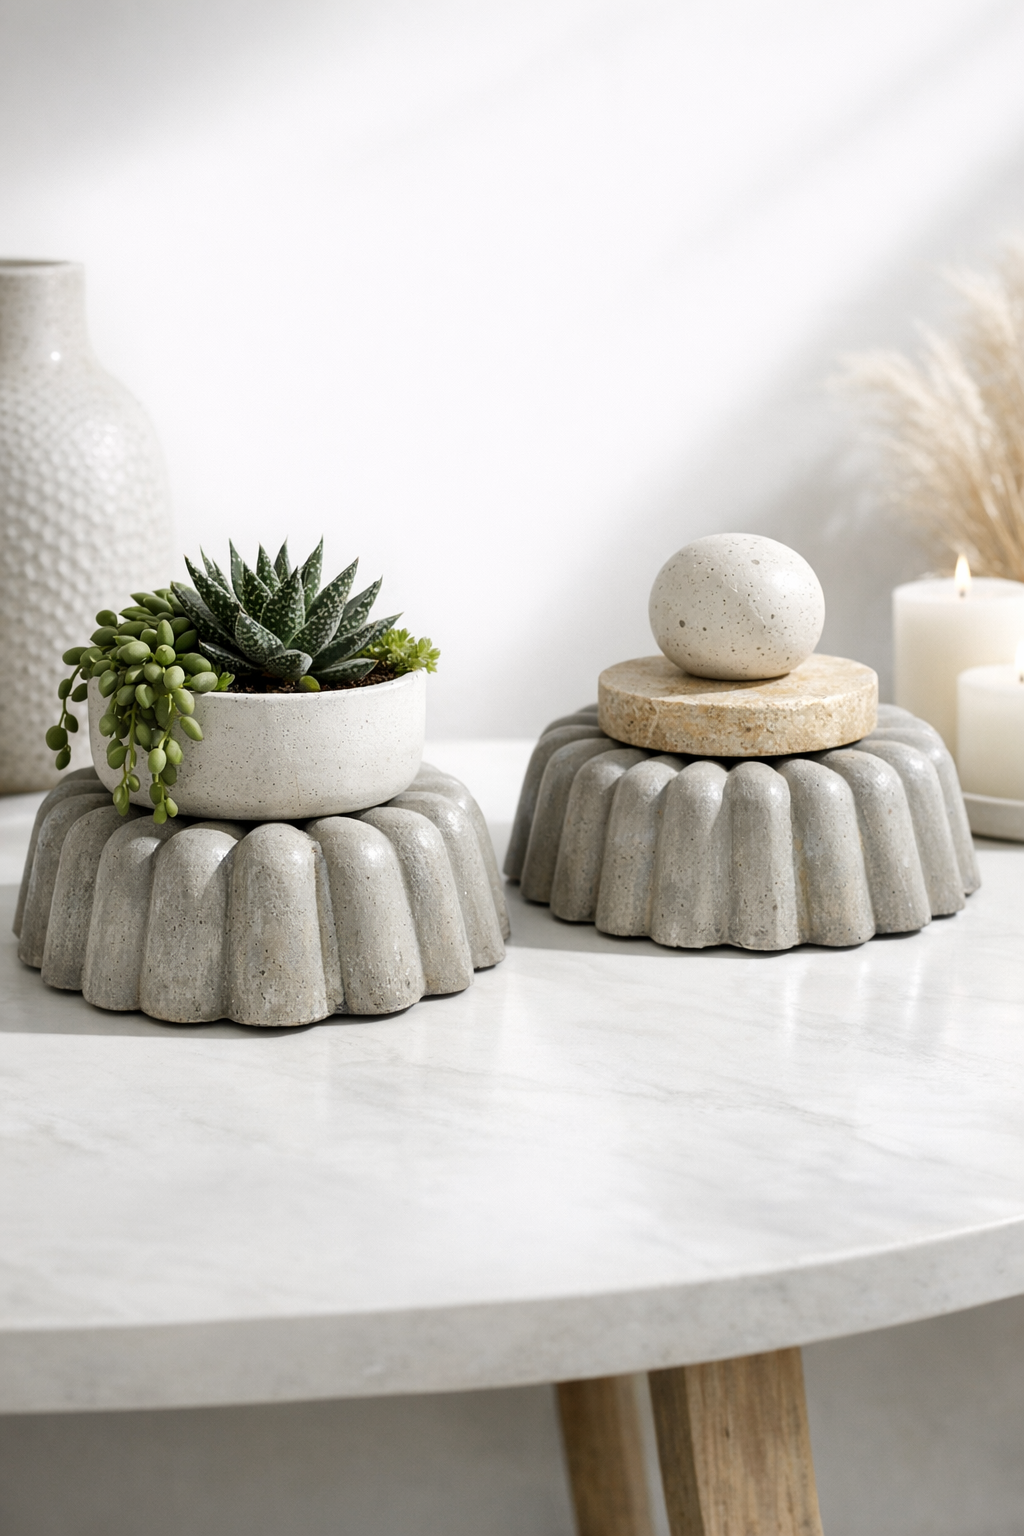
This project turns two humble metal bundt pans and a bag of cement into fluted bases that look far more expensive than they are. I love a DIY that feels a little surprising, and this one absolutely does—once the cement cures and the pans come off, you’re left with sculptural pieces that can work as plant stands, risers, candle bases, or simple décor accents.
As someone who is usually squeezing creative projects into a busy weeknight, I really appreciate how straightforward this is. If you like high-end home décor but not the price tag, this is the kind of weekend project that gives you a dramatic result without needing a workshop full of tools.
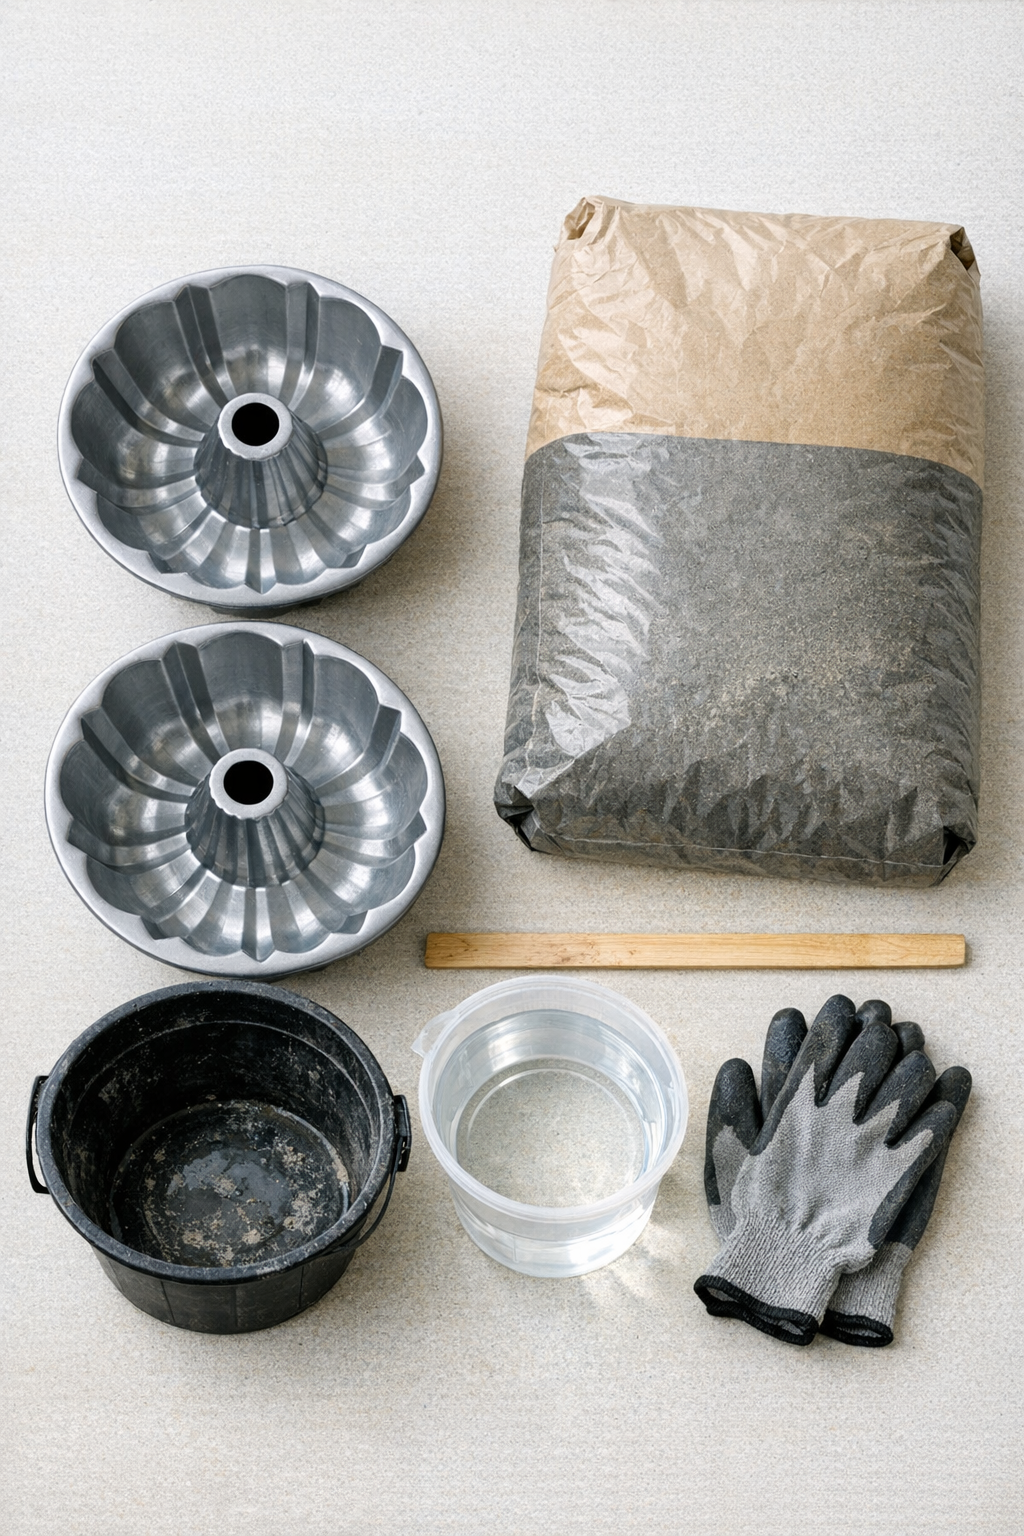
Materials
2 metal bundt pans, 9 to 10 inches wide each
Instructions
1. Cover your work surface with a plastic drop cloth and set the two bundt pans on a level area where they can stay undisturbed while curing.
2. Lightly coat the inside of each metal bundt pan with a thin film of cooking oil or mold release, making sure to get into all the fluted grooves.
3. Pour the cement mix into the bucket, then add water a little at a time while stirring until it reaches a thick, dense, scoopable consistency similar to stiff mashed potatoes.
4. Pack the cement firmly into each bundt pan, pressing it into every ridge and around the center tube to remove hidden air pockets.
5. Fill each pan to the top, then tap the sides and bottom several times against the work surface to settle the mix and release trapped bubbles.
6. Smooth the exposed top surface with the stir stick or a gloved hand so the bottoms of the finished bases will sit flat.
7. Let the cement cure in the pans for 24 to 48 hours, or until fully hardened and cool, keeping the pans in a dry, level spot.
8. To unmold, gently flex the metal pans or tap around the outside, then invert each one and ease the cement bases out carefully onto a towel or soft surface.
9. Sand any rough edges lightly with fine-grit sandpaper, then wipe away dust and let the bases finish curing for another 24 hours before styling or using them.
Variations & Tips
Use them as risers: These are especially pretty under a potted plant, a candle, or a stack of cookbooks. I also like using one on a dining table to add height without making the whole setup feel fussy.
Choose sturdy metal pans: Thin disposable pans can warp or make unmolding harder, so solid metal bundt pans give the cleanest fluted shape and are worth using here.
Adjust the finish: If you want a softer, chalky look, leave the cement natural. For a more polished style, you can seal the cured bases with a clear matte concrete sealer after they are completely dry.
Make the texture cleaner: The biggest trick is packing the cement down really well into the grooves. Whenever I rush this part, I end up with more pinholes, so a little extra pressing and tapping makes a big difference.
Try different sizes: Two matching pans make a nice pair, but using different bundt pan sizes gives you a more collected, designer look—almost like something you’d find in a boutique home store.
Mind the weight: These bases get heavy fast, which is great for stability but not great for flimsy shelves. I always test where I want to place them before loading them up with anything substantial.