
I love a project that looks high-end but starts with something totally unexpected, and this one absolutely fits that category. These DIY grid slabs are made by pouring cement into silicone waffle molds, then pairing that texture with one simple second item to create modern decorative slabs that look like they came from a boutique home store. The finished pieces are sturdy, geometric, and surprisingly versatile.
As someone who is always trying to squeeze creative projects into a busy weeknight, I really appreciate how straightforward this is. If you like minimalist home décor, handmade gifts, or easy concrete crafts that do not require fancy tools, this is a great project to try. I’ve used pieces like these as plant risers, candle bases, and little styling platforms on shelves, and they always get comments.
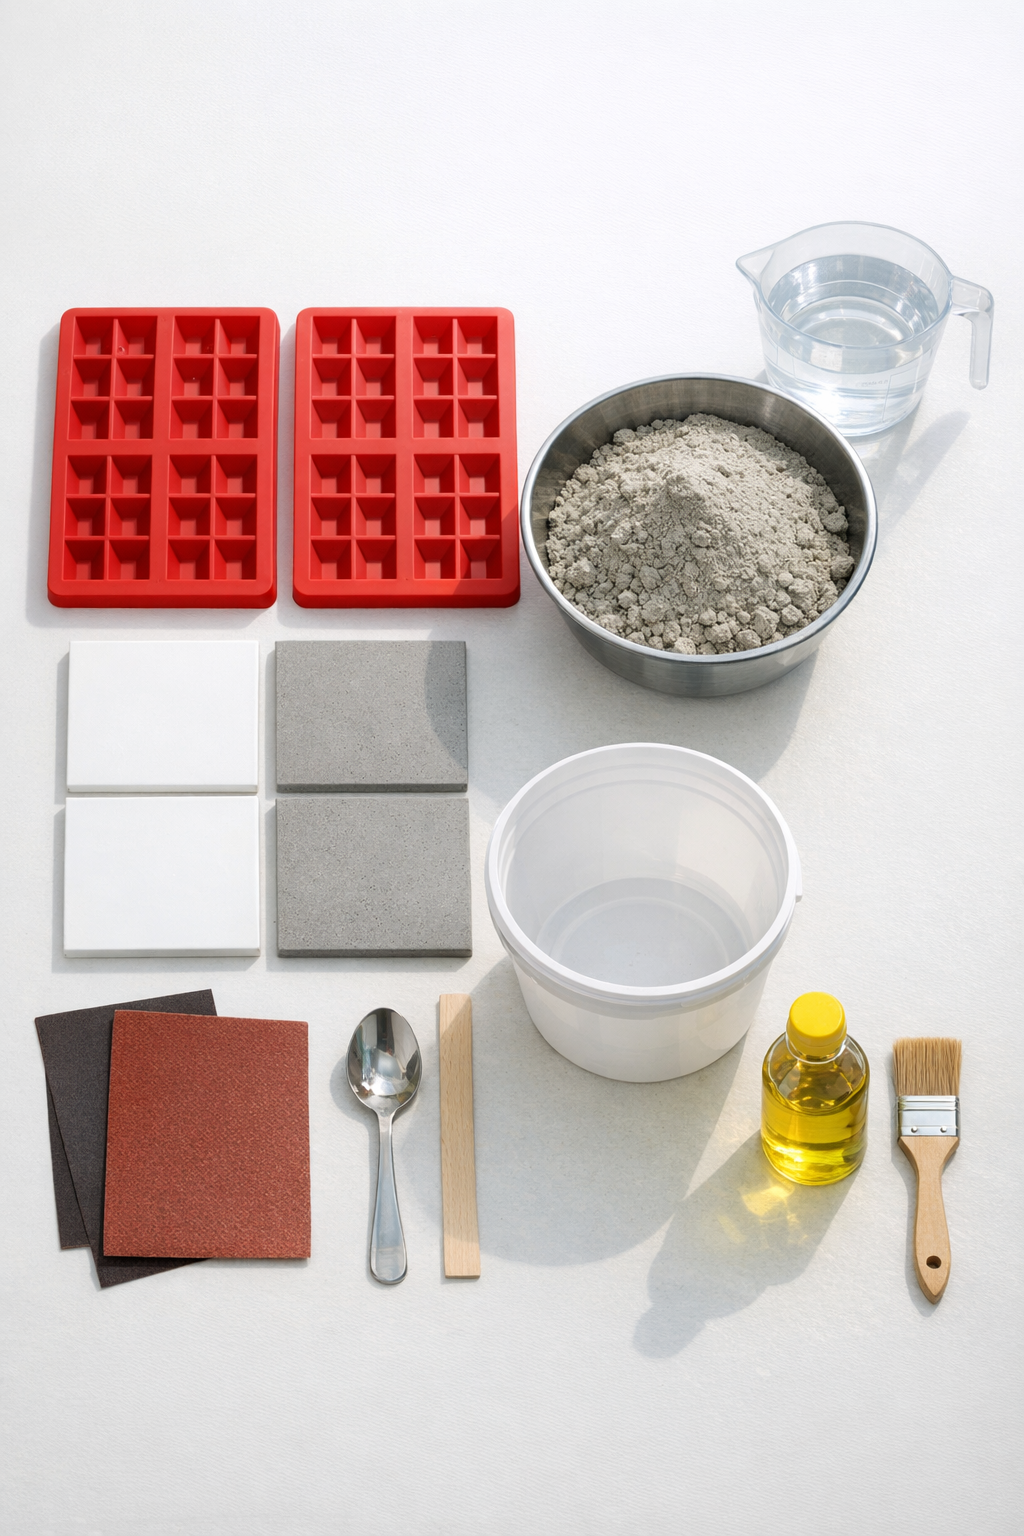
Materials
2 silicone waffle molds, standard square style, about 7 to 8 inches wide each
Instructions
1. Cover your work surface and place the silicone waffle molds on a flat tray or baking sheet so they stay level when filled.
2. Lightly coat the inside of each mold with a very thin layer of cooking oil using a small paintbrush or paper towel, making sure to get into the grid pattern.
3. Mix 4 cups of cement with 1 cup of water in a bucket, stirring until it looks like thick pancake batter; add the extra water a little at a time only if the mix is too stiff.
4. Spoon the wet cement into the waffle molds, filling each one about three-quarters full, then tap the tray firmly on the table several times to release air bubbles.
5. Press one flat ceramic tile gently into the center of each mold so it sinks slightly into the cement and leaves a clean, solid backing for the slab.
6. Add a little more cement around the tile if needed and smooth the back with a spoon so the slab is flat and even.
7. Let the molds rest undisturbed for 24 hours, or according to your cement package directions, until the slabs are fully firm.
8. Flex the silicone molds carefully to release the slabs, then turn them over so the waffle-grid side faces up.
9. Sand any rough edges first with 120-grit sandpaper, then finish with 220-grit for a cleaner, smoother feel.
10. Let the slabs cure another 24 to 48 hours before using them under planters, candles, or decorative objects.
Variations & Tips
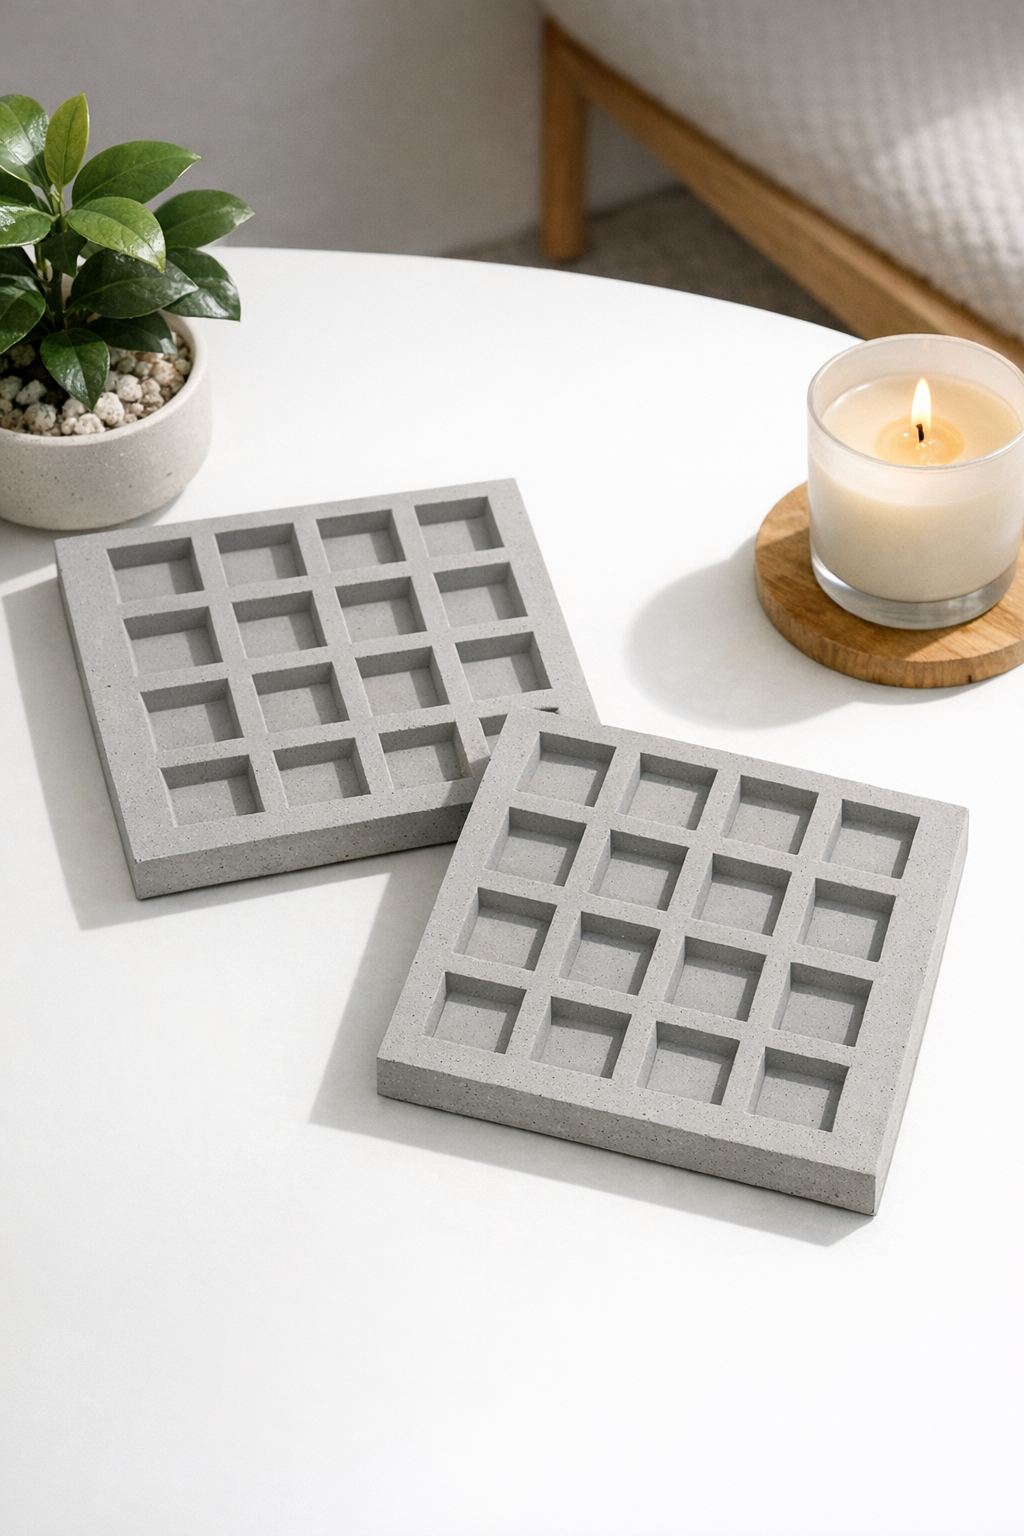
Use them as décor risers: These slabs work beautifully under a small planter, soap dispenser, candle, or vase. I like keeping one in the kitchen because it makes even everyday items look a little more intentional.
Try different tile sizes: If your waffle mold is larger or smaller, adjust the ceramic tile so it fits inside with at least a half-inch border of cement around all sides.
Watch the water carefully: It is tempting to make cement extra loose, especially when you are rushing, but a mix that is too wet can weaken the slab and blur the grid detail.
Tap out bubbles well: The tray-tapping step makes a big difference in the finished surface. A few solid taps usually bring hidden air pockets right up to the top.
Seal for damp spaces: If you plan to use these in a bathroom or under plant pots, brush on a clear concrete sealer after full curing to help protect the surface.
Make a matching set: I often batch projects like this on a Sunday afternoon so I get two or four finished pieces at once. It is the kind of low-effort craft that looks surprisingly polished when grouped together.