
This project turns a pair of inexpensive plastic colanders into sturdy, heavy domed caps by using cement to create a smooth shell over the curved form. I love builds like this because they rely on everyday objects doing double duty: the colanders act as instant molds, and the finished pieces can be used as garden accents, pedestal tops, capstones, or sculptural décor.
If you enjoy practical upcycling and don't mind a little mess, this is a very approachable weekend project. As someone who spends plenty of time in the kitchen, I always appreciate when a common household item reveals a second life, and colanders happen to be nearly perfect for making evenly rounded cement domes.
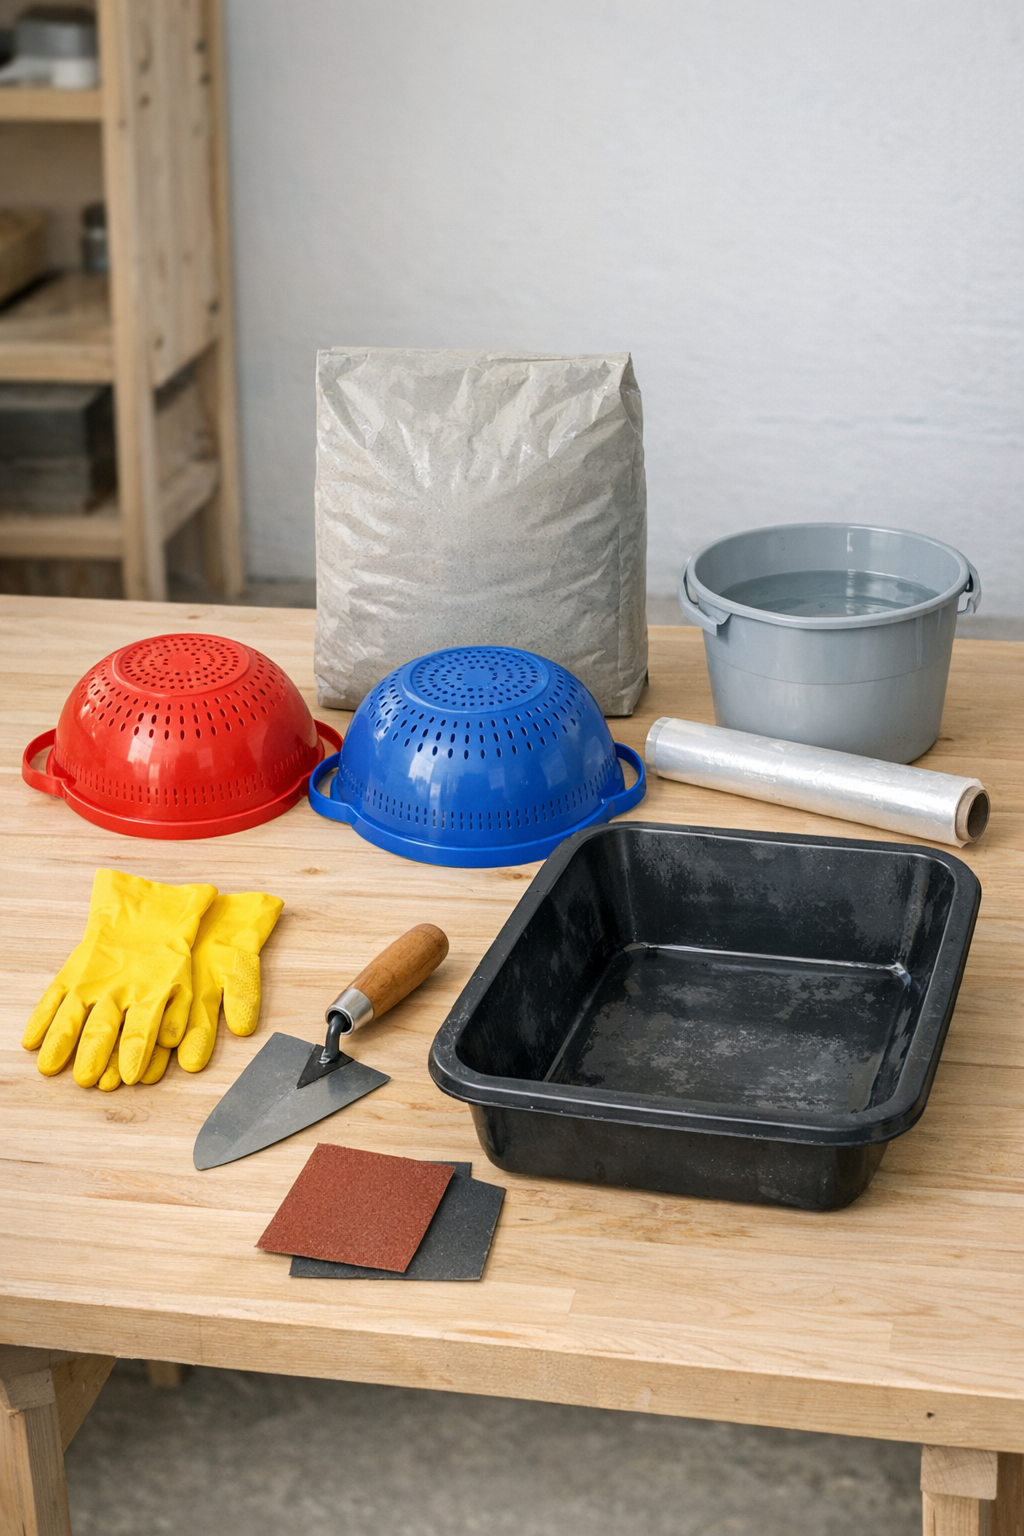
Materials
Instructions
1. Cover your work surface with a plastic drop cloth and set the two colanders upside down so their rounded bottoms face up. Wrap each one tightly with plastic wrap, smoothing it so the cement will release easily later.
2. Pour the cement mix into your tub and add water a little at a time until it reaches the texture of thick peanut butter. Mix thoroughly so there are no dry pockets.
3. Scoop cement onto the top of the first wrapped colander and begin spreading it from the center outward. Press firmly so the mix grips the curve and fills the perforation pattern evenly from the outside.
4. Build the layer to about 3/4 to 1 inch thick across the whole dome, then smooth it with the trowel. Repeat with the second colander, keeping both domes as even in thickness as possible.
5. Let the domes firm up until the surface is no longer glossy and they can hold their shape without slumping. If needed, lightly re-smooth rough spots with a damp gloved hand or trowel.
6. Leave the cement to cure on the molds for 24 hours in a dry, shaded place. Avoid moving them during this stage so the dome shape stays true.
7. Once hardened, gently lift each cement shell off its colander and peel away the plastic wrap from the inside. Set the domes upright and check the edges for loose crumbs or uneven spots.
8. Sand the rim and any rough patches with medium-grit sandpaper until the domes look clean and finished. Let them continue curing for another 24 to 48 hours before using them outdoors or placing weight on them.
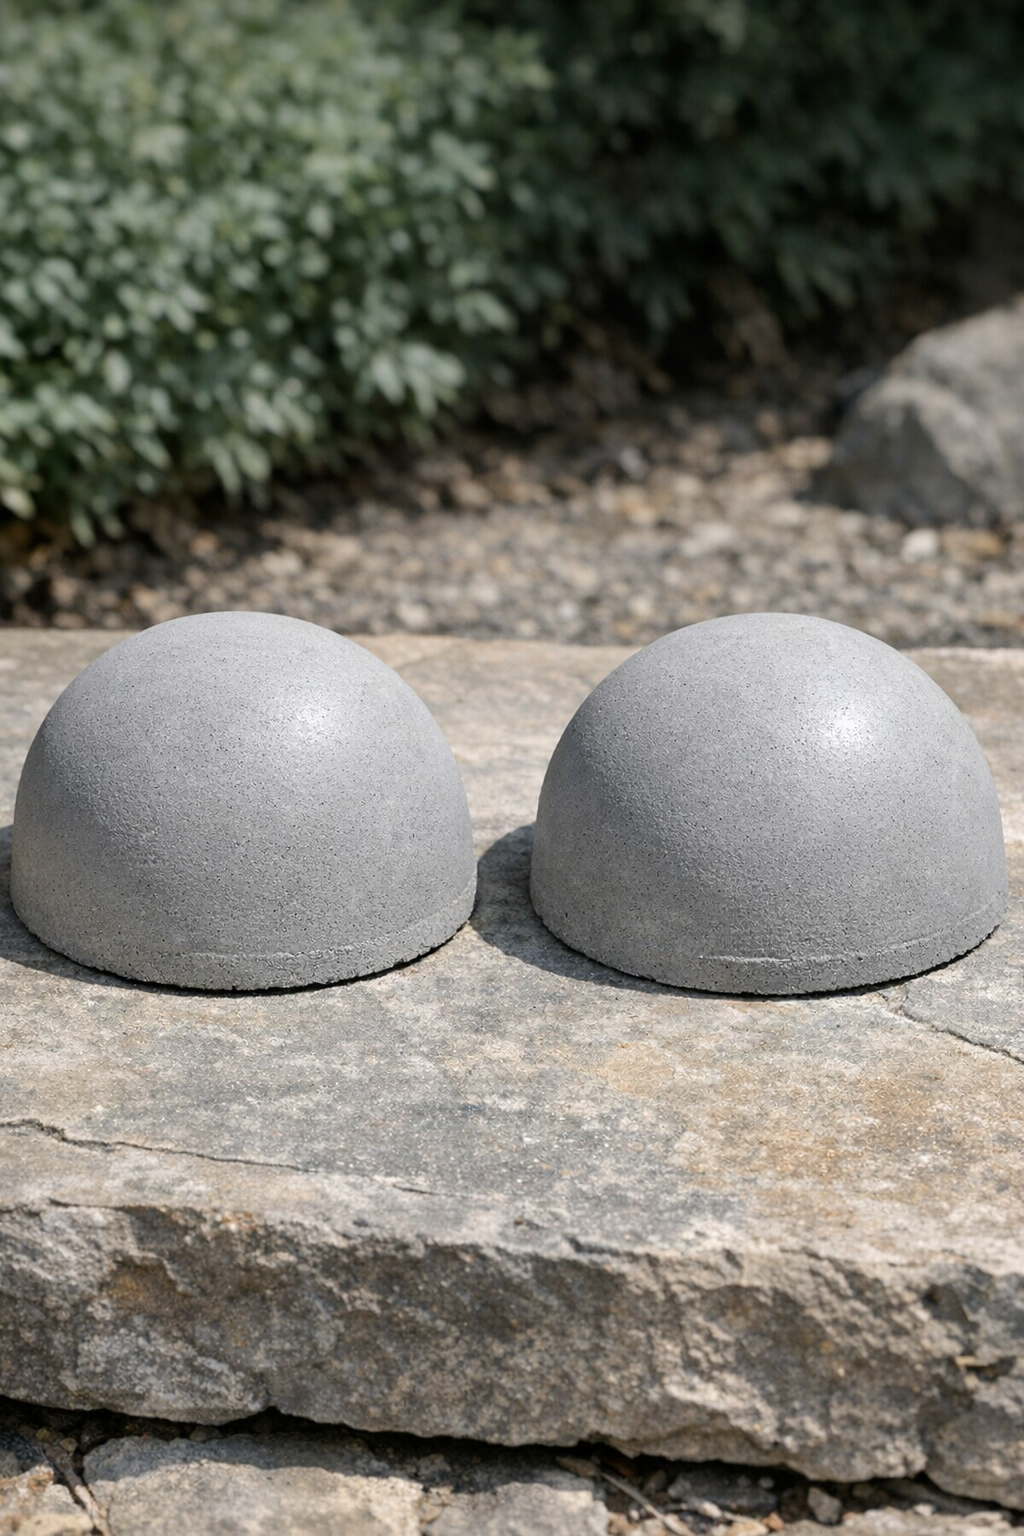
Variations & Tips
Smoother finish: For a cleaner surface, use mortar mix instead of a coarse concrete blend. The finer aggregate makes it much easier to trowel smooth, which reminds me of the difference between rustic cornmeal and fine semolina in the kitchen—texture matters.
Thicker cap for outdoor use: If the domes will live in the garden year-round, aim for a full 1-inch thickness. The extra mass helps them resist chipping and gives them a more substantial capstone feel.
Edge control: If the bottom edge looks uneven after demolding, rest a sheet of sandpaper on a flat board and rub the dome lightly in circles. This helps true up the rim without taking off too much material.
Release help: Plastic wrap is the simplest household staple for this project, but you can also lightly oil the wrap before adding cement if you're working in hot, dry weather. That little insurance can make demolding easier.
Decorative options: After full curing, you can leave the domes natural, whitewash them, or dry-brush them with stone-colored exterior paint. I especially like the plain cement look because it suits both modern patios and more traditional garden spaces.
Best uses: These domed caps work well as toppers for short posts, garden pillars, low pedestals, or purely decorative accents on shelves and patios. Just make sure the surface underneath is flat and sturdy, since the finished pieces are heavier than they look.