
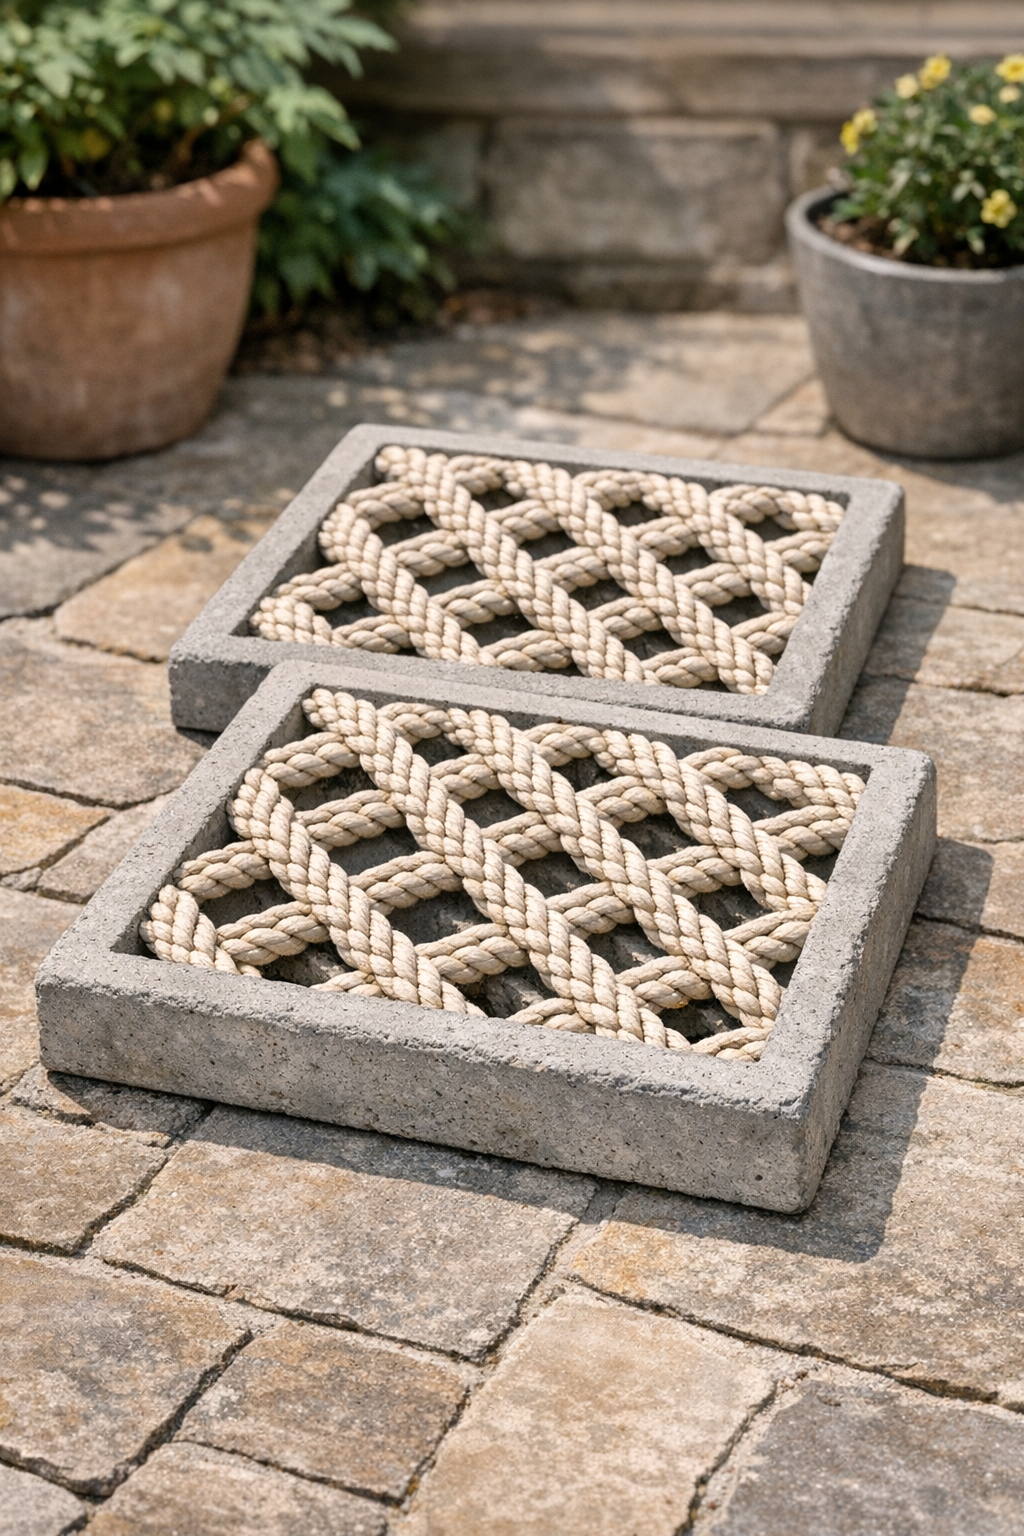
There’s something deeply satisfying about making garden pieces that look like they’ve been sitting in the yard for years, even when they came together from a few humble supplies on a worktable. In this project, I turn two woven rope hammocks, wet cement, and one secret yard scrap into heavy lattice-style patio blocks that have the look of old-world garden stone. The rope leaves behind a beautiful open pattern, and the scrap backing helps the cement hold its shape long enough to cure into something sturdy and useful.
I especially love a project like this for dressing up a plain patch of lawn, making a stepping-stone path, or tucking beneath flower pots on the patio. It’s a good fit for patient beginners and seasoned tinkerers alike, and it reminds me of the way we used to save every useful scrap around the farm because sooner or later, it found its purpose.
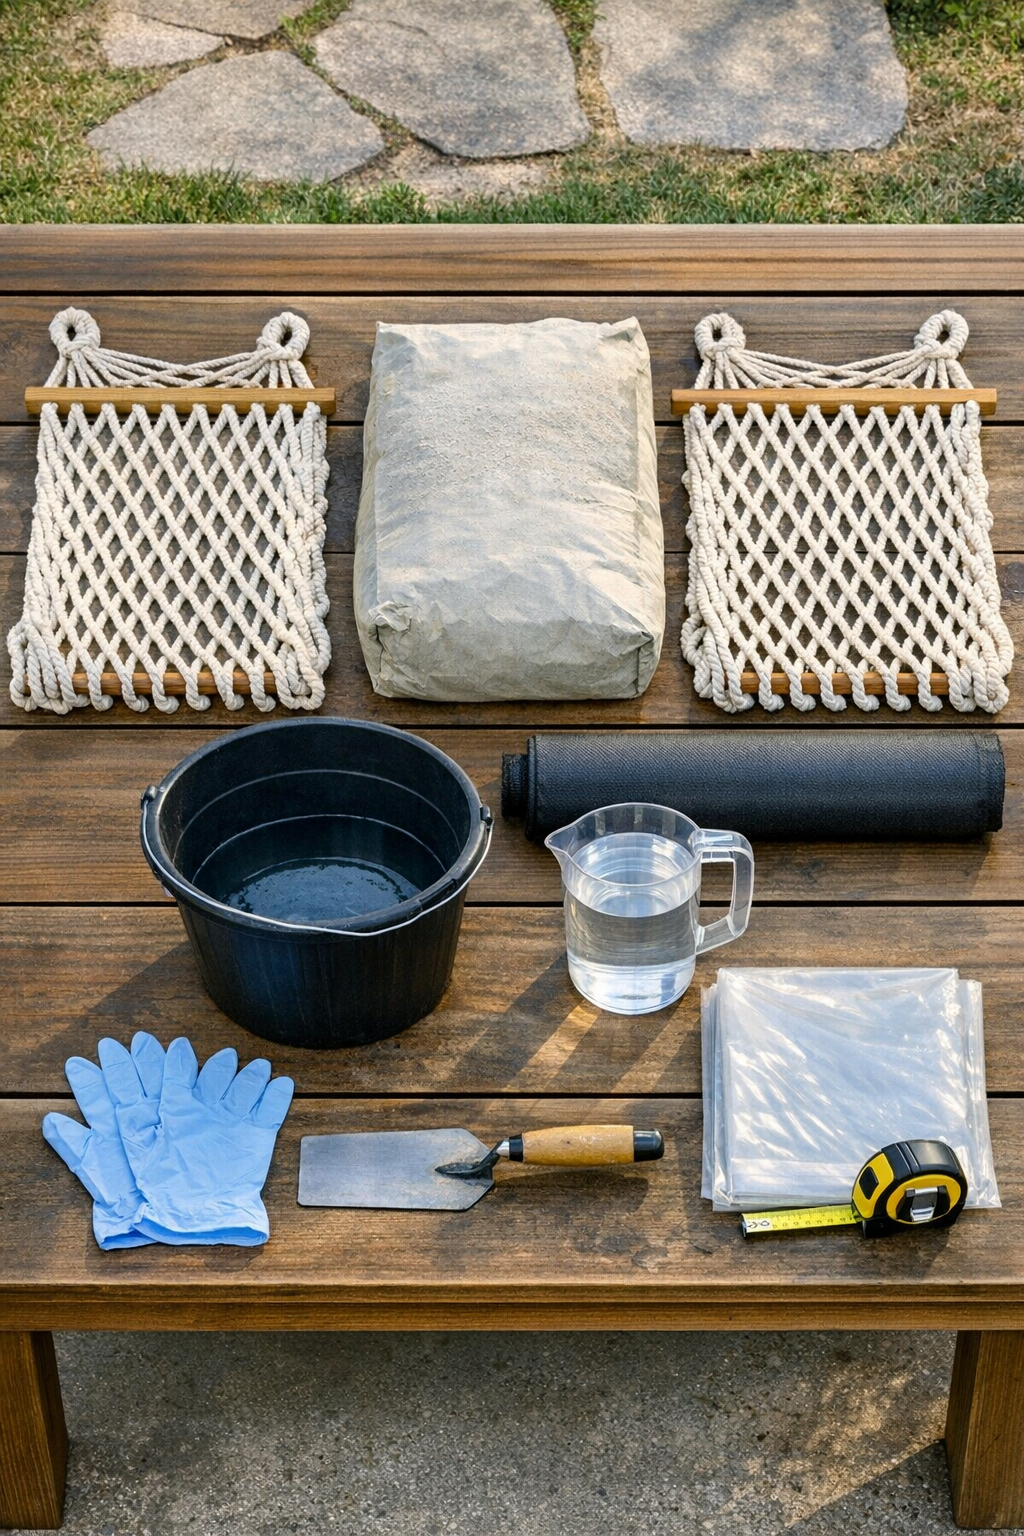
Materials
2 woven rope hammocks, approximately 24 to 30 inches wide each
Instructions
1. Spread the plastic sheet over a flat outdoor work area and set your bricks or scrap boards nearby so you can build a slightly raised curing surface for each block.
2. Cut the landscape fabric into two pieces sized to match the woven center of each hammock, leaving about 1 inch of margin all around so it stays hidden inside the cement.
3. Lightly coat the plastic-covered work surface and your trowel with a thin film of cooking oil or mold release so the cement won’t grab as it begins to set.
4. Mix the cement in the bucket, adding water a little at a time until it reaches a thick oatmeal-like consistency that will cling to the rope without dripping away.
5. Lay one hammock flat and press one piece of landscape fabric onto the center of the rope weave, then spread a 1/2-inch layer of wet cement over the fabric and into the rope intersections.
6. Flip and adjust the hammock carefully if needed, then pack more cement across the opposite side so the rope is fully embedded and the lattice openings stay visible rather than filled solid.
7. Shape the edges with your gloved hands or trowel, aiming for a block about 2 to 2 1/2 inches thick around the border and slightly thinner through the lattice center.
8. Transfer the coated piece onto the bricks or boards so it cures level and raised off the ground, then repeat the cementing process with the second hammock.
9. Let both blocks rest undisturbed for 24 hours, misting them lightly once or twice if the weather is hot and dry so they cure without cracking.
10. After the blocks are firm, peel away any exposed bits of plastic, tidy the edges with the trowel, and allow them to cure for another 24 to 48 hours before placing them on the patio or in the garden.
Variations & Tips
Use a different backing scrap: If you don’t have landscape fabric, try burlap or an old piece of feed sack material; I prefer something sturdy and porous so the cement can grip it well.
Make stepping stones instead: You can cut the hammock sections smaller and form individual square or round stones if you only want accents through the garden bed.
Keep the pattern open: The prettiest result comes when you press cement into the rope for strength but avoid smearing it across every opening; that woven look is what gives these blocks their charm.
Cure slowly for strength: Around here, summer wind can dry cement faster than you’d think, so a light misting and a little shade help prevent crumbly edges.
Place them on firm ground: These are heavy finished pieces, and they’ll last best on compacted soil, sand, gravel, or a solid patio base rather than soft muddy ground.
Add an aged finish: Once fully cured, you can brush on a thin wash of diluted gray or mossy-green exterior concrete stain for a weathered garden look that feels like it’s been there since my mother’s peony beds were first planted.