
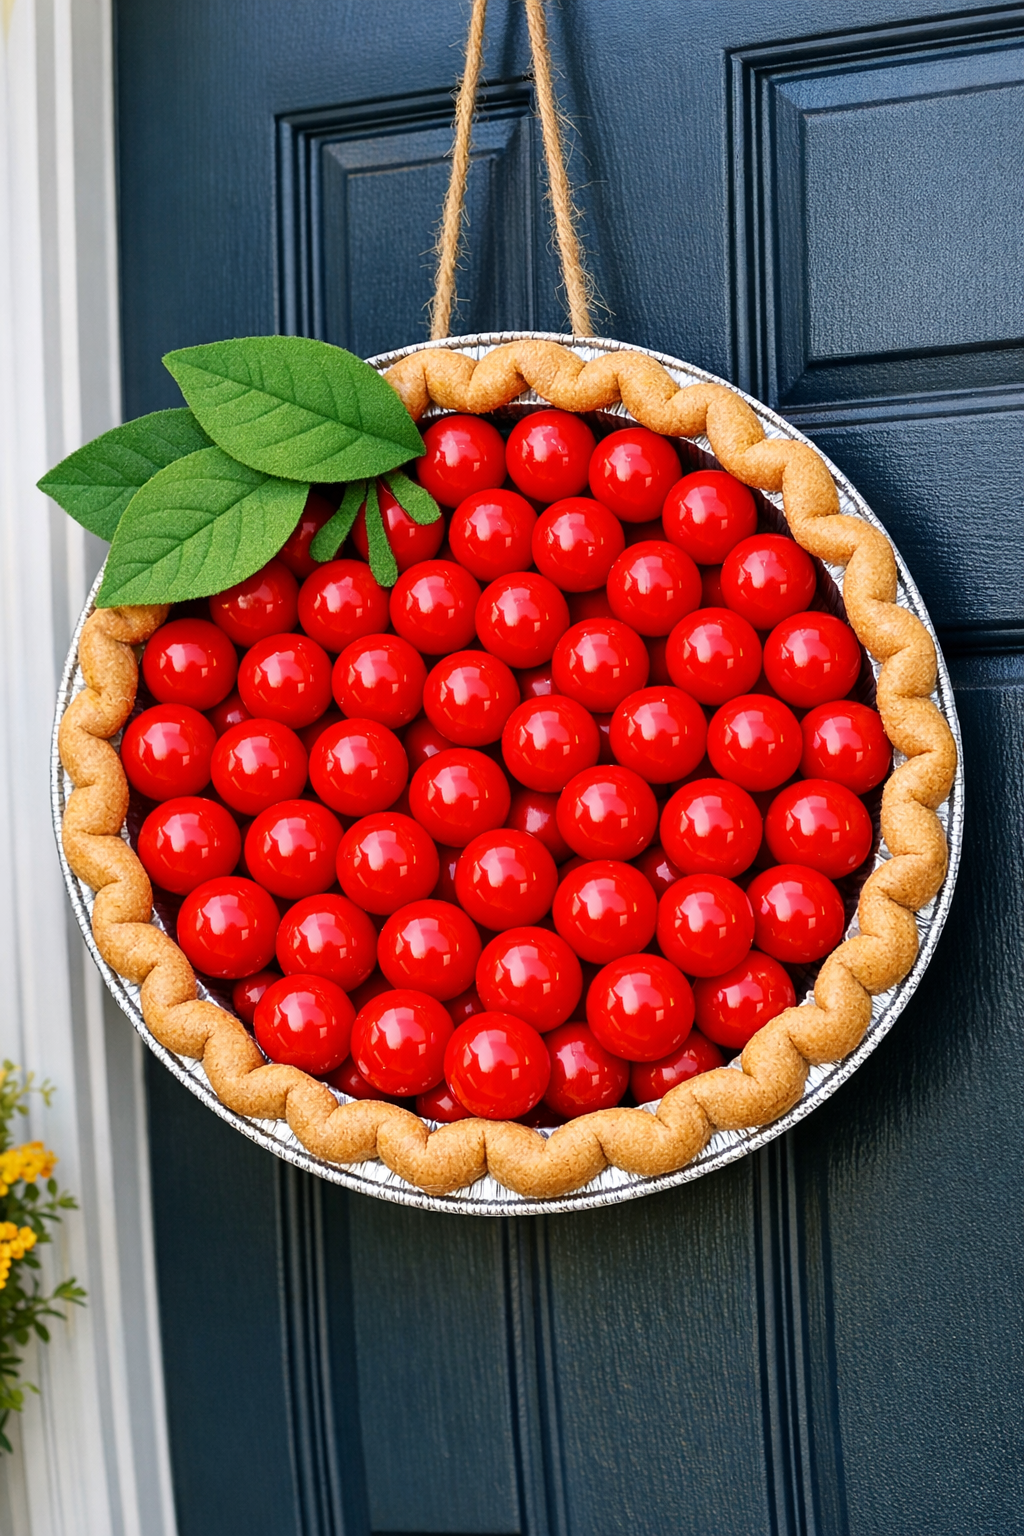
This oversized cherry pie door hanger is one of those delightfully over-the-top summer crafts that looks playful, bright, and surprisingly polished once it’s hanging on a front door. The idea is simple: fill a large aluminum pie pan with glossy red ping pong balls so it looks like a giant cherry pie, then finish it so it’s sturdy enough to display.
I love projects like this because they give big seasonal impact without requiring complicated skills. If you’re busy like I usually am during the week, this is the kind of craft you can knock out in an evening or over a weekend afternoon, and it’s especially great for anyone who wants cheerful summer porch decor on a realistic budget.
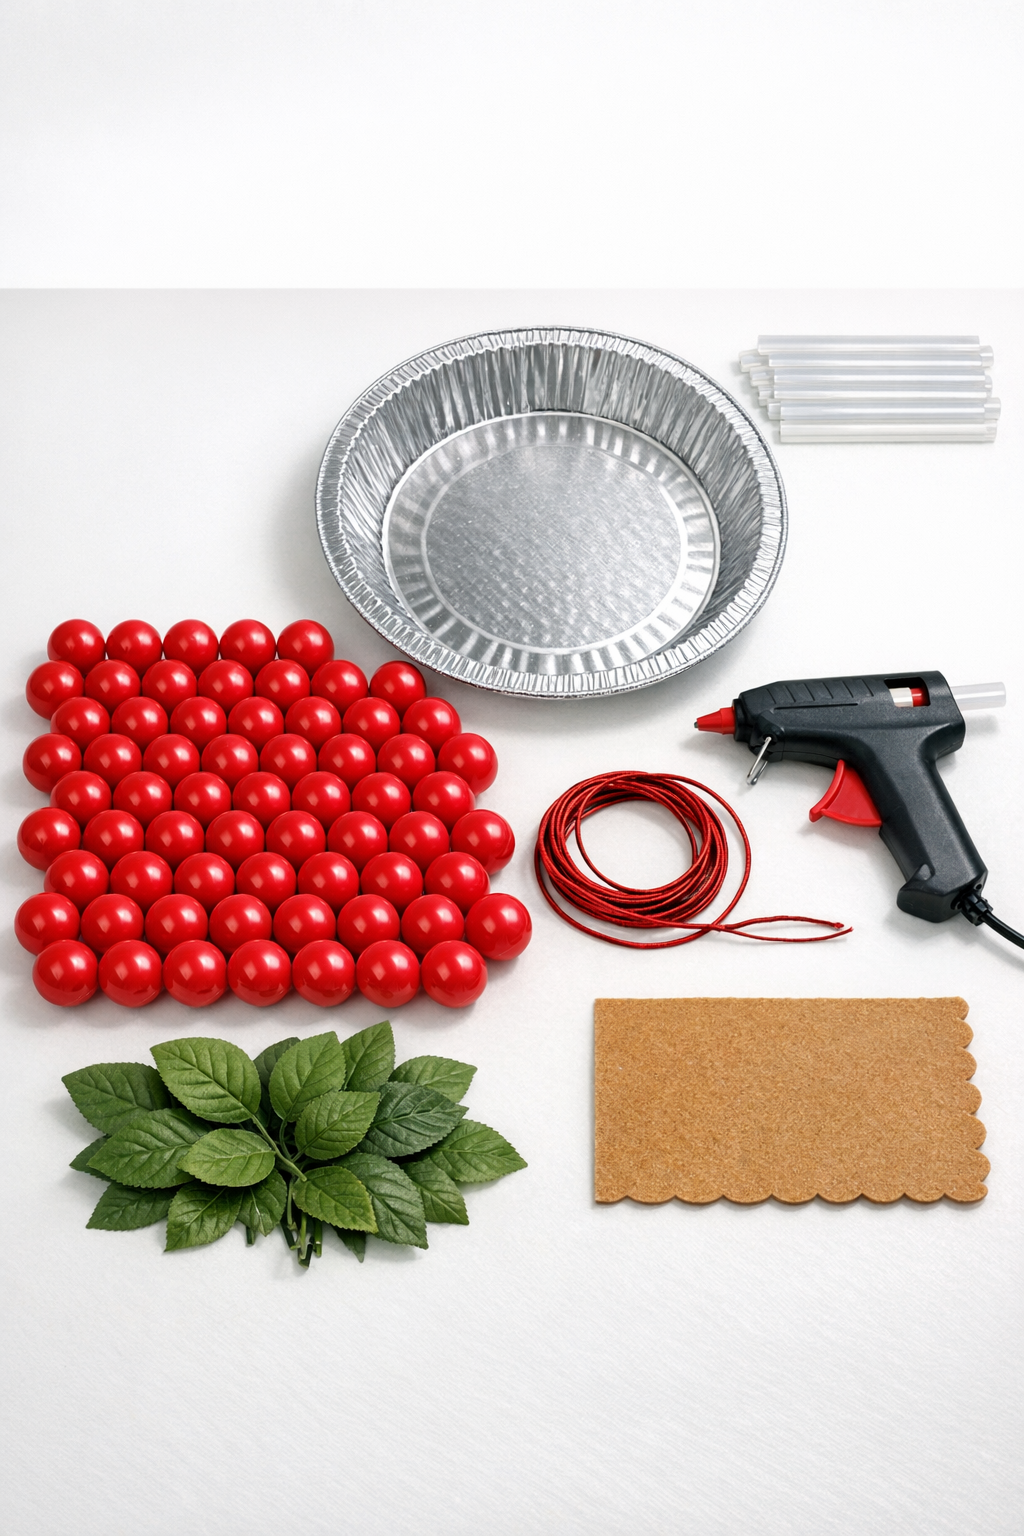
Materials
100 shiny red plastic ping pong balls, 1.5-inch diameter each
Instructions
1. Cover your work surface with cardboard or scrap paper, plug in the hot glue gun, and make sure the aluminum pie pan is clean and dry inside and out.
2. Arrange the 100 red ping pong balls inside the pie pan before gluing so you can test the spacing and find a layout that looks full and rounded like pie filling.
3. Start at the outer edge and hot glue the first ring of balls directly to the bottom and sidewall of the pie pan, holding each one in place for a few seconds until set.
4. Continue gluing inward one ball at a time, adding glue where the balls touch the pan and each other so the whole surface becomes one stable cluster.
5. Fill the center last, pressing the final balls snugly into place so the top looks evenly mounded and there are no obvious gaps.
6. Cut the tan felt or craft foam into a long strip about 1.5 inches wide, then trim or notch it slightly if needed so it can bend around the inner rim like a pie crust.
7. Hot glue the felt or foam strip around the visible rim area of the pie pan, tucking and overlapping the ends neatly so it creates a warm golden crust effect around the red “cherry” filling.
8. Add 6 to 10 faux green leaves near the top edge of the pie filling, clustering them in one area or spacing them lightly for a fresh summer look.
9. Turn the pie over carefully and attach an 18- to 24-inch hanging loop of ribbon, twine, or floral wire to the back with generous hot glue; add an extra cardboard patch over the glued area if you want more support.
10. Let the entire project cool and cure completely, then hang it on a covered front door or porch area where it stays protected from intense heat and rain.
Variations & Tips
Use a stronger base: If your pie pan feels flimsy, glue a circle of lightweight cardboard to the back before adding the hanger loop. I’ve learned the hard way that door decor lasts longer when the back is reinforced from the start.
Try a different fruit pie look: Swap the red balls for a mix of red and dark red for a richer cherry effect, or use blue balls for a blueberry pie version. Keeping one color family makes it read clearly from the curb.
Make the crust more realistic: Twist or lightly pleat the felt strip as you glue it down for a hand-crimped pie crust look. A little unevenness actually helps this project feel more charming and less store-bought.
Choose the right hanging spot: This piece is best on a covered door, porch wall, or interior mudroom door. Hot glue and thin aluminum can soften in direct summer sun, especially during those sticky Midwest afternoons.
Keep glue strings under control: Let the glue cool fully, then pull away any fine glue threads before hanging. That quick cleanup step makes the whole project look much more finished.
Add a bow if you want it extra cute: A small gingham bow at the top can give it a picnic-style summer feel. I’d keep it modest, though, since the giant cherry filling already does most of the talking.