
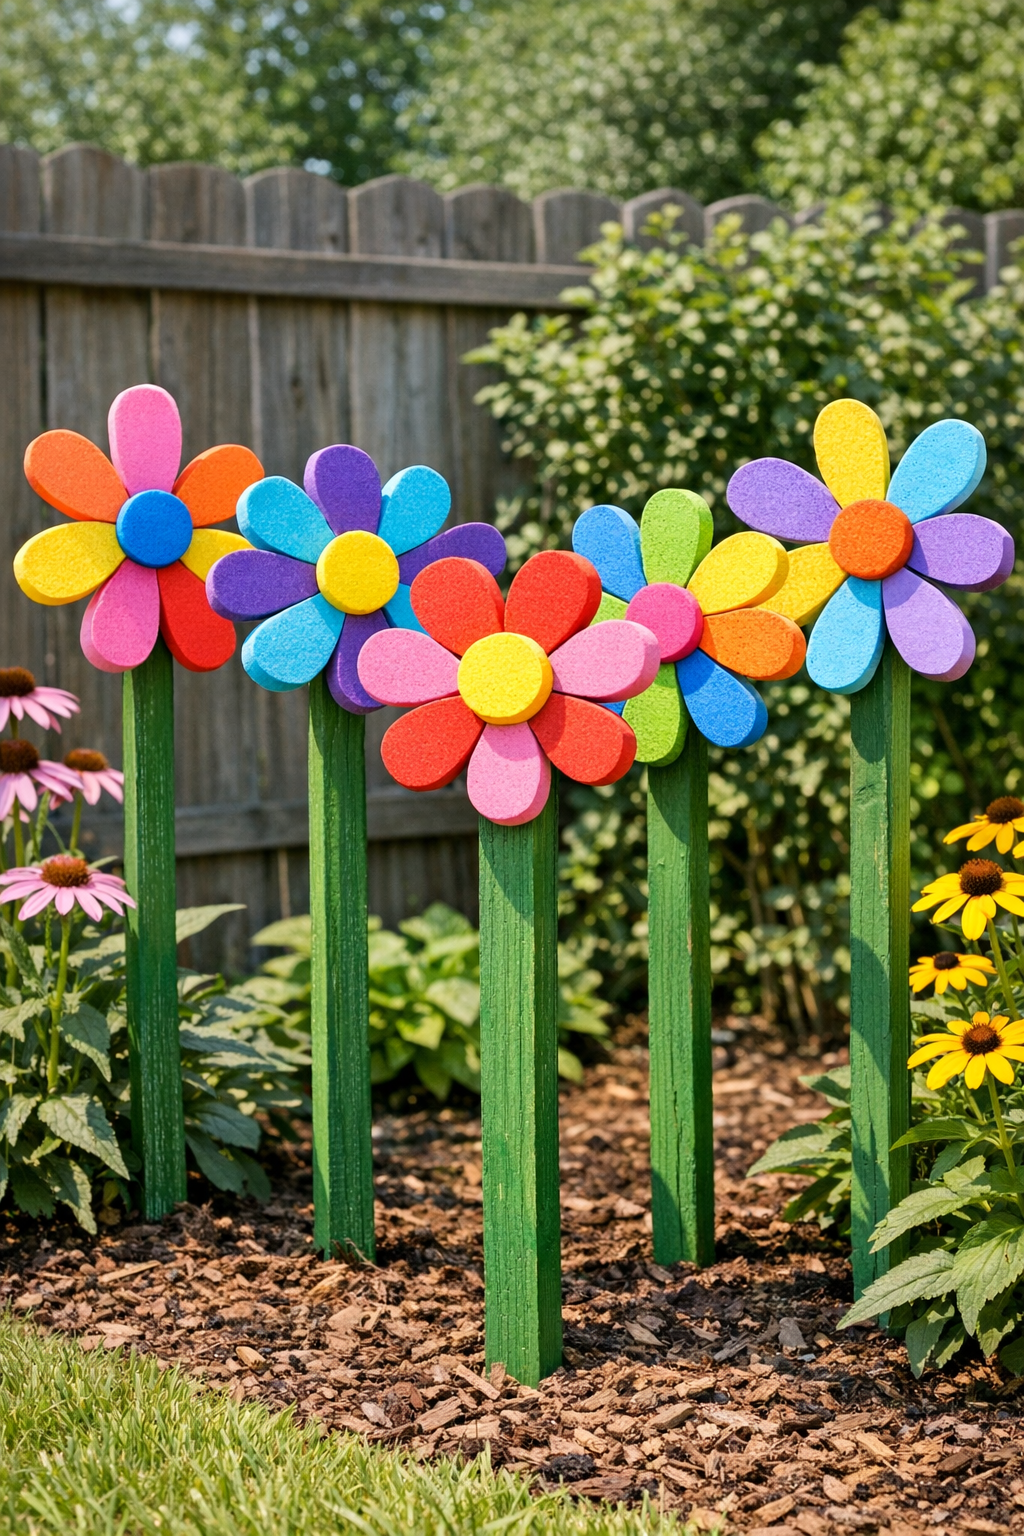
There’s something downright cheerful about turning the simplest bargain-bin finds into yard art that makes folks stop at the fence and smile. This project uses a big stack of brightly colored foam flip flops to create playful flower sculptures mounted on tall green garden stakes, and it’s the sort of make-do craft I’ve always loved. It reminds me of the old Midwestern habit of using what you have, adding a little color, and making the garden feel like home.
If you want a bold backyard project that’s inexpensive, weather-friendly for a season, and easy enough to make in an afternoon, this one fits the bill. These foam flowers are especially nice for gardeners, porch decorators, and anyone who wants a whimsical pop of color along a fence, walkway, or vegetable patch.
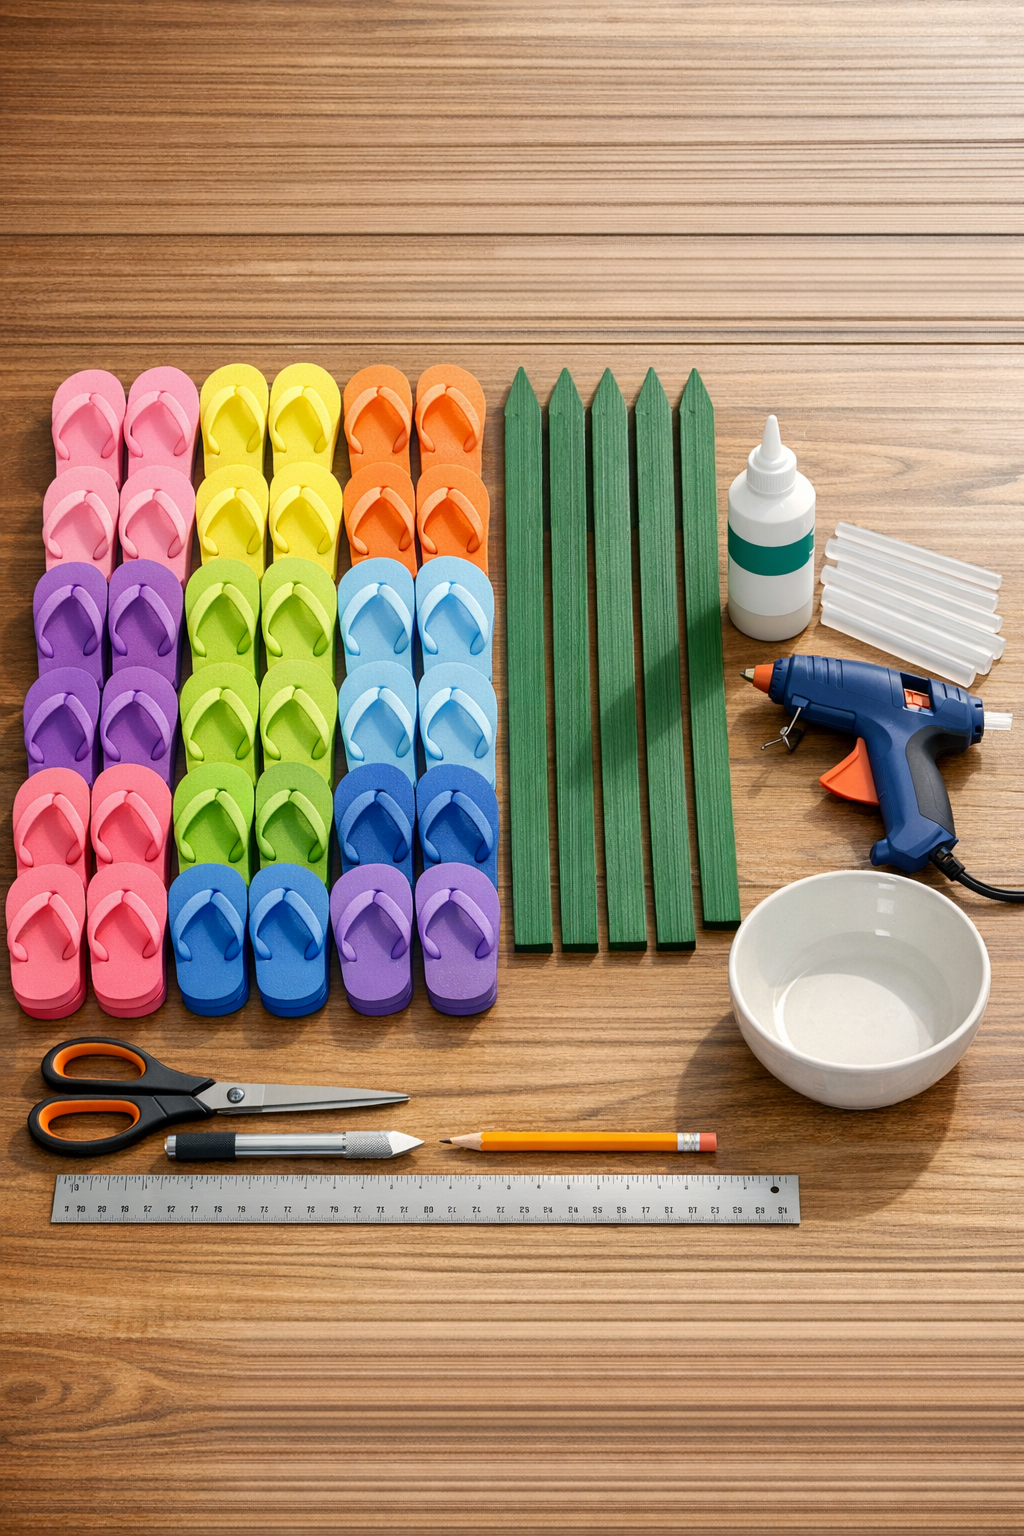
Materials
Instructions
1. Spread out your drop cloth or cardboard on a flat work surface, and sort the 50 flip flops by color so you can mix bright shades evenly across the 5 flowers.
2. Cut the straps off all 50 flip flops with scissors, then set the straps aside for another project or discard them.
3. Use the pencil and ruler to mark each flip flop sole lengthwise into petal shapes about 5 to 6 inches long and 2 to 2 1/2 inches wide at the widest point, aiming for 10 petals per flower.
4. Cut out 50 petals total from the flip flop soles, trimming the ends into rounded points so they look like daisy or sunflower petals.
5. Lightly sand the top end of each green stake and the back side of each center circle so the glue grips better, then wipe away the dust.
6. Lay out 10 petals around 1 center circle to plan your color pattern, overlapping the inner ends of the petals by about 1 inch.
7. Attach the 10 petals to the back of the center circle with hot glue first for quick placement, then reinforce each petal connection with a small bead of outdoor adhesive.
8. Clip the petals in place with clothespins or binder clips for 5 to 10 minutes so the flower keeps its shape while the glue begins to set.
9. Repeat the petal layout and gluing process to make 5 full flowers total, using 10 flip flop petals for each one.
10. Run a generous line of outdoor adhesive along the top 6 inches of 1 green stake, then press the back of 1 finished flower firmly onto the stake so the center sits at the top.
11. Add a ring of hot glue where the stake meets the back of the flower to hold it steady while the stronger adhesive cures, and keep the flower flat until secure.
12. Repeat with the remaining 4 flowers and 4 stakes, then let all 5 sculptures cure according to the adhesive directions, ideally overnight, before placing them outdoors.
13. Push each stake 8 to 12 inches into the soil, spacing the flowers about 18 to 24 inches apart so the colors can be seen from a distance.
Variations & Tips
Color grouping: For a tidier look, make each flower from one color family, like warm shades on one stake and cool shades on another. For a more playful yard display, mix every petal color together.
Petal shape: You can cut skinny pointed petals for a daisy look or wider rounded petals for something more like a zinnia. I’ve found that slightly rounded ends hold up nicely and look friendly from the road.
Center detail: If you want a more finished flower center, glue on a contrasting foam circle or a second smaller circle layered on top. Brown, black, or yellow centers make the bright petals stand out beautifully.
Weather tip: Outdoor adhesive is worth using here, even if the hot glue seems strong at first. Hot glue helps with placement, but the stronger adhesive is what gives these flowers a fighting chance against summer wind and rain.
Stake placement: Put these where they’ll brighten a bare corner, frame a path, or peek out between lower plants. In my experience, they show up best against green shrubs, grass, or a simple fence.
Budget saver: Dollar-store flip flops work just fine for this project. Around here, that sort of practical shortcut is half the fun, and nobody admiring the garden will know they started in the summer clearance bin.