
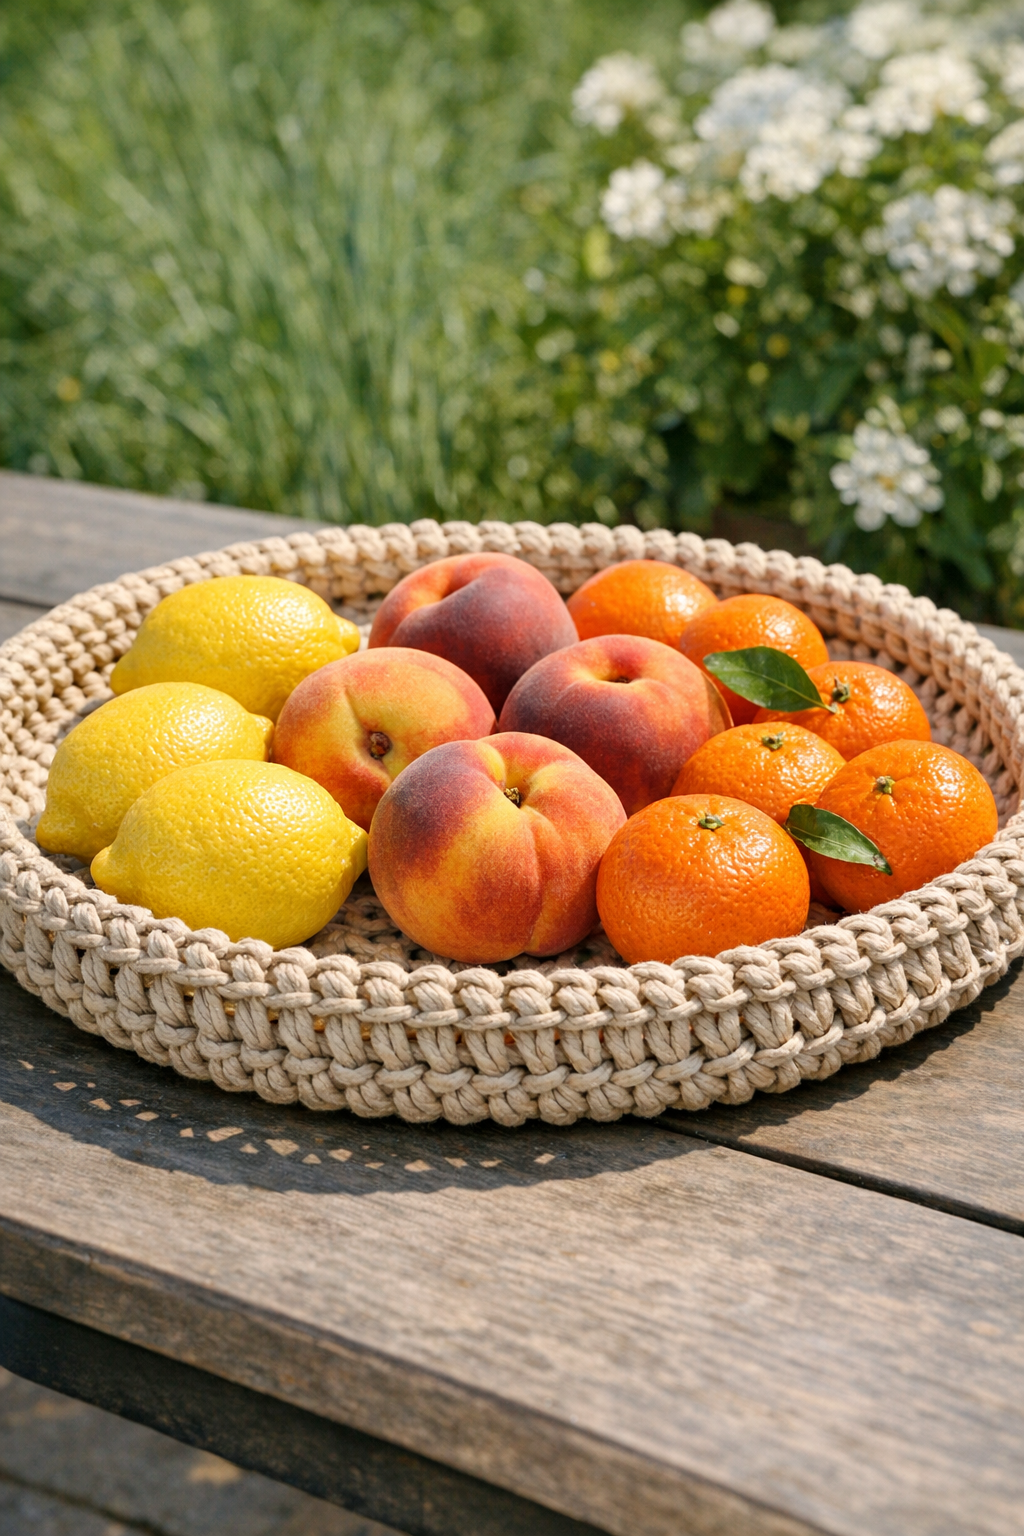
This project turns one simple dollar store steering wheel cover into a sturdy little summer fruit tray with a cheerful handmade look. By stretching the cover flat and crocheting thick cotton twine through it, you get a tray that feels rustic, practical, and surprisingly polished for porch snacks, picnic tables, or casual backyard get-togethers.
I love projects like this because they use inexpensive materials in a fresh way, and the finished piece is useful right away. If you already know a few basic crochet motions, this comes together quickly, but even if you are newer to crochet, the structure of the ring makes it very approachable. I especially like making these for family cookouts because they hold peaches, lemons, clementines, or wrapped treats so nicely without feeling too fussy.
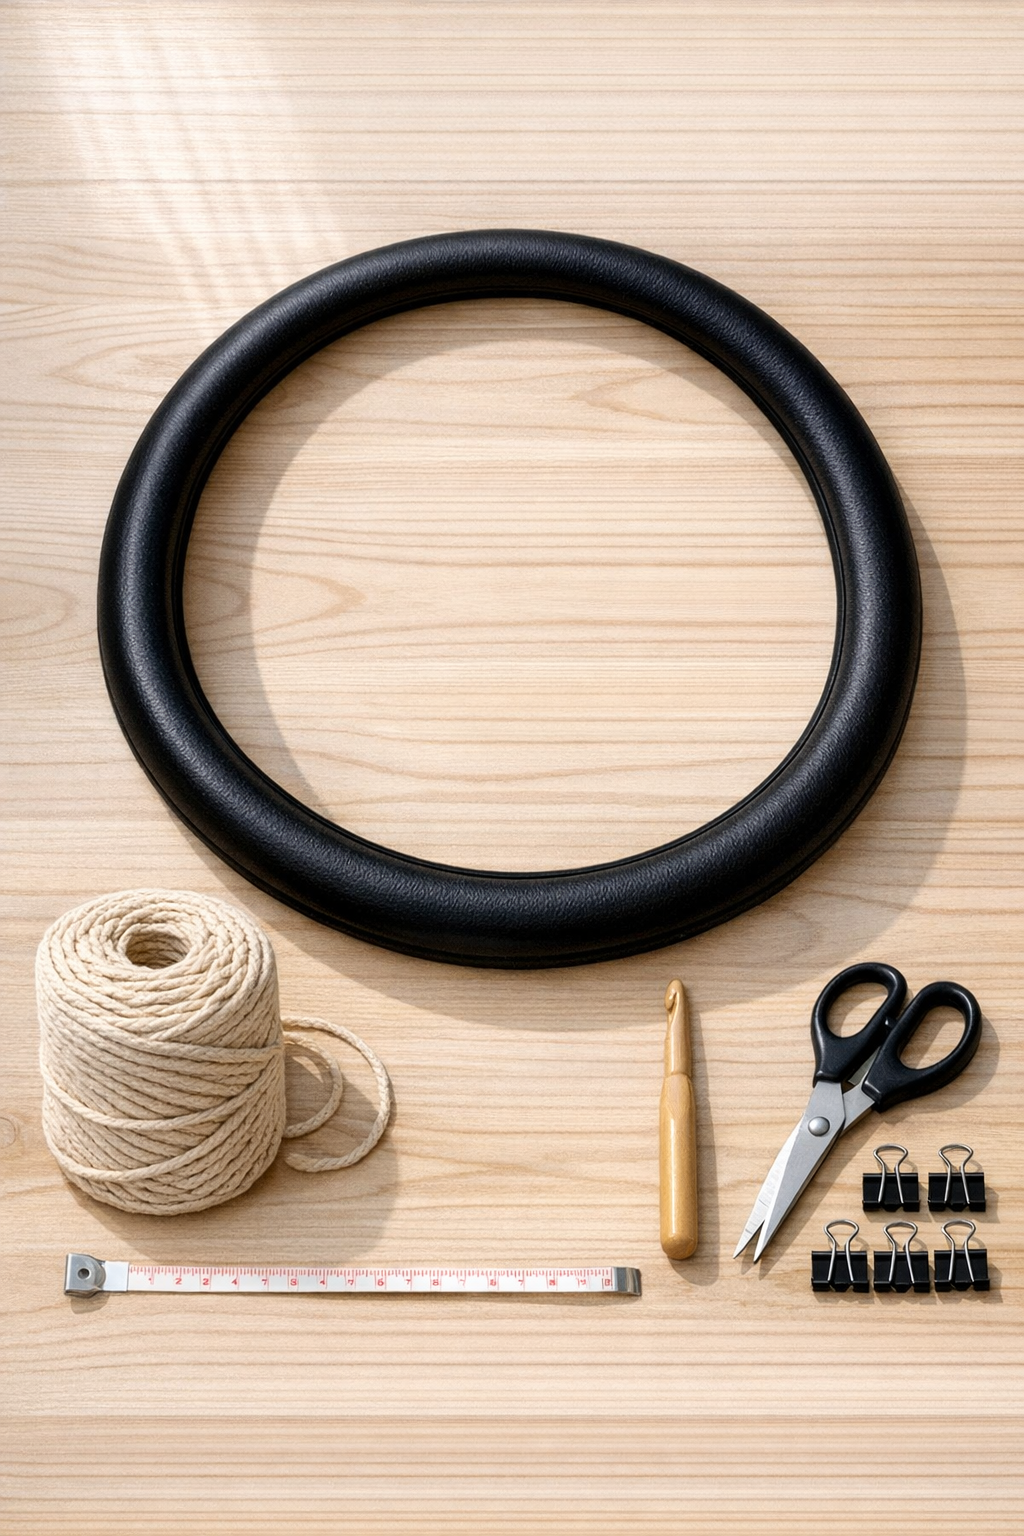
Materials
Instructions
1. Lay the steering wheel cover on a flat table and gently stretch it into an even circle. Clip it in four to eight spots so it stays flat and does not twist while you work.
2. Cut a starting length of cotton twine about 12 inches long for your tail, then make a slip knot on your hook. Begin by working single crochet stitches evenly around the outer edge of the plastic cover, passing the hook around the ring and pulling the twine through each time.
3. Continue around the ring, packing the stitches snugly side by side until the plastic is fully covered. Add or subtract a stitch here and there as needed so the twine sits smooth without gaps or bunching.
4. Join the last stitch to the first with a slip stitch to complete the wrapped ring. Chain 1 and begin the tray base by working single crochet stitches inward over the ring, spacing them evenly around the inside edge.
5. Work the next rounds in a flat spiral or joined rounds, increasing evenly so the center stays flat like a placemat instead of cupping. If it starts to ripple, reduce your increases slightly; if it starts to bowl too soon, add a few more increases in the next round.
6. Stop increasing when the center is nearly filled and there is just a small opening left, then close that opening with a final round of snug stitches. The tray bottom should feel firm and mostly flat, with just a slight natural lift at the outer edge.
7. To form the tray sides, work one round without increases, then a second round working into the outer loop only if you want a more defined bend upward. Keep these rounds tight so the tray can hold fruit without sagging.
8. Add 1 to 3 more side rounds, depending on how deep you want the tray, keeping the stitch count the same. For a low fruit tray, I usually stop when the sides are about 1 1/2 to 2 inches high.
9. Finish the top edge with a slip stitch round or a simple reverse single crochet border for extra texture. Cut the twine, pull the tail through, and weave in the loose ends with your hook or a yarn needle.
10. Set the tray on the table and press it gently into shape with your hands so the base sits level. If you want extra grip for outdoor tables, tuck a circle of non-slip shelf liner into the bottom before adding fruit.
Variations & Tips
For picky eaters: I like to use this tray to separate familiar fruits from more adventurous ones. A few clementines, strawberries, and grapes usually disappear fastest at my house, so I build my summer snack boards around those.
Color change option: Use colored cotton rope or alternate two shades of twine for stripes around the sides. Sunny shades like soft yellow, leaf green, or nautical blue look especially pretty for outdoor dining.
Make it deeper: If you want a bread basket or napkin holder instead of a fruit tray, simply add more rounds to the sides without increasing. The same base method works beautifully.
Keep it sturdy: Tight tension matters more than speed on this project. If your stitches feel loose, switch to a slightly smaller hook so the tray holds its shape better.
Outdoor use tip: Cotton twine is lovely for a natural look, but I bring the tray indoors after meals so it stays clean and dry. That little habit helps it last much longer through the season.
Easy cleanup: This tray is best for whole fruit, wrapped snacks, or a cloth-lined bread service rather than anything wet or sticky. If needed, spot clean with a barely damp cloth and let it air dry flat.
Gift idea: Fill the finished tray with a few peaches, lemons, or homemade muffins and it makes a sweet summer hostess gift. I am always a fan of giving something pretty that can be used the very same day.