
I love a project that solves a real household problem without turning into a whole weekend commitment, and these DIY wall hooks do exactly that. Using a rubber bath mat and a simple set of hooks, you can make flexible, shatter-resistant wall hooks that are surprisingly sturdy and look much more intentional than the materials would suggest once they’re finished.
This is the kind of project I’d tackle after work when I want something useful done before dinner but don’t have the energy for a complicated build. If you need hooks for a mudroom, laundry area, bathroom, kid space, or even the inside of a closet door, this is a very approachable little upcycle.
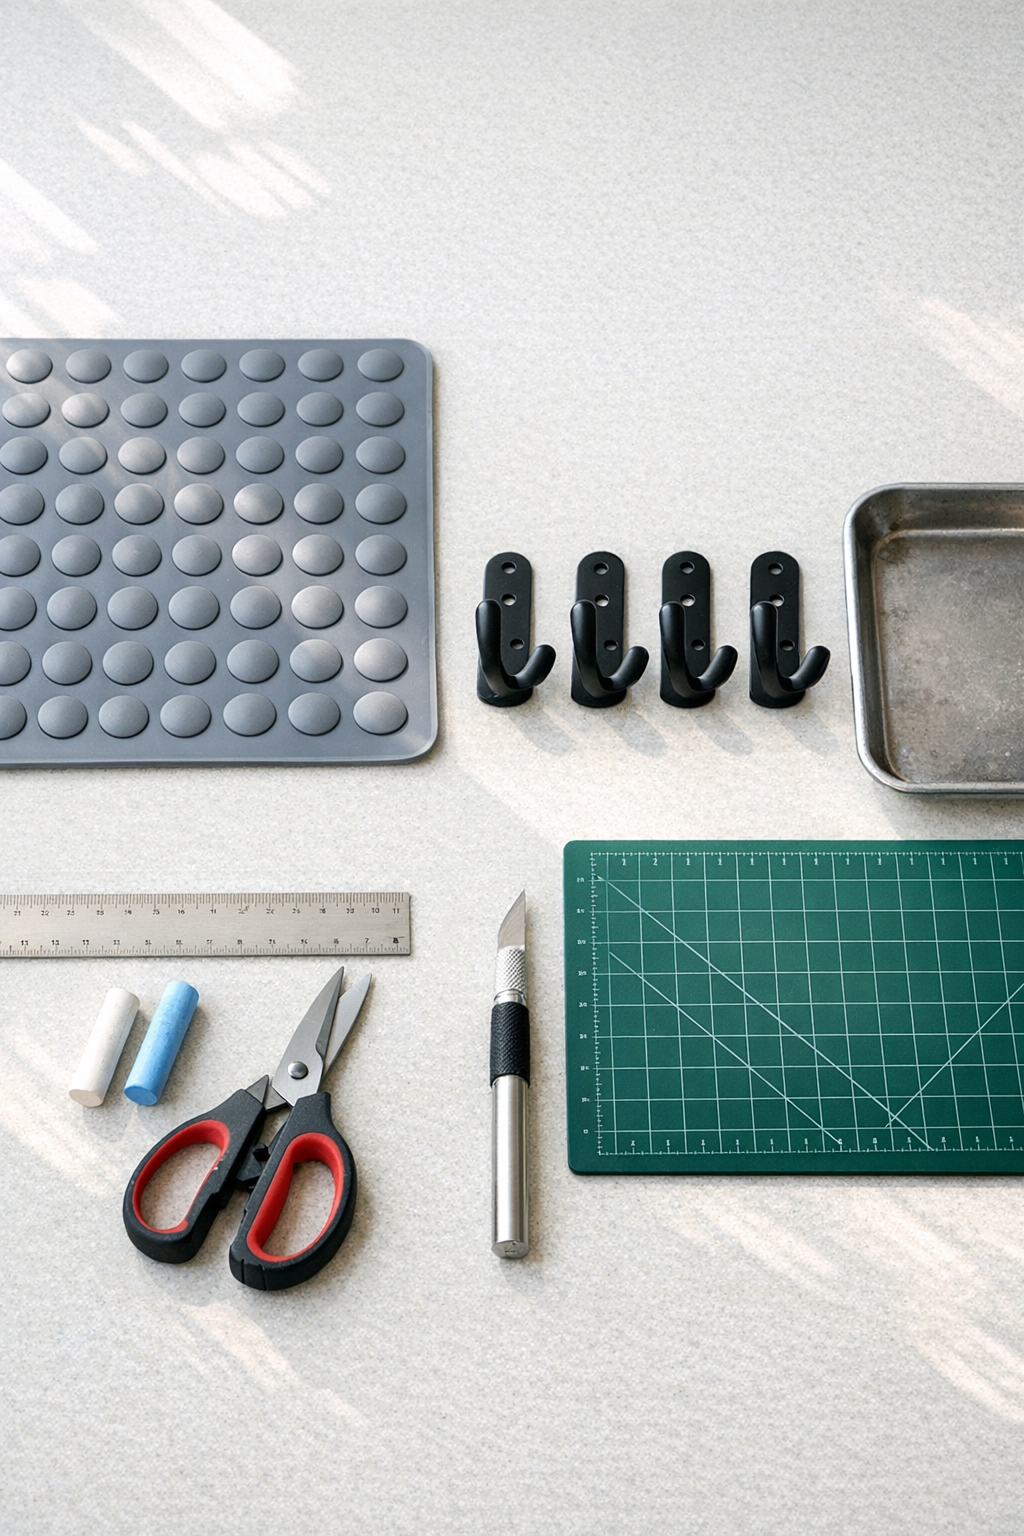
Materials
Instructions
1. Wash and dry the rubber bath mat so the surface is free of dust, soap residue, and lint. A clean mat cuts more evenly and bonds better when heated.
2. Mark four rectangles on the mat, each 3 x 5 inches, using a ruler and chalk. Leave a little space between each piece so the cuts stay clean and easy to control.
3. Cut out the rectangles with heavy-duty scissors, trimming any rough edges so each piece is even. If your mat is very thick, start the corners with a craft knife on a cutting mat first.
4. Place one rubber rectangle on parchment paper over a heat-safe tray and warm it with an iron set to medium heat or a heat gun on low until the rubber becomes soft and flexible. Heat only until pliable, not bubbling or smoking.
5. Wrap the softened rubber around the base of one wall hook so it forms a snug backing and cover around the mounting area. Press it firmly with gloved hands to shape it, then let it cool completely before moving it.
6. Repeat the heating and shaping process for the remaining hooks, keeping the rubber as even as possible around each base. If a piece cools too fast, reheat it briefly and continue shaping.
7. Use a craft knife to trim away excess rubber and open any screw holes covered by the molded rubber. Keep the cuts small and precise so the hook still mounts flat against the wall.
8. Hold each finished hook in place on the wall, mark the screw locations, and install anchors if needed. Screw the hooks in securely, checking that the rubber sits flush and the hook does not wobble.
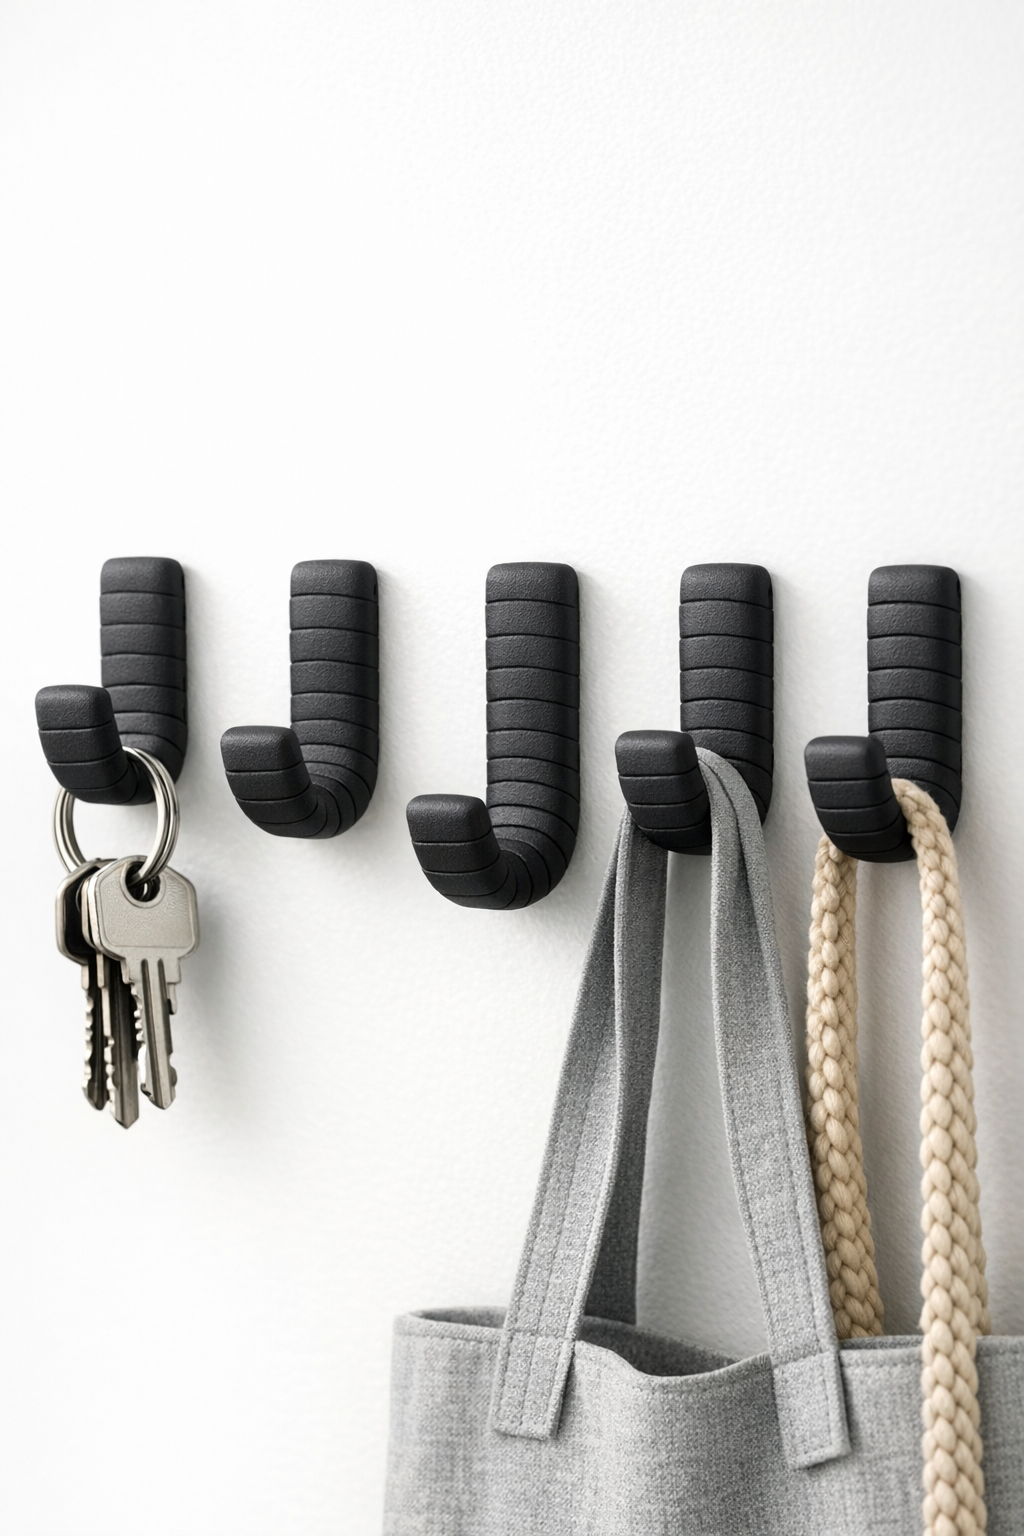
9. Test each hook with a light item first, then gradually add normal everyday weight like towels, bags, or a light jacket. The rubber adds a tough, forgiving layer that helps the hooks resist cracking or chipping from everyday bumps.
Variations & Tips
Use a dark mat for a cleaner look: Black, charcoal, or deep navy rubber tends to make the finished hooks look more polished and hides cut edges better.
Try a template first: If you want every hook to match, cut one cardstock template at 3 x 5 inches and trace from that instead of measuring each piece separately.
Keep heat gentle: The first time I tried softening thick rubber for a home project, I rushed it and overheated one section. Low, steady heat gives you much more control and a smoother finish.
Best for utility spaces: These hooks are especially good in busy spots like mudrooms, bathrooms, garages, and laundry rooms where hard materials tend to get knocked around.
Mount to the right surface: For drywall, always use anchors sized for your screws; for wood trim or studs, you can usually mount directly with the proper screw length.
Round the corners: Slightly rounded rubber corners look more finished and are less likely to catch on fabric, tote straps, or robe loops.
Check weight limits: The final strength still depends mostly on the hook hardware and how it’s mounted, so use hardware rated for the items you actually plan to hang.