
I’m always a little suspicious of “unbelievable” DIY claims, but this is one of those scrappy workshop projects that really does earn the drama. By chopping up old silicone baking mats and combining them with two everyday items, you can make a set of grippy jaw pads that turn ordinary clamps or vice grips into a much more secure, non-slip holding tool for awkward parts.
I like this project because it uses materials many of us already have in a kitchen drawer, junk bin, or garage, and it comes together fast. If you do light woodworking, home repairs, hobby work, or even just need a better grip on slick metal or plastic pieces, this is a practical little upgrade that saves frustration without costing much.
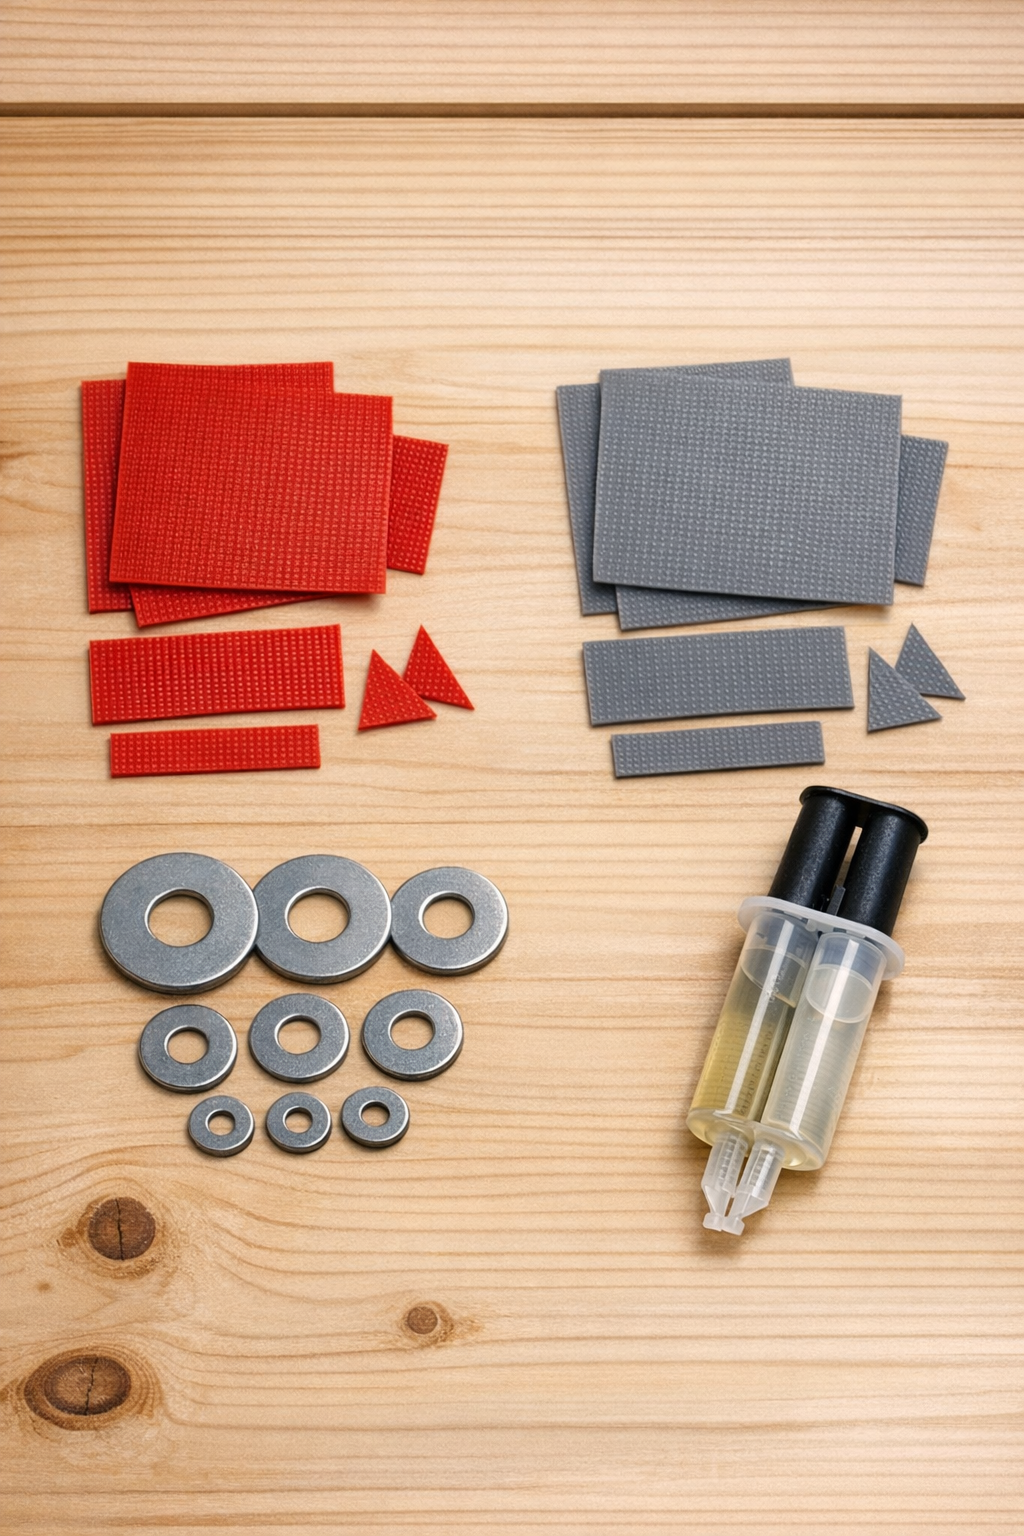
Materials
Instructions
1. Cut the silicone baking mat into small pieces about 1/4 inch square so it packs tightly and evenly. The more uniform the pieces are, the smoother and stronger the finished grip pads will be.
2. Clean all 12 washers thoroughly so the epoxy bonds well, then let them dry completely. If they are oily or dusty from the hardware store, wipe them down well before moving on.
3. Mix a small batch of two-part epoxy according to the package directions. Work in small amounts so it does not begin setting before you finish stacking the layers.
4. Lay down one washer and coat its top surface with epoxy, then press on a dense layer of chopped silicone pieces. Add a little more epoxy over the silicone so the surface is fully wetted.
5. Stack a second washer on top and press firmly to create a sandwich, then add more epoxy and silicone to the outer face. Repeat this process until you build two matching grip pads using 6 washers each.
6. Compress each stack flat between two smooth scrap boards or metal plates while the epoxy is still workable. Apply steady pressure so the washers stay aligned and the silicone fills gaps instead of bulging unevenly.
7. Let the pads cure fully based on the epoxy instructions, preferably overnight. Don’t rush this step; full cure makes the pads much tougher and less likely to delaminate under pressure.
8. Remove the cured pads from the press and trim away any sharp epoxy squeeze-out or loose silicone bits. If needed, lightly sand only the hardened epoxy edges, not the silicone gripping faces.
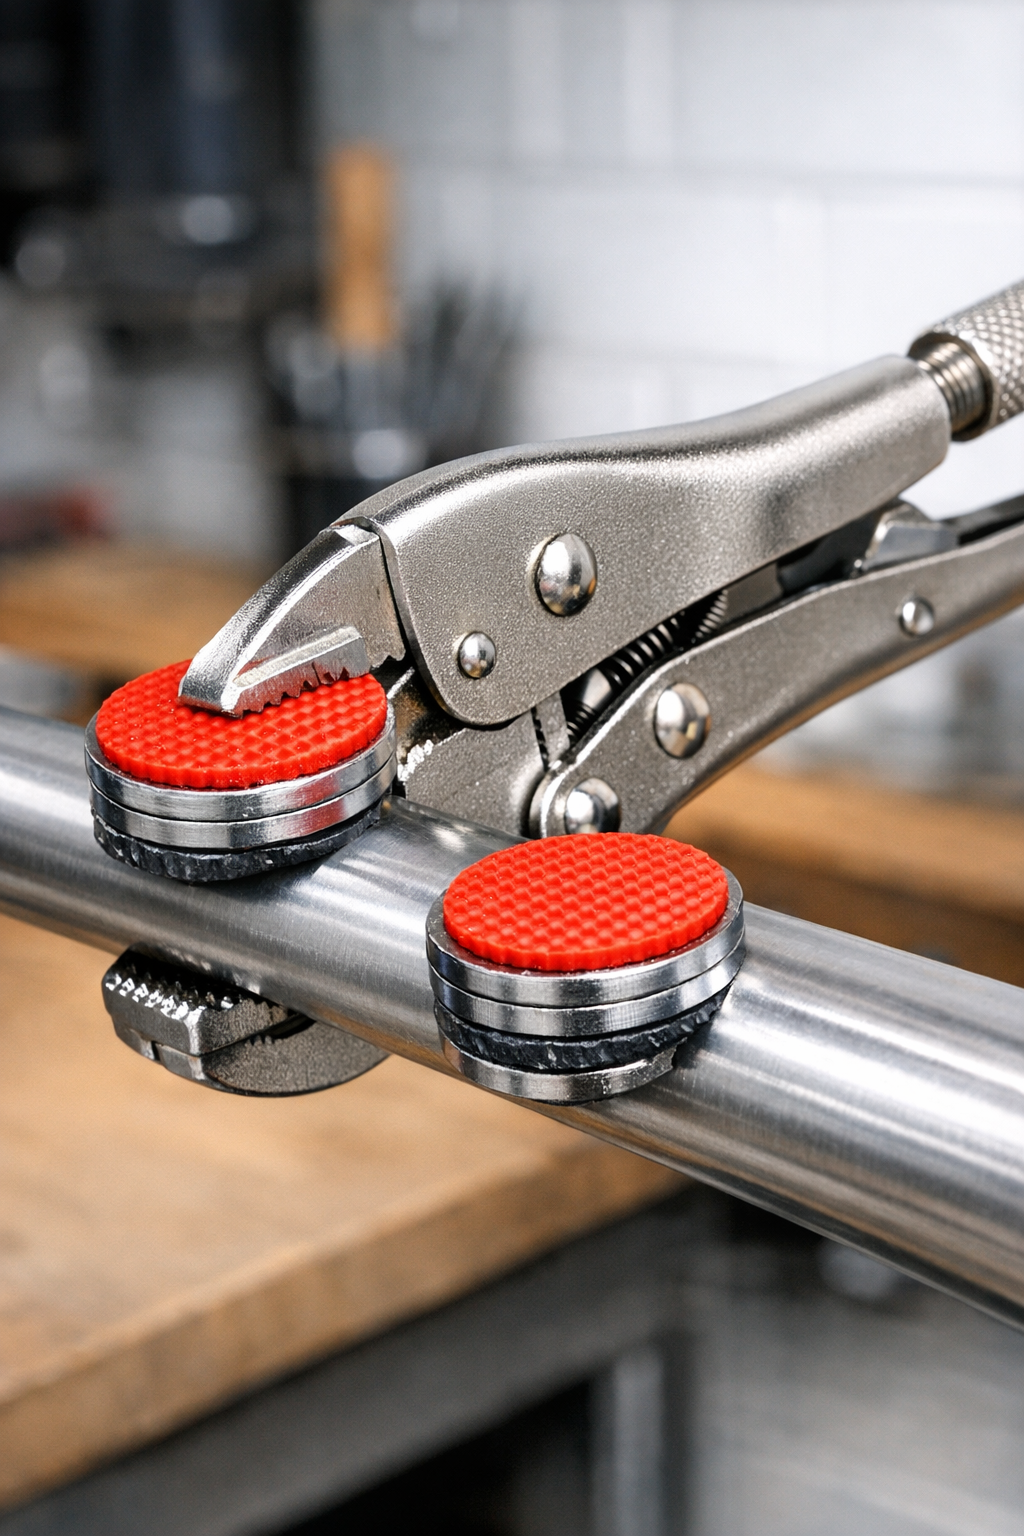
9. Test-fit the two finished pads in the jaws of your vice grips, bench vise, or clamp. The steel washer core gives the pads strength while the silicone surface adds traction and helps protect the workpiece.
10. Clamp a scrap piece first to check grip and alignment, then adjust placement as needed before regular use. Once dialed in, these pads are especially handy on smooth pipe, painted parts, and slippery plastic pieces.
Variations & Tips
For stronger pads: Use slow-cure epoxy instead of quick-set epoxy if you have it. I’ve found slower formulas usually give you a little more working time and a tougher finished bond.
For larger jaws: Increase the washer size to match the scale of your vise or clamp. Just keep both finished pads identical so pressure stays even.
For better grip on delicate parts: Leave a slightly more textured silicone surface instead of trimming it perfectly smooth. That extra texture can help hold slick items with less clamp pressure.
For cleaner shaping: Put wax paper or parchment around the press boards before compressing the stacks. It makes cleanup easier and keeps curing epoxy from sticking where you don’t want it.
Workshop reality check: I always test homemade shop add-ons on scrap before trusting them on a real project. It only takes a minute, and it’s saved me from crushing a finished piece more than once on a rushed weeknight.
Good use case: These work best as removable grippy jaw pads, not as a replacement for hardened tool jaws. Think of them as a traction upgrade for holding awkward items, especially when you need a quick fix from materials already on hand.