
This project turns old metal box fan grates, cement, and a couple of simple household items into heavy circular patio blocks that look far more custom than their humble ingredients suggest. I love a DIY that borrows from the kitchen mindset of working with what you already have, and this one has that same satisfying magic: basic materials, simple technique, surprisingly polished result.
These patio blocks are a good fit if you want stepping stones for a garden path, a sturdy base under potted plants, or a decorative accent for a small patio corner. The method is straightforward, but a little attention to mixture consistency and curing time makes all the difference, so I’ll walk you through it in a way that’s easy to follow even if you’ve never worked with cement before.
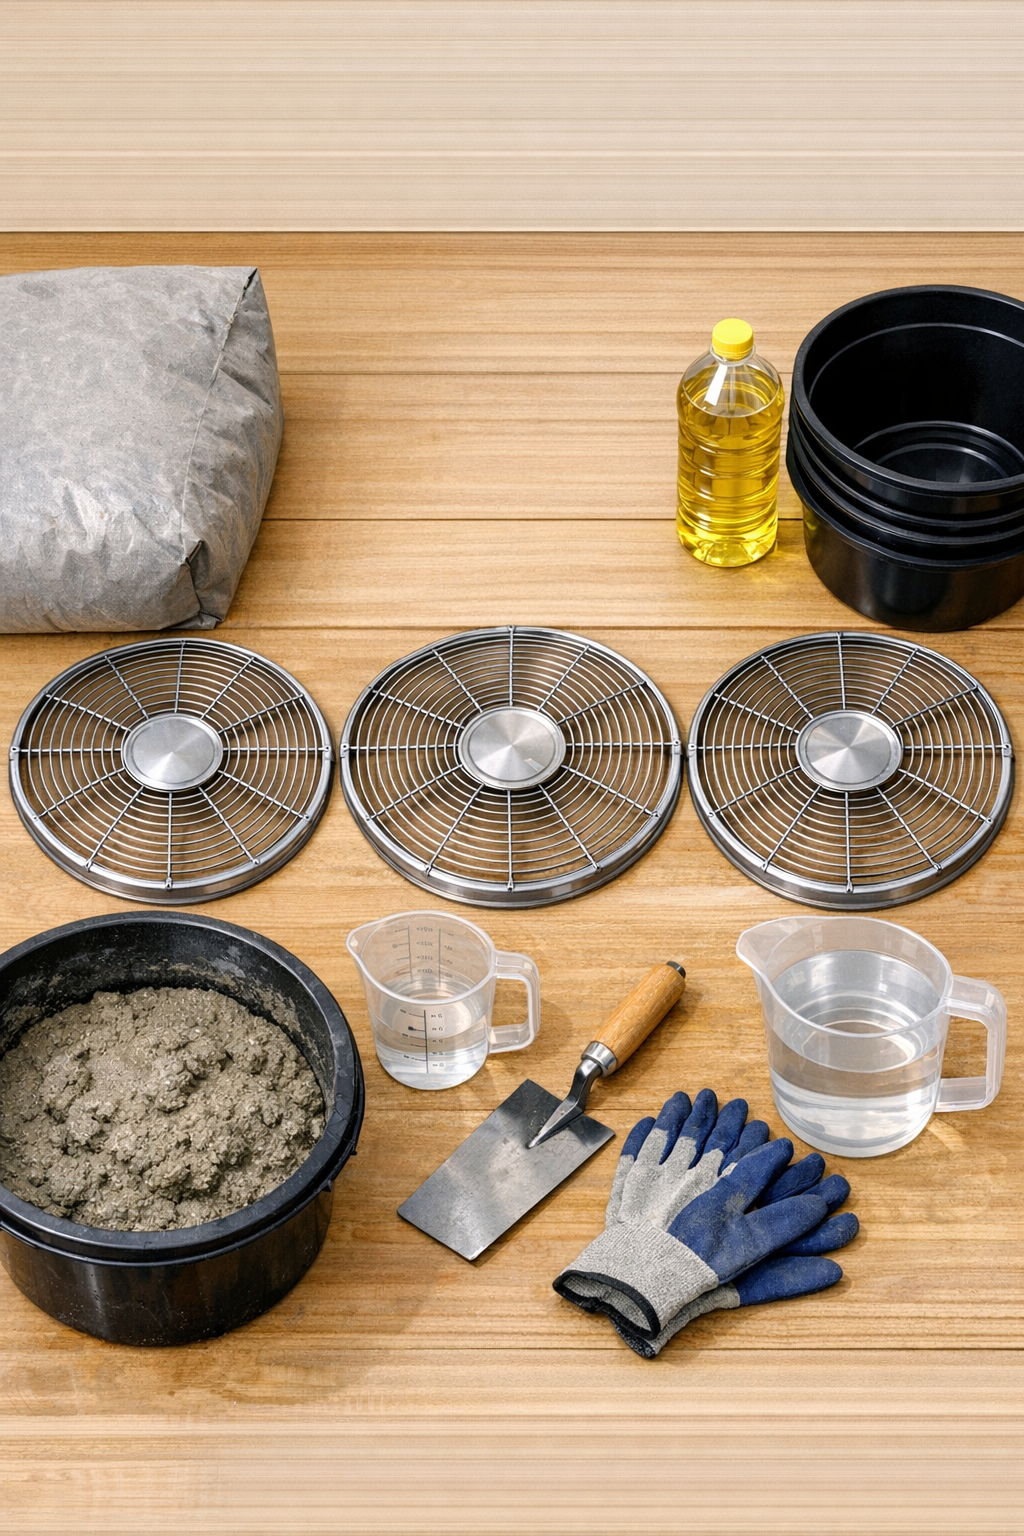
Materials
3 metal box fan grates, approximately 18 inches across each, cleaned and with sharp edges filed smooth
Instructions
1. Set up your workspace on a flat surface outdoors or in a well-ventilated garage, and spread out the plastic drop cloth to protect the area.
2. Wash the metal fan grates thoroughly, remove dust and rust flakes, and file or sand any sharp points so the finished blocks are safer to handle.
3. Lightly coat the inside of each plastic bowl or saucer with cooking oil or petroleum jelly so the cured cement will release more easily.
4. In the mixing bucket, combine the cement mix with water a little at a time until it reaches the texture of thick oatmeal; it should hold its shape but still spread easily.
5. Scoop cement into each mold until it is about 1 1/2 to 2 inches deep, then tap the sides of the mold gently to release trapped air bubbles.
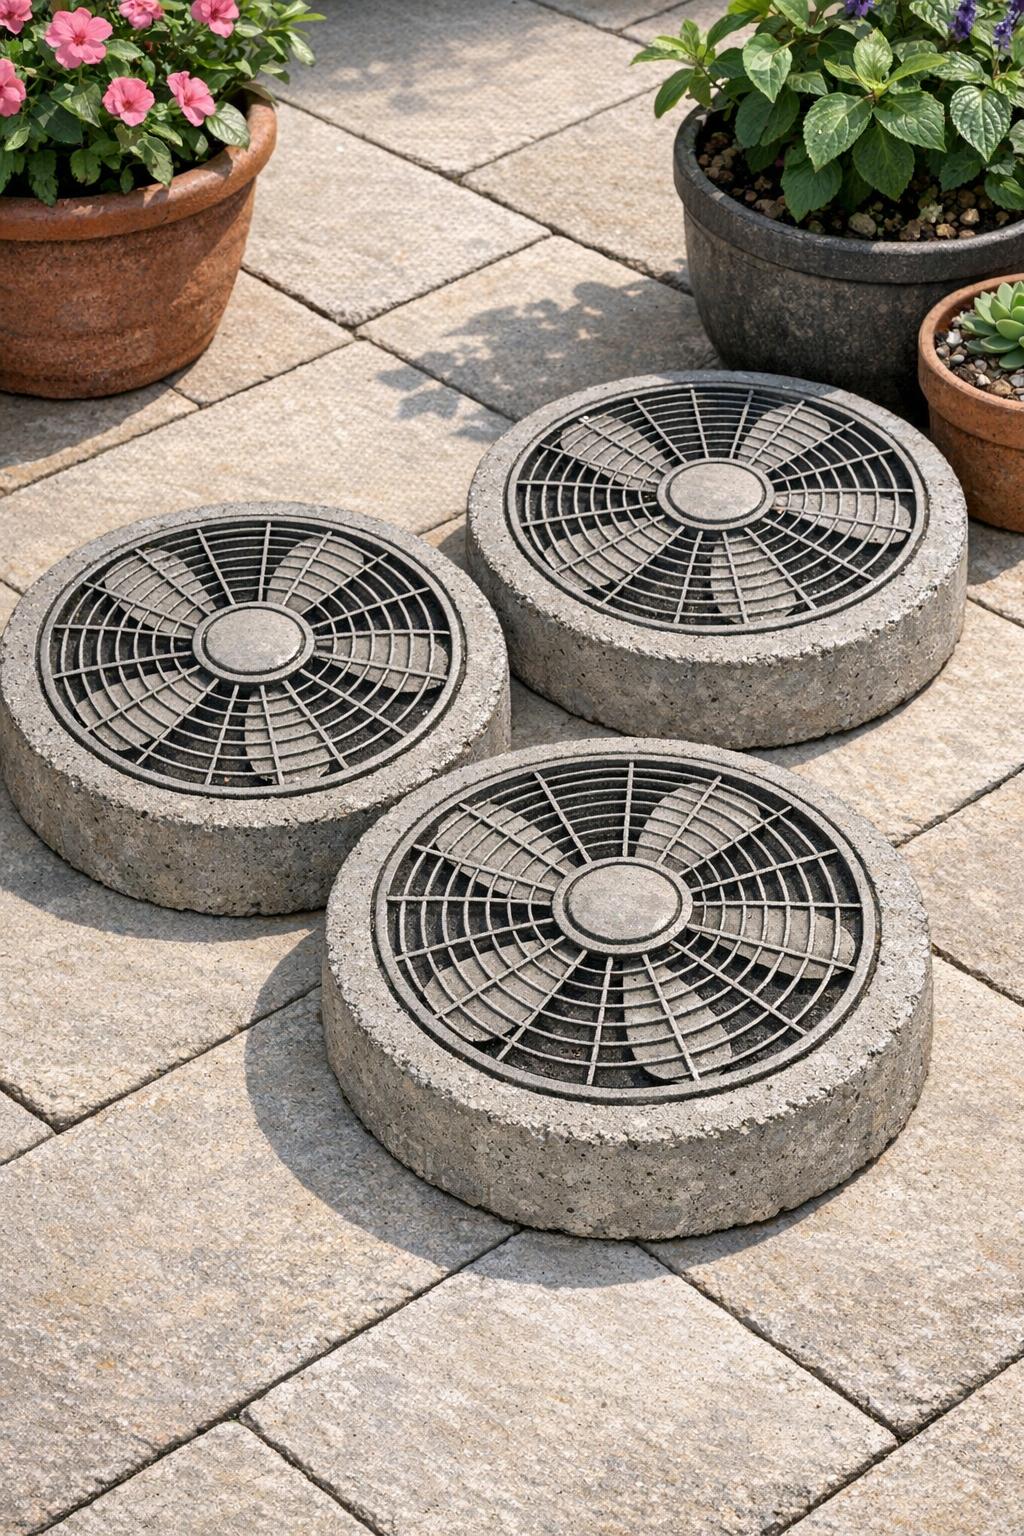
6. Press one metal fan grate into the center of each mold until it sits slightly below the surface, leaving just enough of the pattern visible to create texture.
7. If you want a more decorative look, press a few small stones or glass pebbles around the outer edge while the cement is still wet, keeping them evenly spaced.
8. Use the straightedge or trowel to level the top surface, then wipe away any cement smears from the exposed metal pattern before it starts to harden.
9. Let the blocks set undisturbed for 24 to 48 hours, depending on temperature and humidity, until they feel firm and no longer cool or soft at the center.
10. Carefully flex the plastic molds or turn them upside down onto a soft surface to release each block, then let them cure for another 5 to 7 days for maximum strength.
11. Smooth any rough edges with medium-grit sandpaper, then place the finished blocks in your garden, along a pathway, or under planters once fully cured.
Variations & Tips
Use a stronger mix: If the blocks will be walked on often, choose a concrete mix with small aggregate rather than plain cement for better durability.
Try different molds: Large plant saucers, shallow storage tubs, or sturdy plastic serving bowls all give slightly different edge profiles, which can change the final look quite a bit.
Add color: A little powdered concrete pigment can tint the mix before pouring, which is a lovely way to coordinate the blocks with brick, mulch, or outdoor pots.
Keep the pattern clean: I like to check the grate impression after a few minutes and gently tidy it with a small stick or old brush handle if cement starts filling in the design.
Don’t rush curing: Much like letting a stew develop flavor, patience matters here; a slow, full cure gives you a noticeably tougher block that will hold up better outdoors.
Make them purely decorative: If your fan grates are lightweight or very ornate, use the finished pieces under containers or in garden beds rather than in high-traffic walking areas.