
I’m always looking for ways to make the yard look a little more pulled together without spending a fortune, and this project checks every box for me: it’s cheap, surprisingly sturdy, and uses something I’d normally toss in the trash. By ironing empty plastic dog food bags together with parchment paper as the simple pantry staple, you can make flexible, shatterproof garden edging that holds up beautifully around flower beds, walkways, or a small vegetable patch.
If you like practical projects that fit into real life, this one is especially satisfying. I love a DIY that I can do in short pockets of time after work, and this edging comes together in stages: clean the bags, fuse the layers, cut strips, and install. It’s a great project for anyone who wants low-cost garden borders, enjoys upcycling, or just has a stack of sturdy pet food bags waiting for a second life.
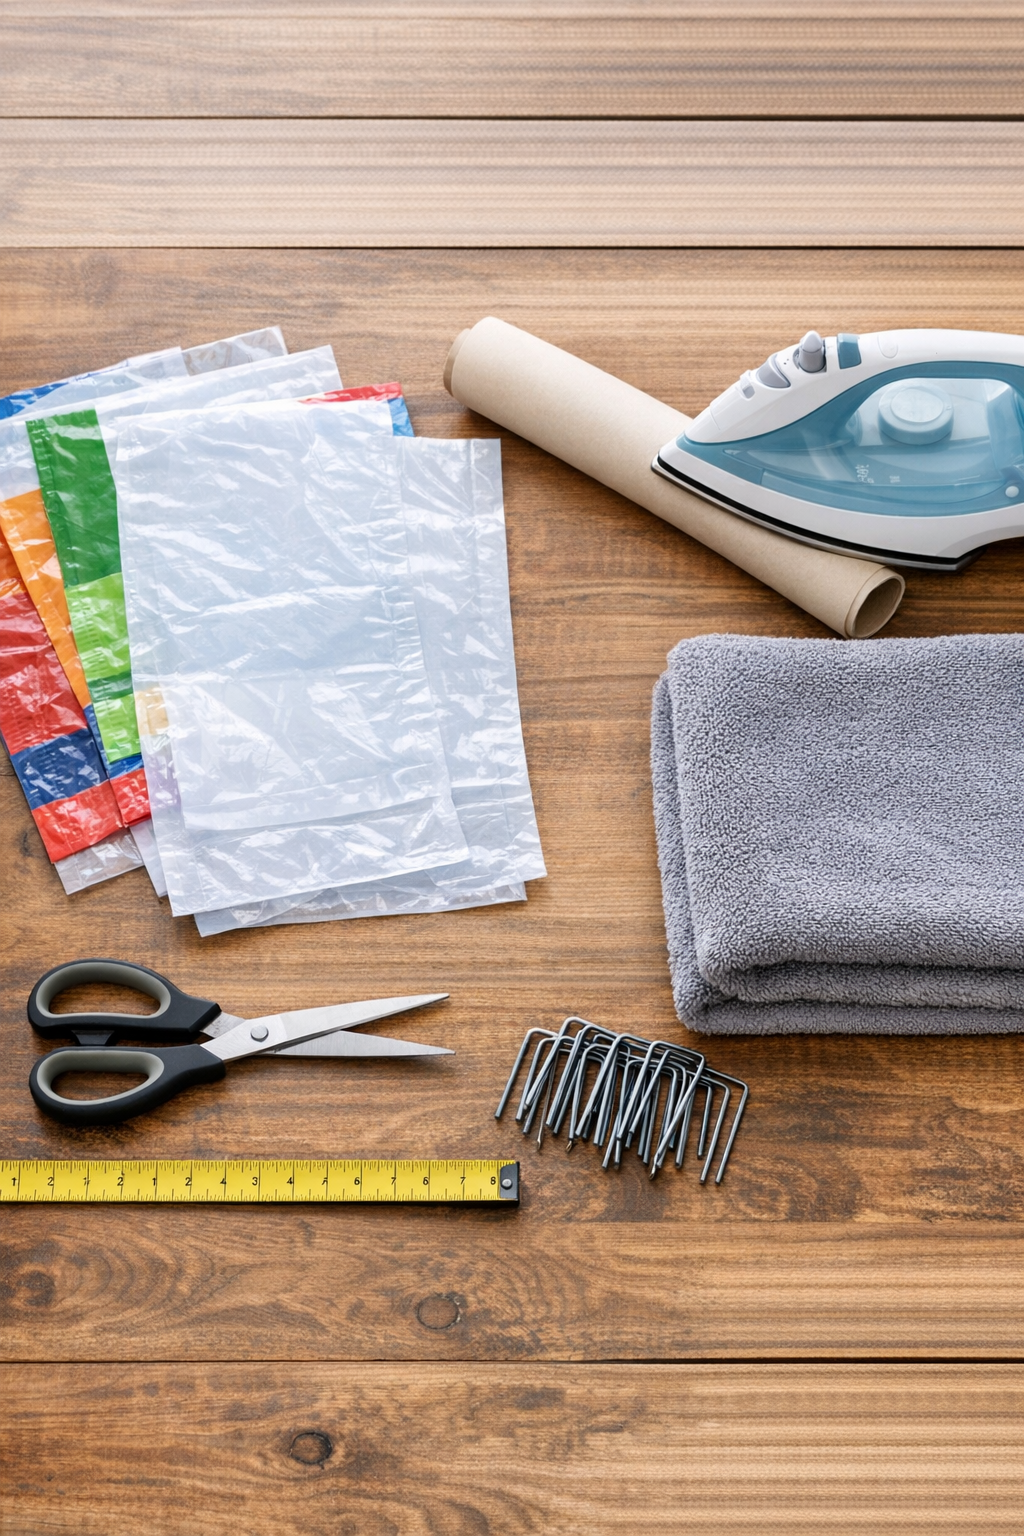
Materials
Instructions
1. Cut open each empty dog food bag along the side seams and across the bottom so it can lay flat in one sheet. Wipe out crumbs and residue, then wash the inside lightly with warm water and a drop of dish soap.
2. Dry the bags completely with towels and let them air dry until there is no moisture left. Any dampness can interfere with fusing and make the layers bubble.
3. Trim away sealed edges, zipper tops, handles, and any heavily wrinkled sections so you’re left with smooth, workable panels. Aim for the largest flat rectangles you can get from each bag.
4. Set your iron to a low synthetic setting with the steam turned off, and place a towel on your work surface. Lay one sheet of parchment paper down, place two plastic bag panels on top with the printed sides facing out, and cover with a second sheet of parchment.
5. Press the iron gently over the parchment for 5 to 8 seconds at a time, moving slowly so the plastic fuses without scorching. Lift a corner to check the bond, then repeat until the full panel is sealed into one thicker sheet.
6. Add a third layer if you want sturdier edging, sandwiching it between parchment and ironing again in short passes. For most garden beds, two to three fused layers create a flexible but tough strip that won’t crack like brittle plastic edging.
7. Measure and mark strips 4 to 6 inches wide, then cut them lengthwise with scissors. Keep the width consistent so the finished border sits evenly in the soil.
8. Round off the corners of each strip to help them slide into the ground more easily and reduce snagging. If you need longer runs, overlap strip ends by 2 inches and fuse the overlap between parchment paper with the iron.
9. Outline your garden bed and dig a narrow trench about 3 inches deep along the edge. Press the strips into the trench with 1 to 2 inches showing above soil level, bending them gently around curves.
10. Anchor the edging with landscape staples every 12 to 18 inches, placing extra staples at curves and overlaps. Backfill the trench firmly on both sides so the edging stays upright and secure.
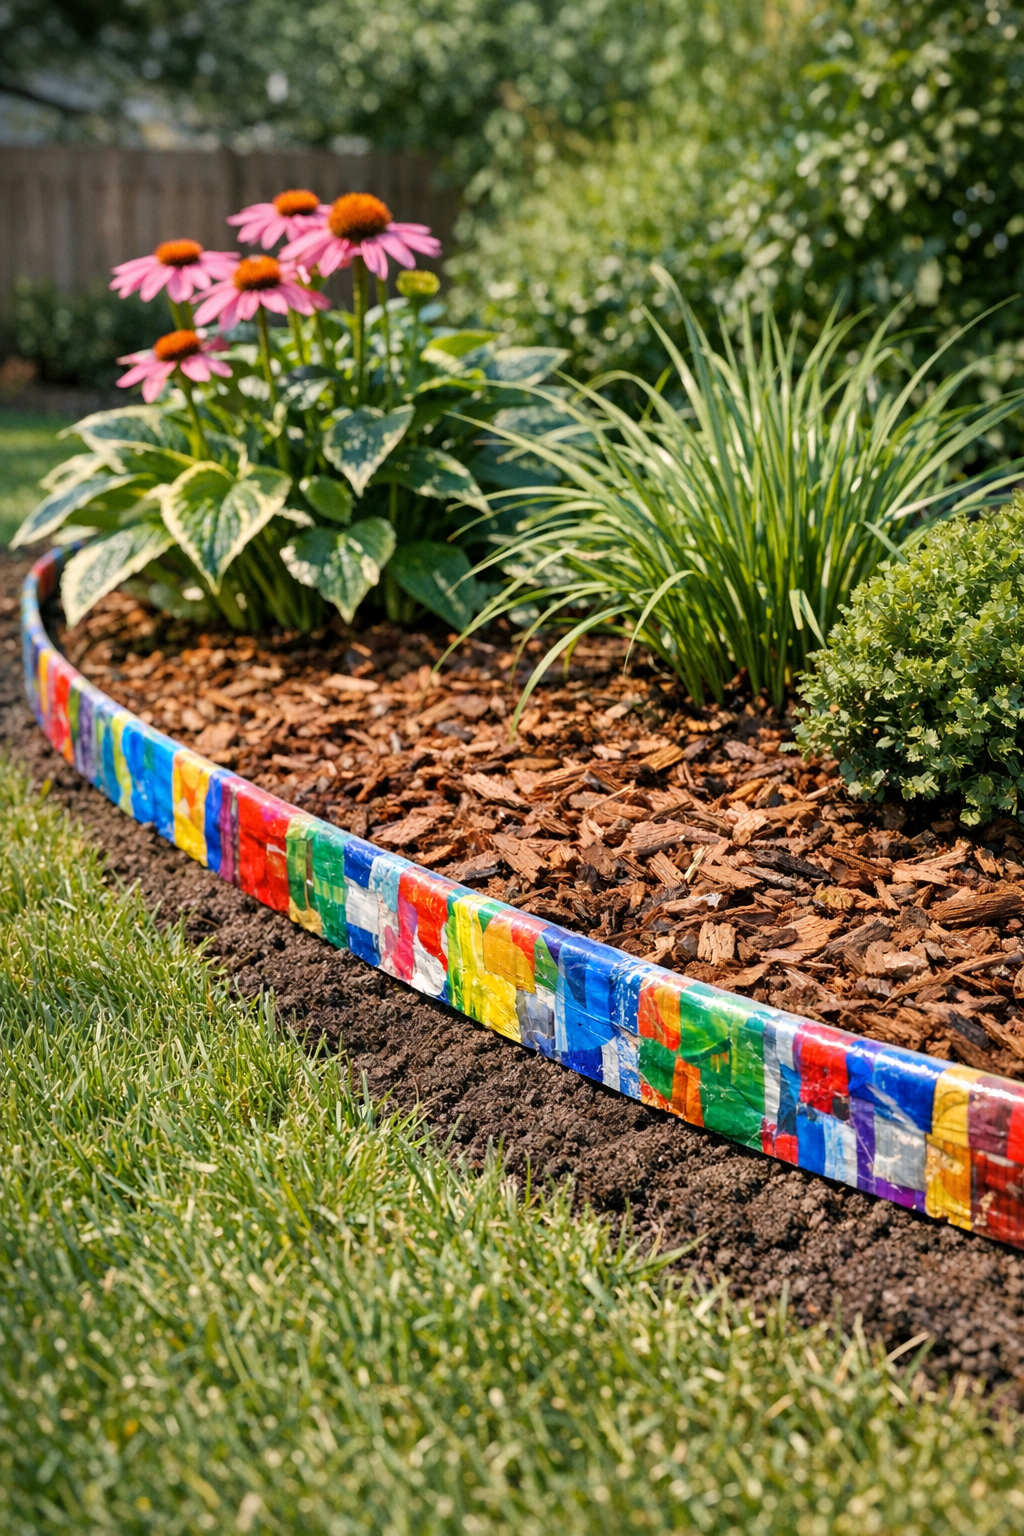
11. Step back and adjust the line before packing the soil tightly with your hands or the flat side of a trowel. Once installed, the edging should look neat, flexible, and surprisingly polished for something made from scraps.
Variations & Tips
For a cleaner look: Use bag sections with similar colors or keep the printed side facing inward when layering if you want the outside to look more muted.
For extra stiffness: Fuse three layers instead of two and make the strips closer to 6 inches wide. I like this option for straight borders along a sidewalk where I want a firmer line.
For curved beds: Cut slightly narrower strips, around 4 inches wide, since they bend more easily around rounded flower beds and tree rings.
Test your iron first: Every iron runs a little differently, and I learned this the hard way on an early batch that got too hot too fast. Start with a small trimmed scrap and adjust before doing your full panels.
Save time on prep: I usually wash and dry the bags one evening, then fuse and cut them the next day. Breaking it into two short sessions makes this project feel very manageable on a busy weeknight.
Best places to use it: This edging works especially well in low, decorative borders around mulch beds, herb gardens, and small pathways. It’s not meant for deep retaining jobs, but it’s fantastic for clean visual separation.
Store leftovers: Keep extra fused strips flat in the garage or shed so you have matching pieces ready for repairs or future beds. They take up almost no room, which is one of my favorite things about this project.