
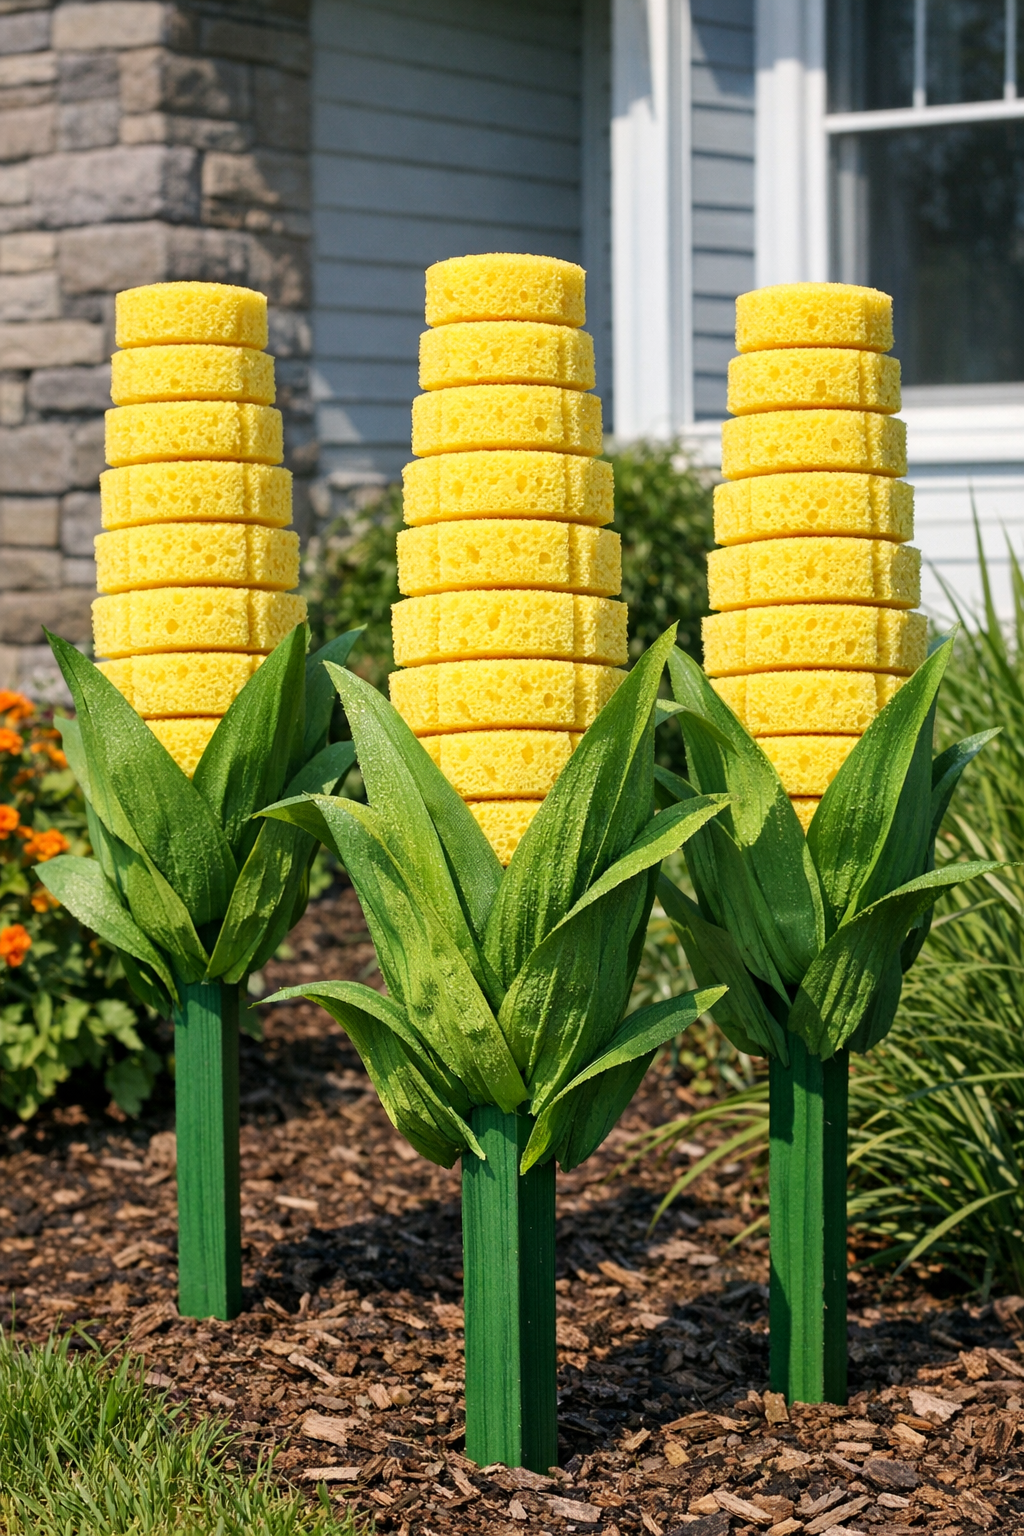
There is something so cheerful about a front yard decorated for the season, and this oversized corn stalk project gives you that big farmhouse look without spending much at all. Using inexpensive yellow kitchen sponges and a few tall green garden stakes, you can make a set of playful giant corn stalks that read beautifully from the street.
I love projects like this because they are simple, budget-friendly, and just quirky enough to make neighbors smile. If you enjoy easy outdoor décor and want something lightweight that goes together in an afternoon, this is a fun one to try.
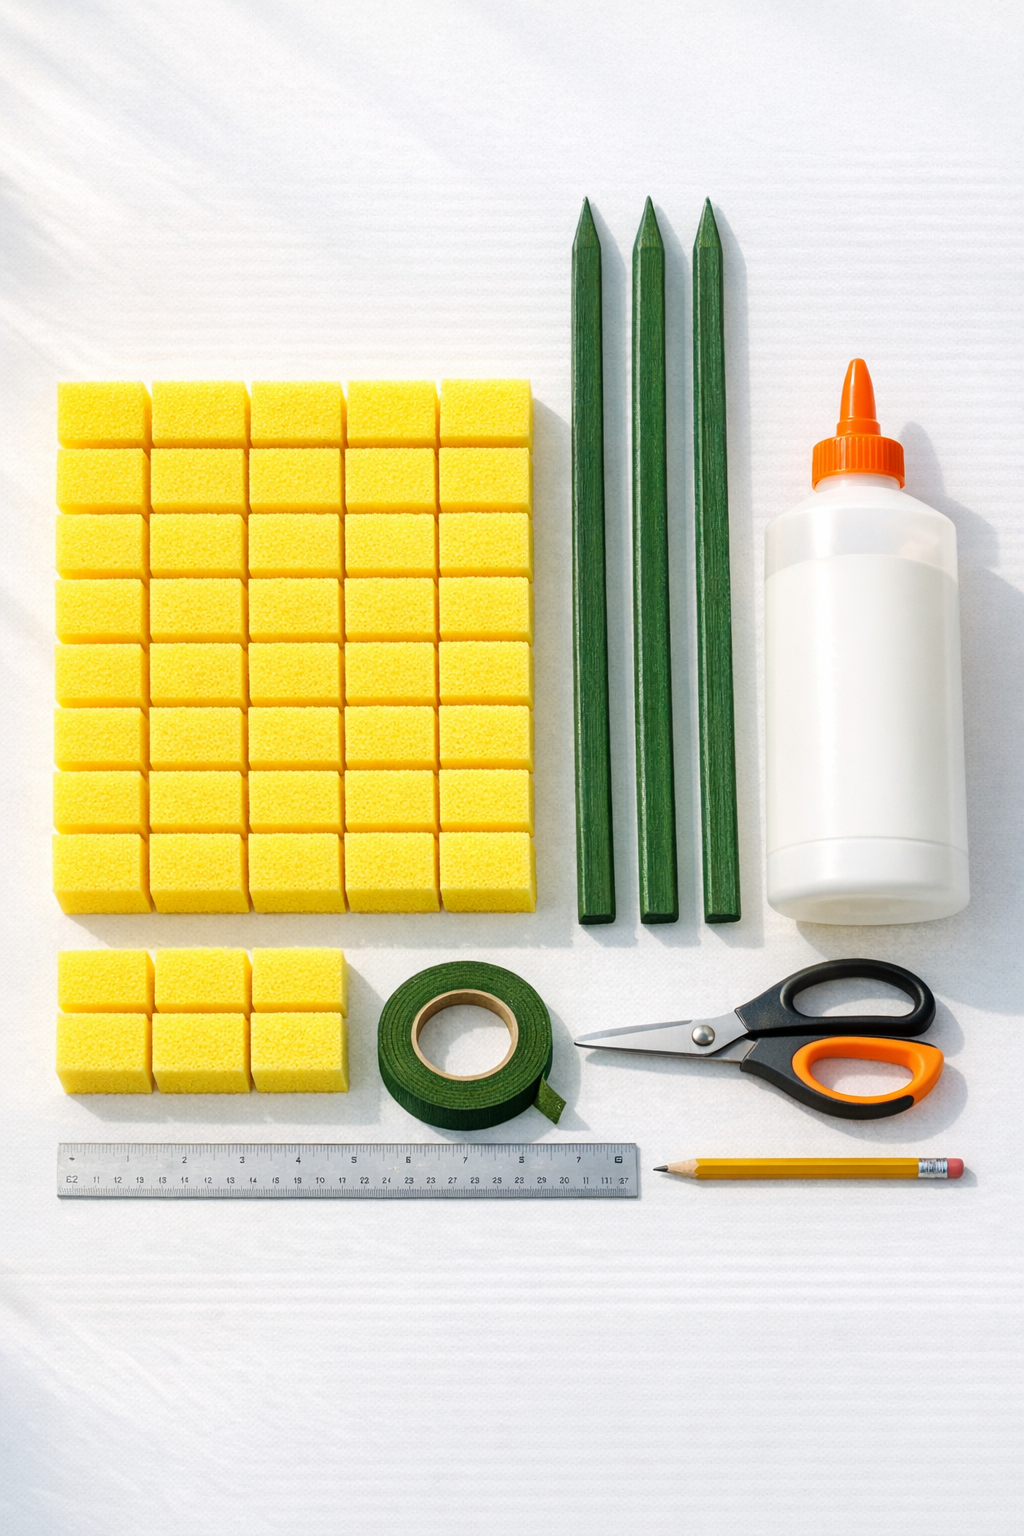
Materials
Instructions
1. Cover your work surface with scrap cardboard or a disposable table cover, then line up the 3 green stakes side by side. Mark sponge placement zones on each stake, leaving 10 to 12 inches bare at the bottom so the stakes can be pushed into the ground.
2. Sort the 40 sponges into 3 groups so each stalk looks full, aiming for 13 sponges on two stakes and 14 on one stake. If any sponges have rough edges, trim loose bits with scissors so the finished corn looks cleaner.
3. Glue the first sponge to the top section of one stake, centering it across the width of the wood. Press firmly and hold it in place long enough for the adhesive to grab.
4. Continue gluing sponges down the stake in a vertical column, placing each one tightly against the last so they resemble stacked kernels on an oversized ear of corn. Keep the sponges aligned but rotate a few slightly for a more natural, rounded look.
5. Repeat the same process on the second and third stakes until all 40 sponges are attached. Let the glued stalks dry flat or propped securely according to the glue directions before moving them.
6. Cut long leaf shapes from the green craft foam or cardstock, making 2 leaves for each stalk, about 12 to 18 inches long. Curve the edges a little so they look more like corn husks instead of straight strips.
7. Tape or glue the leaves around the lower sponge area on each stake, angling them outward and downward. Wrap the base with green floral tape to hide the attachment point and make the stalk look tidier.
8. If you want extra support, tie a short piece of twine around the taped leaf base on each stalk. Keep it snug but not so tight that it bends the stake or crushes the sponges.
9. Take the finished stalks outside and press the bare bottoms of the stakes 8 to 12 inches into the soil. Space them 6 to 10 inches apart so they read as a little cluster from the sidewalk or road.
10. Adjust the angle of the leaves and gently turn each stalk so the fullest side faces forward. Once they are positioned, give everything one last press to be sure the stakes are secure.
Variations & Tips
For windy yards: Use 60-inch stakes instead of shorter ones and push them deeper into the ground. A small dab of extra adhesive between the lowest sponges can also help keep the column from shifting.
For a fuller look: Slightly offset some of the sponges rather than making a perfectly straight stack. That little bit of unevenness helps the stalk read more like a giant ear of corn from a distance.
Leaf substitution: If you do not have craft foam, sturdy green plastic tablecloth material or weather-resistant felt can work well. I prefer something flexible outdoors because it moves nicely in the breeze.
Color tweak: Mix in a few deeper golden-yellow sponges if you can find them. That small color variation adds dimension and makes the finished stalks look less flat.
Kid-friendly helper job: This is a nice one for older kids to help with by sorting sponges, handing over glue, or choosing leaf placement. At my house, letting everyone help decide the final yard arrangement always makes the decoration feel a little more special.
Storage tip: After the season, brush off dirt, let the stalks dry fully, and store them flat or upright in a dry shed or garage. If you used a strong weather-safe glue, you may even get another season out of them.