
I’m always on the lookout for DIY projects that look far more expensive than they really are, especially the kind that can dress up a yard without turning into a full weekend construction job. These heavy sectioned yard slabs are one of those surprisingly satisfying projects: you use inexpensive plastic chip-and-dip trays as molds, fill them with a thick cement mix, and add one simple secret ingredient that helps the finished pieces hold together better and resist cracking.
As someone who juggles work and home life, I love projects like this because they’re practical, low-fuss, and easy to batch out in an afternoon. If you want decorative stepping stones or patio accents with a divided, almost custom-cast look, this is a very doable project for beginners.
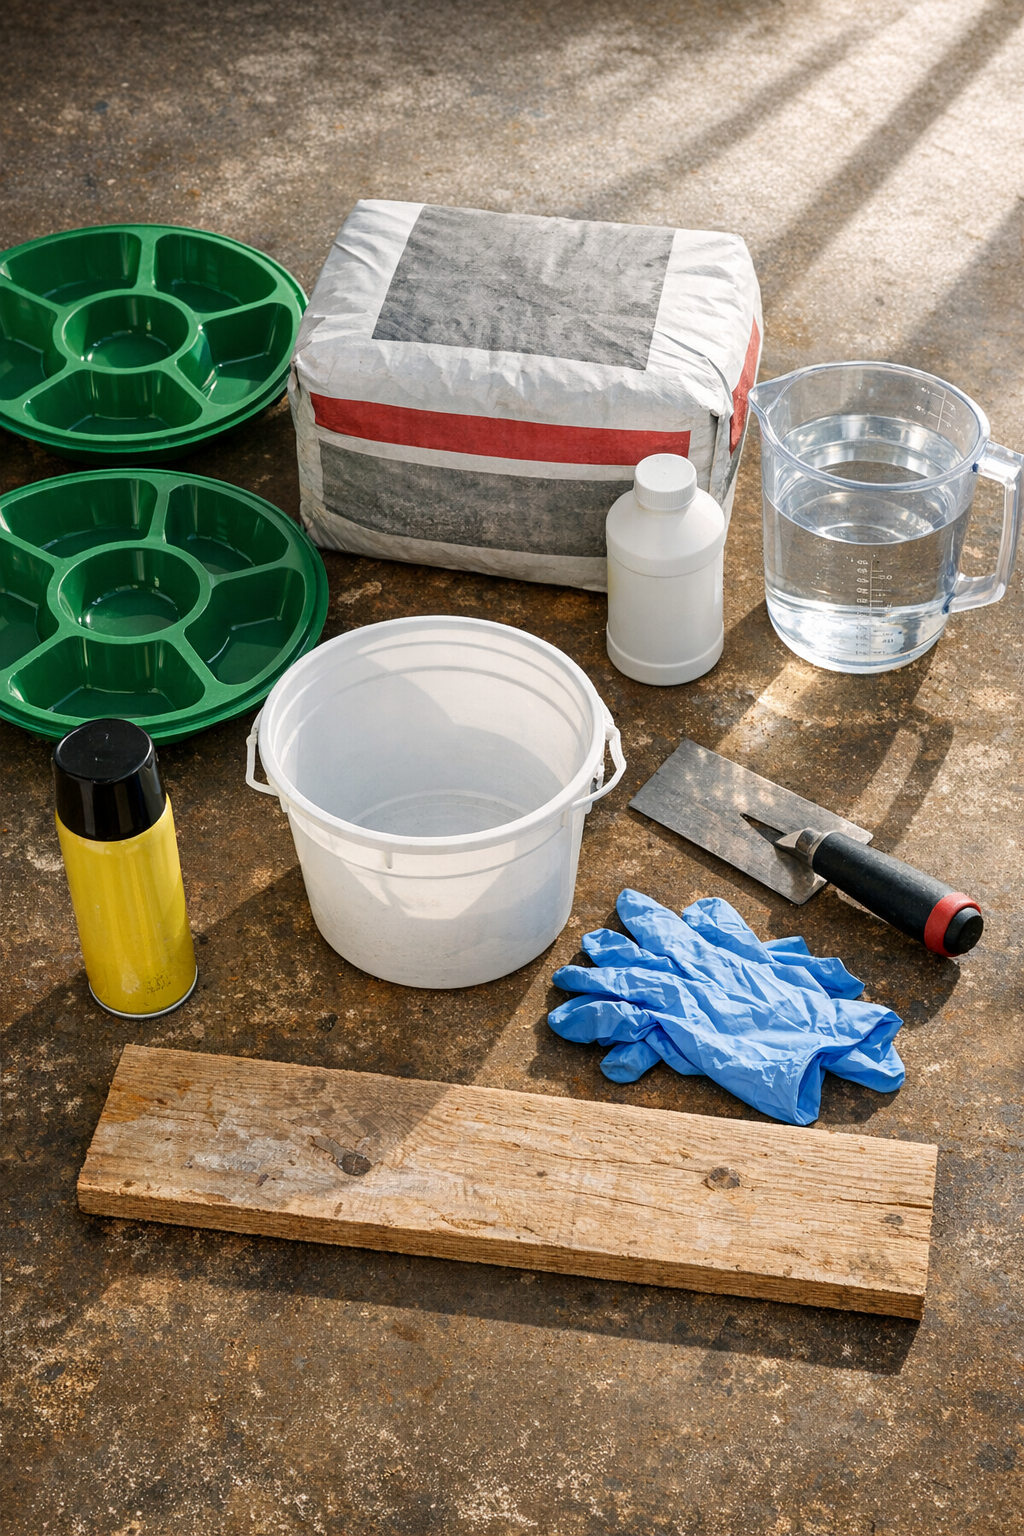
Materials
Instructions
1. Set up your work area on a flat surface and cover it with a drop cloth or cardboard so the trays can sit undisturbed while curing.
2. Lightly coat the inside of both chip-and-dip trays with nonstick cooking spray, then wipe out any heavy puddles so you leave only a thin film.
3. In a mixing bucket, combine the concrete mix with the acrylic concrete fortifier first, then add water a little at a time until the mixture is thick like stiff brownie batter.
4. Mix thoroughly until there are no dry pockets; the secret ingredient is the concrete fortifier, and I’ve found it helps the slabs cure stronger and with fewer crumbly edges.
5. Divide the thick cement evenly between the two trays, pressing it firmly into all the outer sections and the center well so the shape forms cleanly.
6. Tap each tray gently on the work surface several times to release trapped air bubbles, then shake it slightly side to side to help the mix settle.
7. Use a scrap board or putty knife to level the back of each slab so it sits as flat as possible once turned out.
8. Let the trays rest undisturbed for 24 to 36 hours, or until the concrete feels hard and cool but not fragile when touched.
9. Flex the plastic trays gently around the edges, then turn them over onto cardboard or grass and ease the slabs out slowly to avoid chipping.
10. Cure the slabs for another 3 to 5 days in a shaded spot, misting them lightly once or twice a day if the weather is hot or windy.
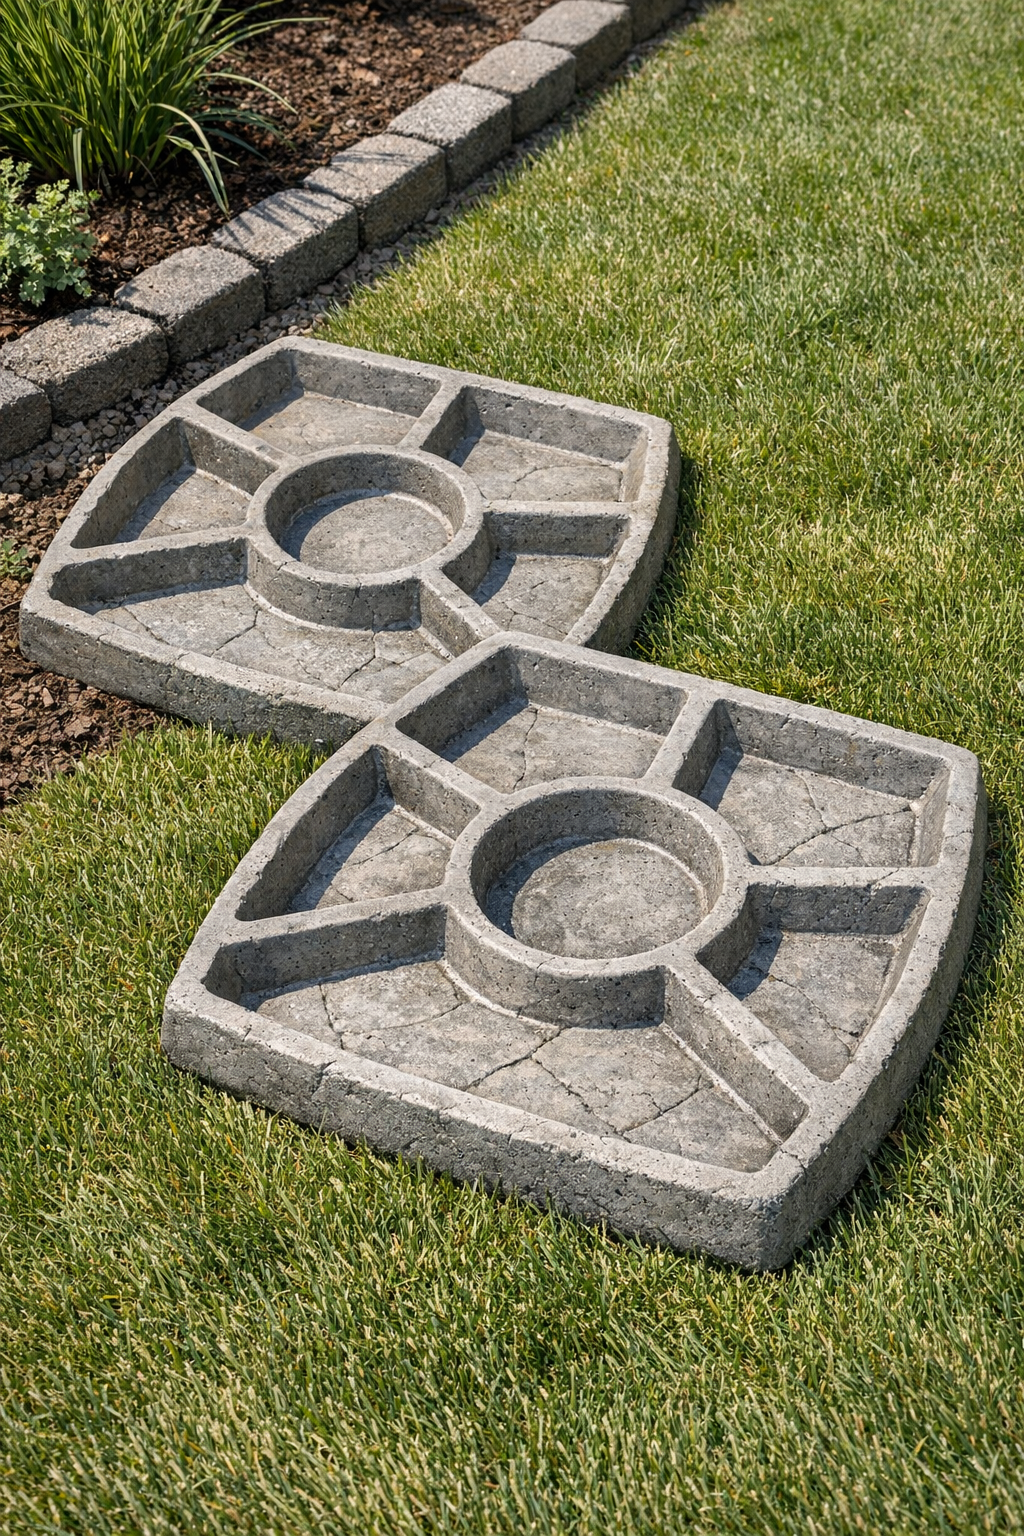
11. Place the finished slabs in the yard as stepping stones, between garden beds, or as decorative bases under planters on compacted soil or sand.
Variations & Tips
Color variation: Add a small amount of concrete pigment to the mix if you want a warmer stone tone instead of basic gray.
Smoother finish: For cleaner edges, run a gloved finger lightly around the back rim of the mold after filling it to remove excess concrete before it cures.
More rustic look: If you like an aged garden style, let the surface stay slightly imperfect rather than overworking it; I actually think that makes these look more like real cast stone.
Placement tip: Bed each slab into a shallow layer of sand or stone dust so it sits level and doesn’t rock when stepped on.
Batching for busy schedules: If you’re short on time like I usually am during the week, mix and pour both trays at once, then save demolding and placement for the next day.
Mold caution: Use flexible inexpensive trays, not brittle hard plastic, because the slight flex makes unmolding much easier and lowers the chance of breakage.