
Drafty windows can make a whole room feel uncomfortable, especially once the weather turns sharp and dry. This little project turns thick plastic zip ties into simple custom weather-proof seals, and while it sounds unusual at first, the result is surprisingly practical for small gaps around older window frames.
I like projects like this because they solve a real household annoyance without sending me straight to the hardware store for specialty parts. If you have a window with a narrow, uneven gap and you want a quick DIY barrier against air leaks, this is a clever fix to try on a secondary window, shed window, or utility-space frame.
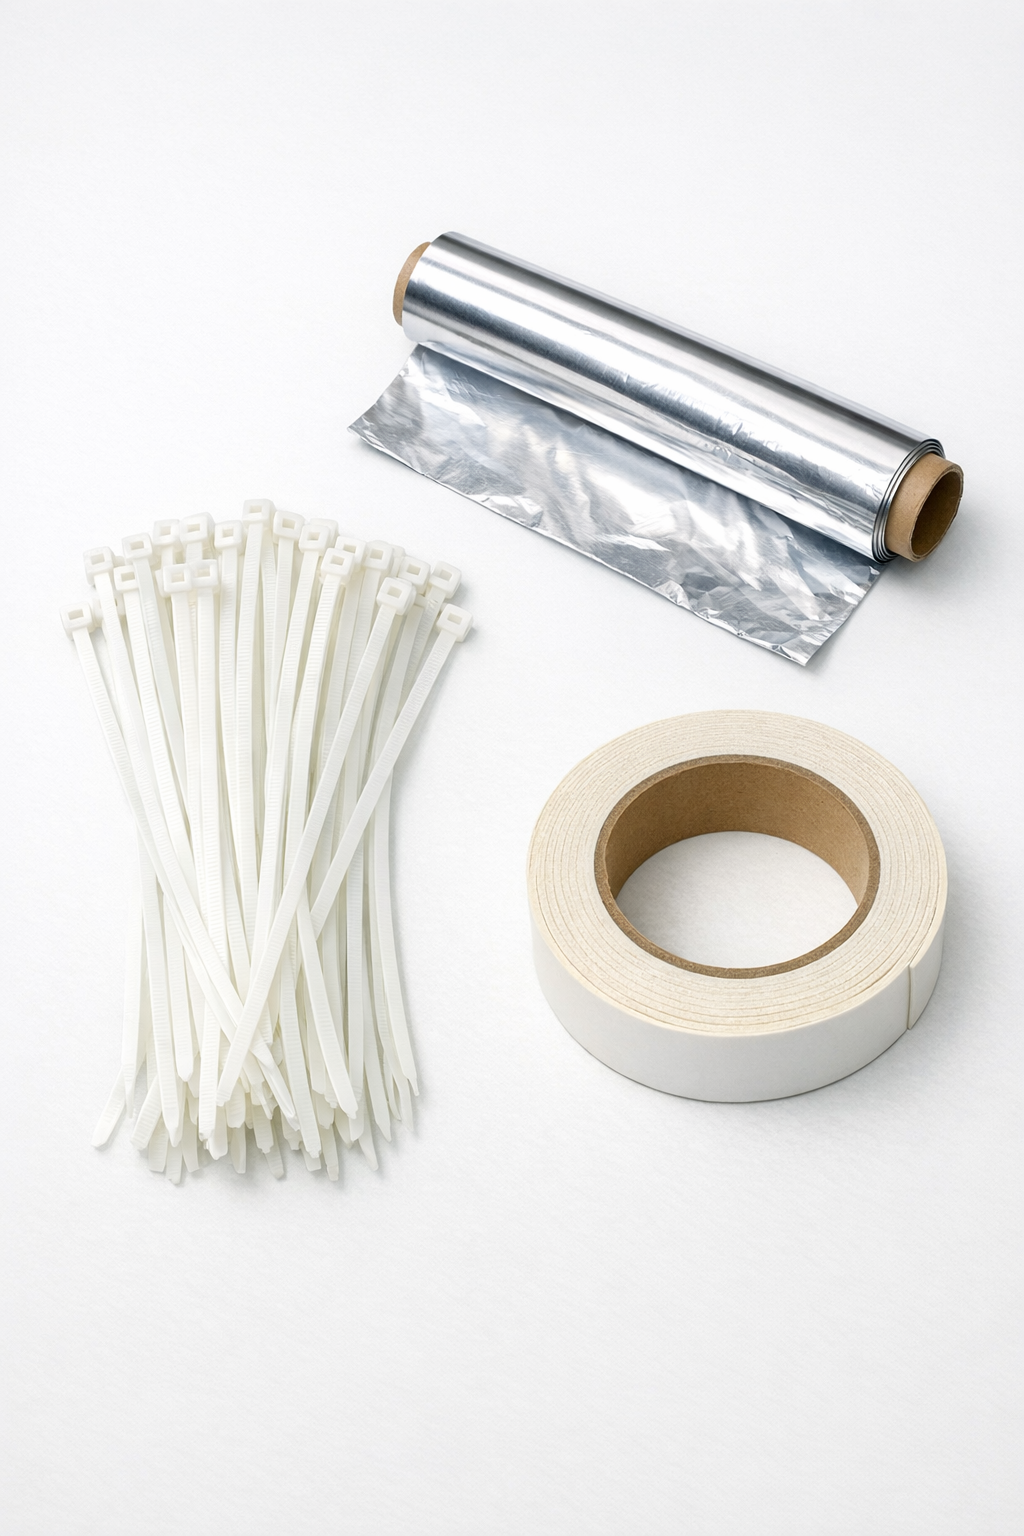
Materials
20 thick plastic zip ties, 11 to 14 inches long, about 1/4 inch wide
Instructions
1. Measure the drafty sections of your window frame and note the length of each gap you want to seal. Cut or group enough zip ties so you can cover those lengths with slight overlap.
2. Clean the window frame where the finished seal will stick, using a dry or barely damp cloth, and let it dry fully. Tape adheres much better to dust-free painted wood, vinyl, or metal.
3. Lay a sheet of aluminum foil on your ironing surface and place several zip ties side by side with the locking heads removed if needed. Cover them with another sheet of foil so the plastic is fully protected from direct heat.
4. Press the foil-covered zip ties with a dry iron on low to medium heat for 10 to 15 seconds at a time until they soften and flatten into a flexible strip. Check frequently and stop as soon as the plastic bonds together and spreads slightly.
5. Let the strip cool for 1 minute, then peel back the foil and trim the edges if the plastic spread unevenly. Make each strip just narrow enough to fit the window gap without buckling.
6. Repeat the process until you have enough flattened strips for all sides of the window you want to seal. For corners, make shorter pieces so they sit neatly without lifting.
7. Apply double-sided tape to one side of each cooled plastic strip, pressing it down firmly along the full length. If the strip is wider than the tape, center the tape so both edges can still flex slightly.
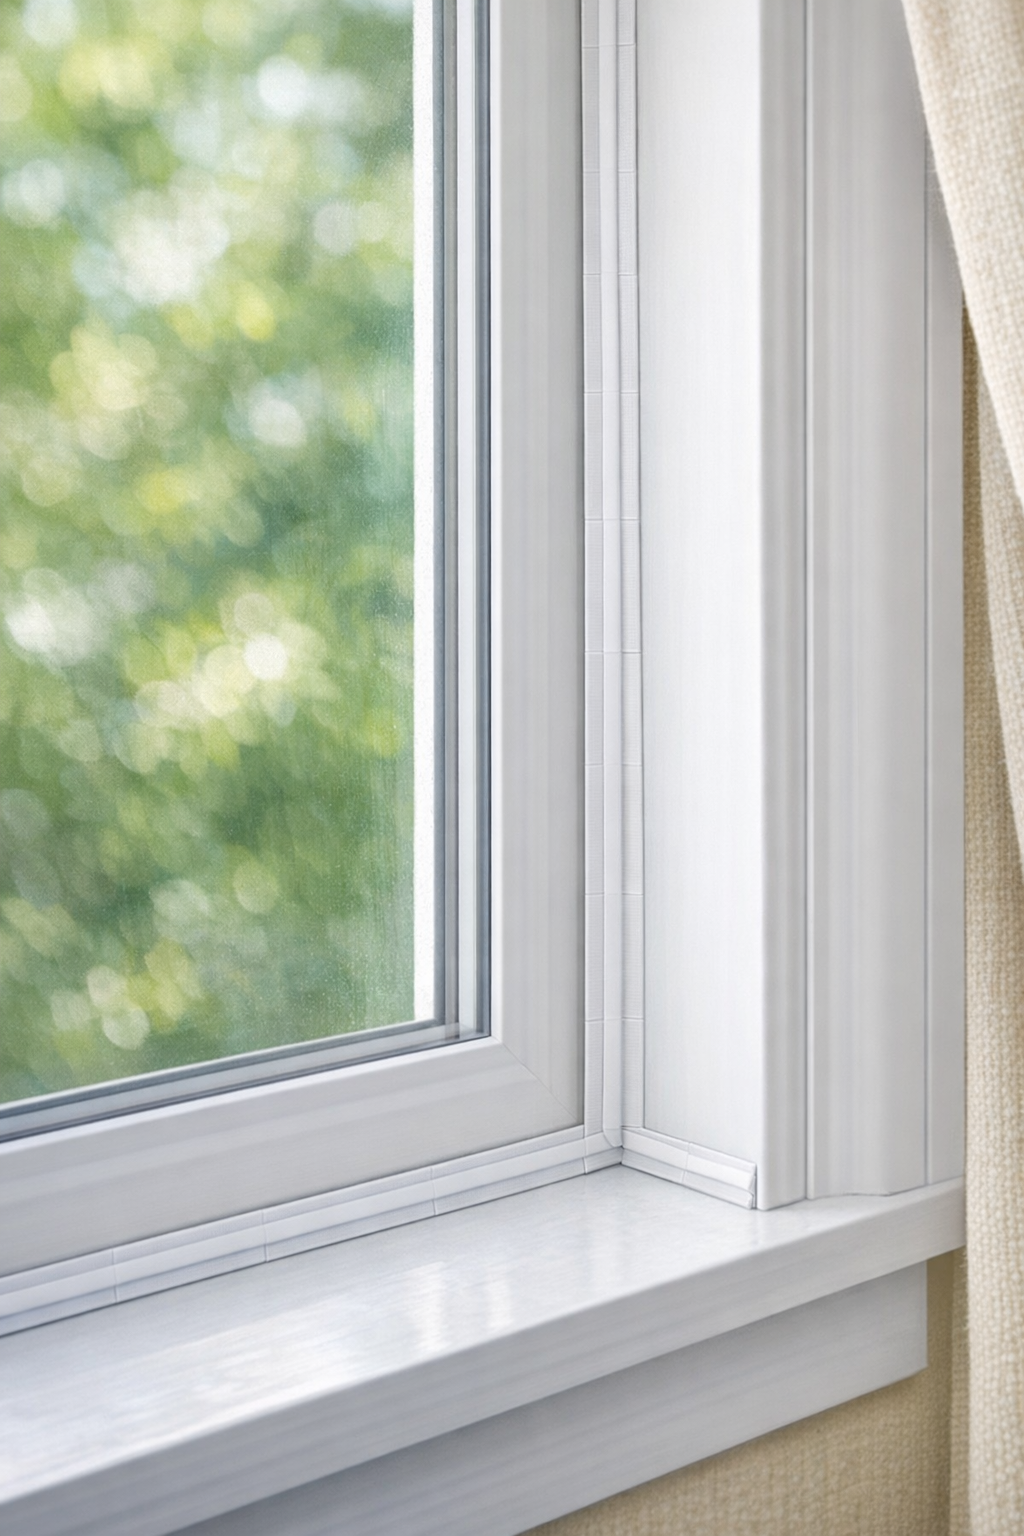
8. Peel the tape backing and press the strip onto the window frame so it bridges the drafty gap like a flap seal. Position it where the sash can still close while the plastic blocks airflow.
9. Test the window by opening and closing it gently, then press along the strip again to secure it. Add a second layer only where a larger gap needs more coverage.
10. Seal the remaining sides the same way and feel for any air movement with your hand once the window is shut. Trim or reposition any section that catches or bends too sharply.
Variations & Tips
Use the right zip ties: Thicker nylon zip ties work better than very thin ones because they create a sturdier flap after heating. I would skip brittle old ties, since they do not soften as evenly.
Test heat first: Every iron runs a little differently, and plastic can go from soft to scorched quickly. Make one small test strip before making a full set.
Best for utility spaces: This method is especially handy for basement, garage, porch, or workshop windows where function matters more than a perfectly invisible finish. For a formal living room window, I would still consider commercial weatherstripping first.
Make narrower flaps for movable sashes: If the window opens regularly, trim the flattened plastic into slimmer strips so the sash slides past more easily. A narrower flap often seals better than one bulky wide piece.
Work safely with heat: Always keep the plastic covered in foil while ironing, and ventilate the area well. If the plastic smells strong or begins to discolor, stop and lower the heat immediately.
Layer for uneven gaps: Old Midwestern windows love to settle in crooked little ways, and gaps are rarely uniform from top to bottom. In those cases, I get the best result by using single strips on tight sections and doubled strips only where the draft is strongest.