
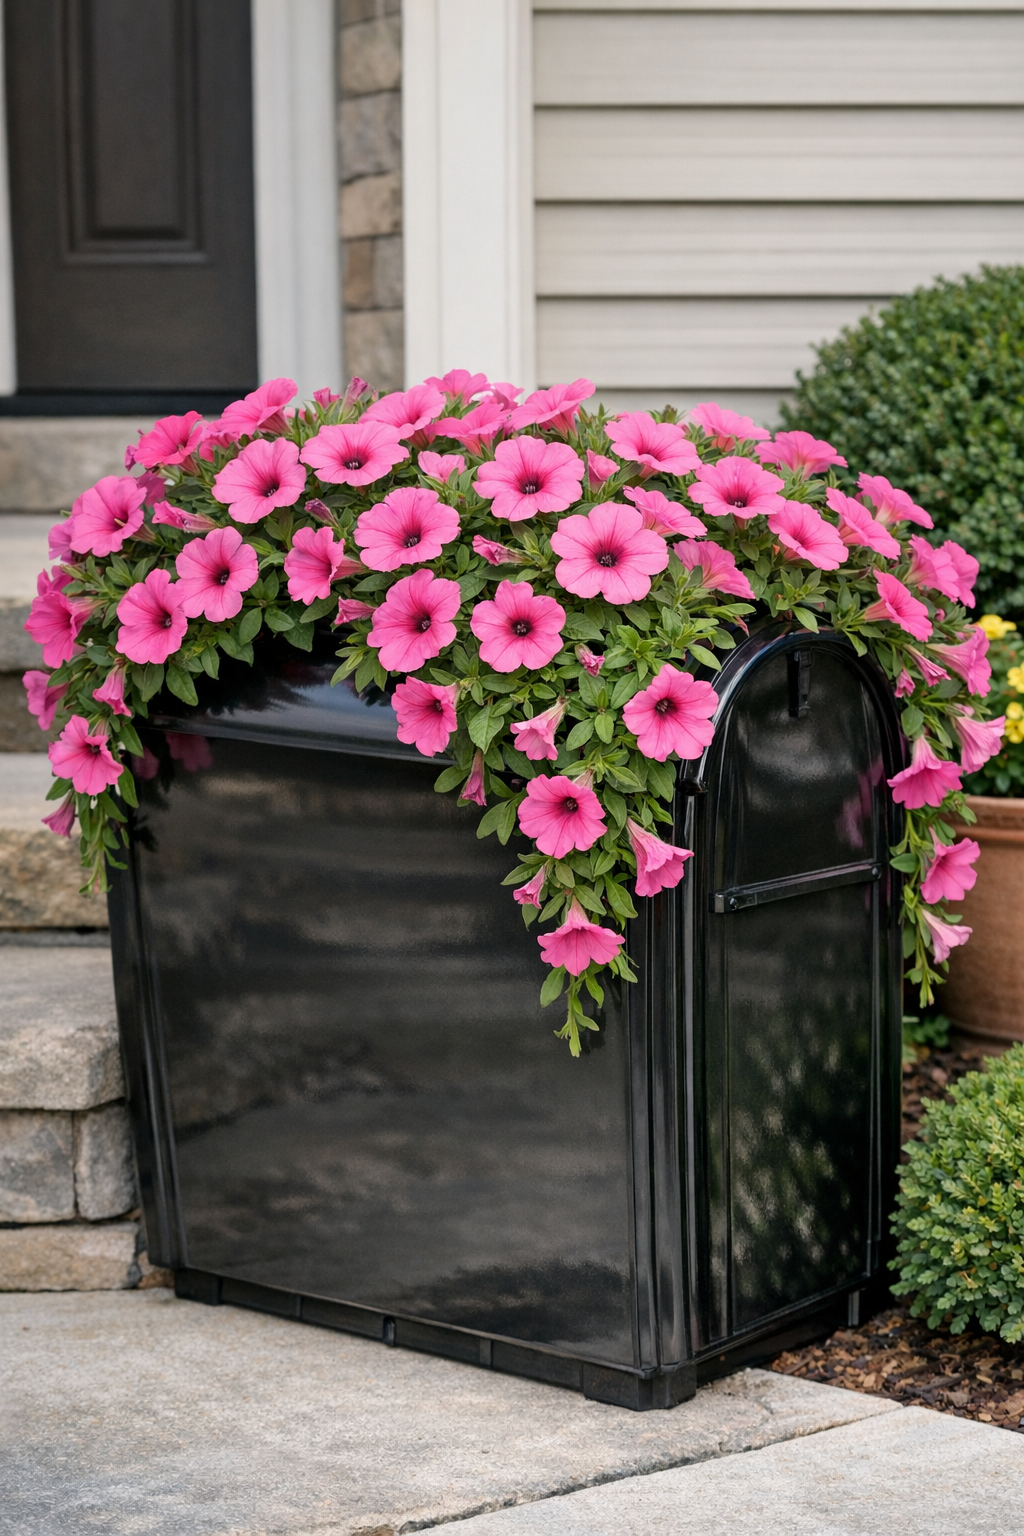
Curb appeal projects are some of my favorites because they do a lot with a fairly small amount of effort, and this address planter is a perfect example. In this project, I turn an oversized black plastic mailbox into a bold outdoor planter, then add crisp white house numbers on the side so it works as both décor and clear address signage.
I like this kind of build because it is practical, weather-friendly, and beginner approachable. If you can measure carefully, drill a few drainage holes, and apply vinyl neatly, you can make this in an afternoon and end up with something that looks custom from the garden center or a boutique outdoor shop.
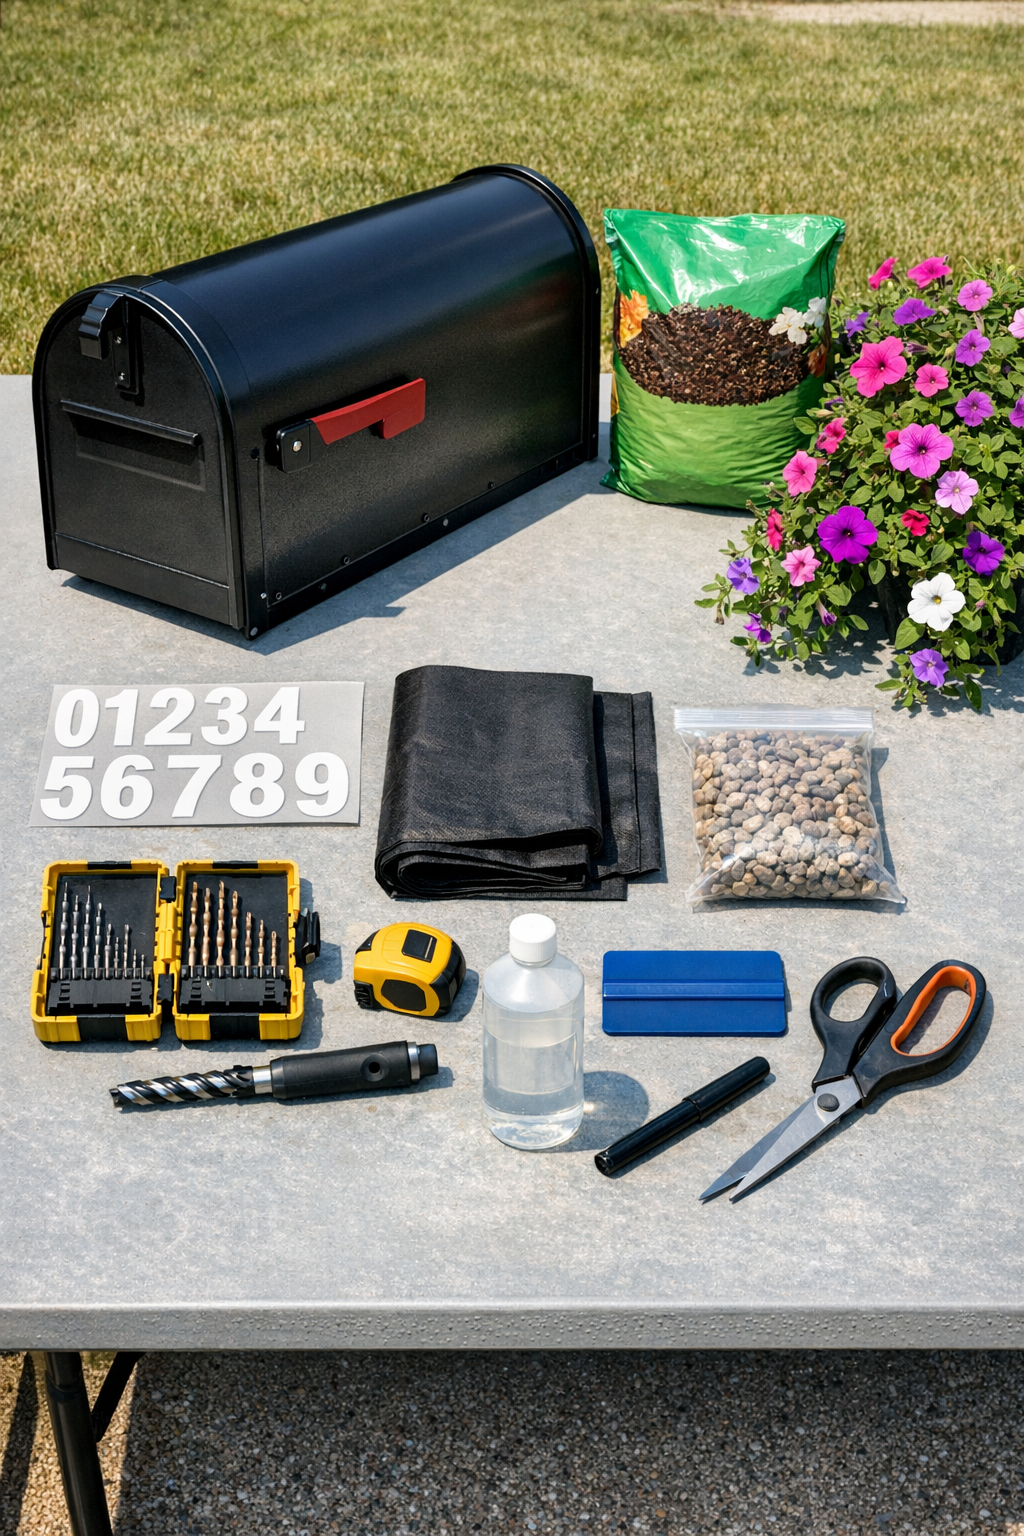
Materials
Instructions
1. Wash the outside of the mailbox and dry it thoroughly, then wipe the area for the numbers with rubbing alcohol so the vinyl will stick cleanly. I always slow down here because clean surfaces make the difference between a professional finish and peeling edges later.
2. Mark the placement of your house numbers on one or both sides of the mailbox using painter’s tape as a level guide. Center the numbers visually on the side panel, leaving at least 2 inches of space from the front and bottom edges.
3. Apply the white vinyl numbers using transfer tape or the backing method for individual numbers, pressing from the center outward to prevent bubbles. Burnish the vinyl firmly with a squeegee or a plastic card, then peel away the transfer tape slowly.
4. Turn the mailbox over and drill 6 to 8 drainage holes in the bottom, spacing them evenly down the center and near the sides. If the plastic is thin, drill at a moderate speed so it does not crack or snag.
5. Cut the landscape fabric to fit the interior bottom curve of the mailbox, then lay it inside over the drainage holes. This keeps potting mix from washing out while still allowing water to drain.
6. Add the pea gravel in a shallow layer across the bottom, then fill the mailbox about two-thirds full with potting mix. Lightly press the soil down so the plants will sit securely but do not compact it hard.
7. Remove the petunias from their nursery pots, loosen the roots gently, and arrange them evenly in the mailbox with one plant near each end and one in the center. Angle the outer plants slightly outward so they will spill over the sides as they grow.
8. Add more potting mix around the root balls until the plants are secure, keeping the soil about 1 inch below the rim. Water thoroughly until excess drains from the bottom, then brush off any soil from the outside of the mailbox.
9. Set the finished planter near your entry, porch, or mailbox post where it gets at least 6 hours of sun. Turn the numbered side toward the street so the white address stands out clearly against the black background.
Variations & Tips
Color contrast: White vinyl on black is the sharpest and easiest to read from the street, but light gray or cream can work if your home exterior is softer and more traditional.
Plant choice: Petunias are wonderful for trailing color, but calibrachoa, bacopa, or sweet potato vine also spill beautifully and handle container life well.
Weather durability: Use outdoor-rated adhesive vinyl, not indoor craft vinyl, if you want the numbers to last through rain, heat, and sun. In my Midwestern climate, that small upgrade matters.
Number placement: Before sticking anything down, step back to the curb and check the size and spacing from a distance. What looks oversized on a worktable often reads just right from the street.
Watering tip: Black containers heat up quickly in summer, so check the soil often, especially during hot weeks. Petunias bloom best when they are watered consistently and deadheaded now and then.
Mounting option: If you want a more permanent display, set the mailbox planter on a simple wood stand or secure it to a post shelf so it sits higher and shows off both the flowers and the address.