
There’s something deeply satisfying about rescuing a broken household item and turning it into something sturdy and useful. Out where I live, we’ve always had a habit of saving what still has a little life left in it, and snapped plastic coat hangers are exactly the kind of thing I hate to toss without a second thought. In this project, I melt those broken hangers down and combine them with two common garage items to make surprisingly tough shelf mounts for a utility space, shed, or workshop.
This is a practical little project for folks who like to tinker, reuse materials, and build simple storage without spending much. I’d use these for holding up a narrow utility shelf for paint cans, garden supplies, or small tool bins, not for anything fancy in the front room. The process is straightforward, but because it involves heated plastic, it’s best for careful adults working in a well-ventilated space with proper safety gear.
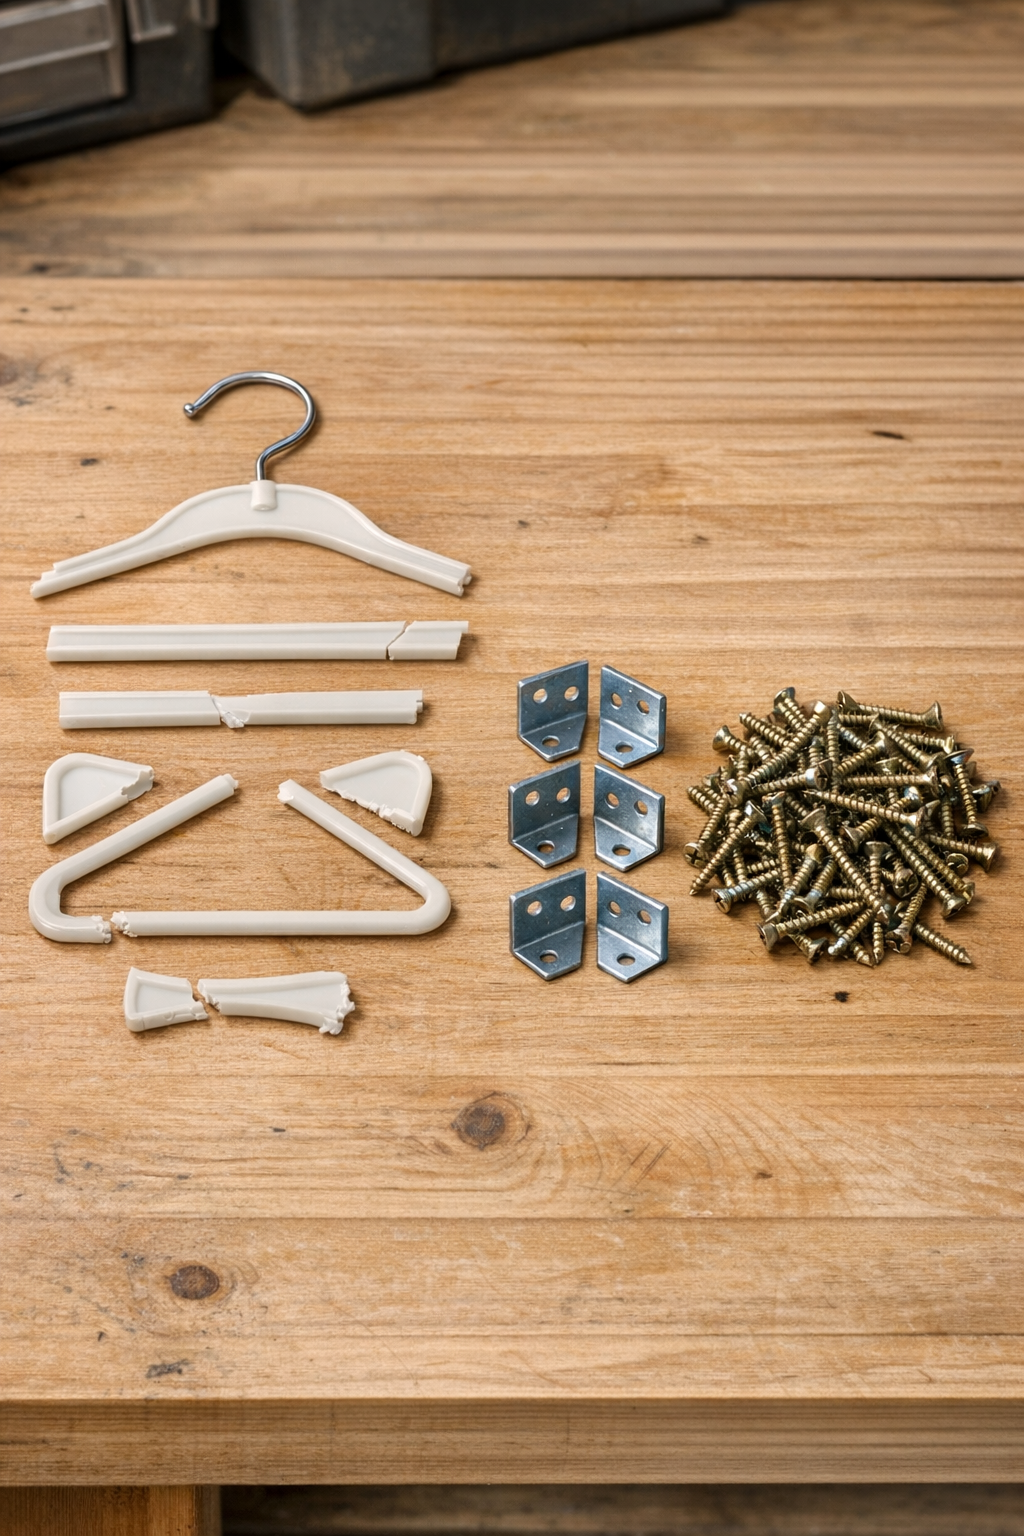
Materials
6 snapped plastic coat hangers, for melting into reinforcement plastic
Instructions
1. Wash and dry the broken plastic hangers, then snap or cut them into small pieces about 1 to 2 inches long so they melt more evenly.
2. Set up your work area outdoors or in a very well-ventilated garage, and put on heat-resistant gloves, eye protection, and a respirator rated for fumes before heating any plastic.
3. Clamp one steel angle bracket flat on a scrap work surface with the inside corner facing up, creating a shallow channel where the melted plastic will build thickness around the bracket.
4. Heat the plastic hanger pieces gradually with a heat gun in a metal tray until they soften and begin to fuse into a thick mass, then press that softened plastic onto and around one face of the bracket.
5. Continue adding softened plastic in layers, pressing it firmly with a scrap wood block or metal putty knife so it wraps around the bracket’s corner and fills in between the holes without covering the screw openings.
6. Build the plastic layer to roughly 3/8 inch thick along the center of the bracket, tapering the edges so the finished mount is solid but not bulky.
7. Let the bracket cool fully for 20 to 30 minutes, then trim any rough edges or drips so the mount sits flat against the wall and under the shelf board.
8. Repeat the melting and shaping process for the remaining three angle brackets, keeping the plastic thickness as even as you can so the mounts match.
9. Hold each finished mount in place on wall studs or solid wood backing, mark the screw holes, and fasten the vertical side of each bracket with #10 x 1 1/4 inch wood screws.
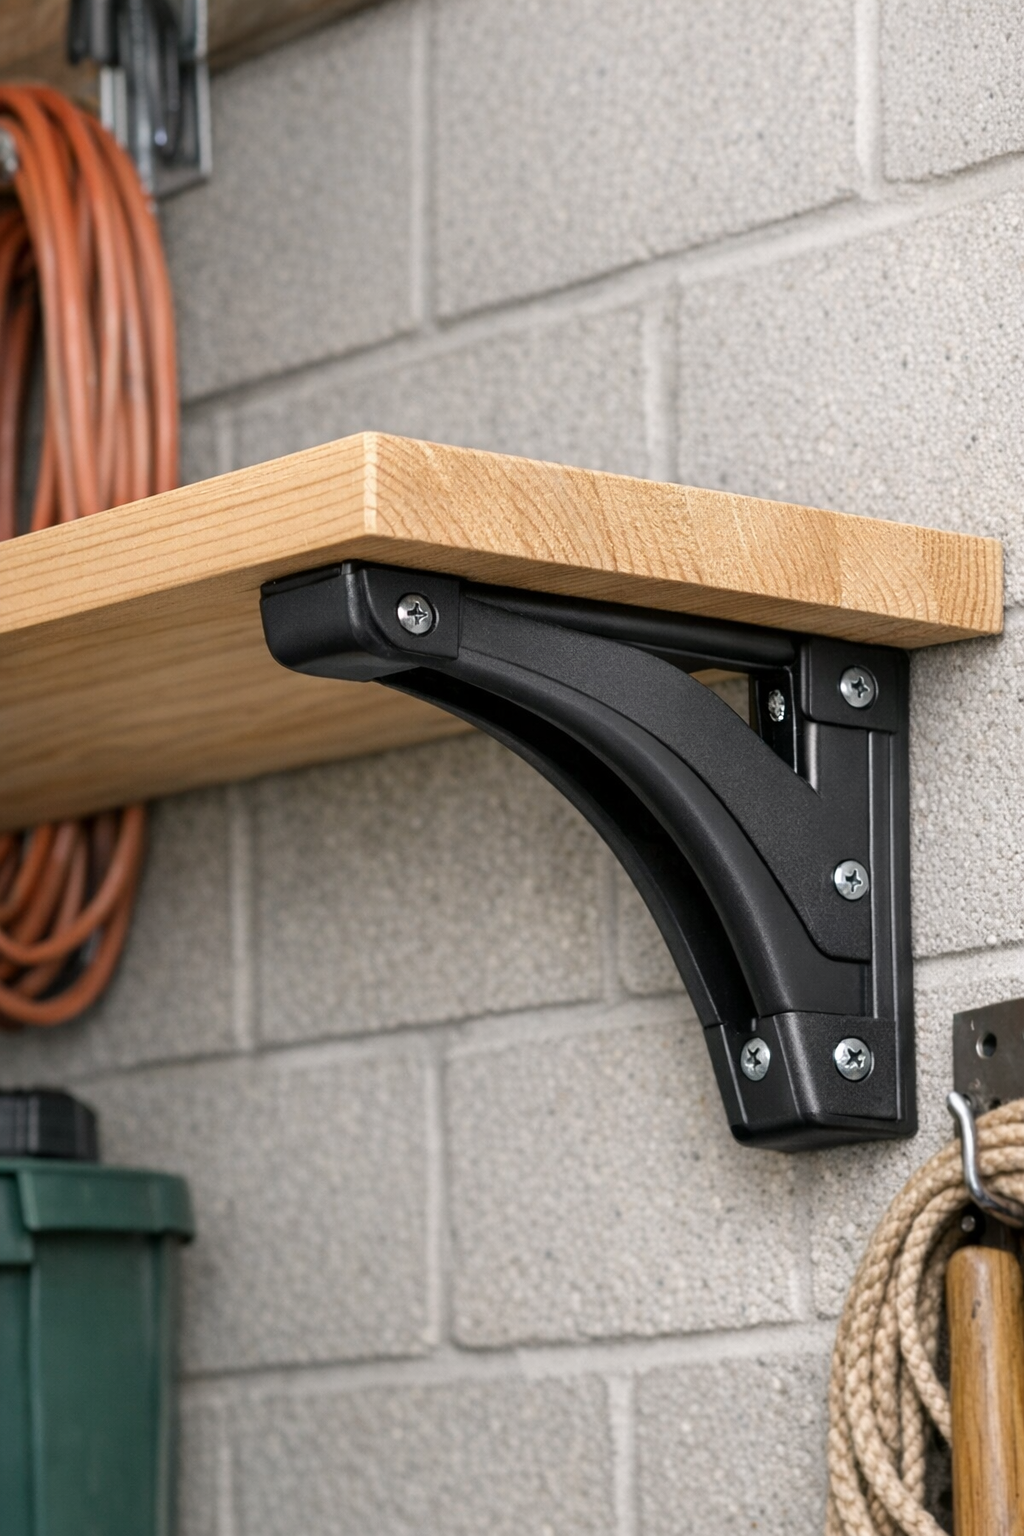
10. Set your shelf board on top of the mounted brackets and drive screws through the top holes into the underside of the shelf to lock everything together.
11. Test the shelf with light weight first, then gradually add more until you’re confident the mounts are holding steady without flexing or shifting.
Variations & Tips
Use matching plastic: If possible, melt hangers of the same type and color together. In my experience, similar plastics fuse more evenly and give a cleaner, more dependable result.
Best use case: These mounts are ideal for utility shelves in garages, sheds, mudrooms, or basement storage nooks. I would not trust them for very heavy loads like large power tools or stacks of canned goods unless they’re thoroughly tested first.
Bracket size option: For a narrow shelf, 4-inch by 4-inch angle brackets may be enough, while a deeper shelf benefits from 6-inch by 6-inch brackets. The plastic acts as reinforcement, but the steel bracket is still doing the main structural work.
Keep screw holes clear: I like to poke through the bracket holes while the plastic is still warm so I don’t have to drill them open later. It saves a little fuss and helps the screws seat properly.
Work slowly with heat: Don’t scorch the plastic trying to rush it. Gentle, steady heat gives you a denser, smoother reinforcement layer and a far less brittle finished mount.
Make them look neater: If appearance matters, warm the surface lightly at the end and smooth it with a metal putty knife. It won’t look factory-made, but it will look tidy and intentional, which is often more than enough in a hardworking space.