
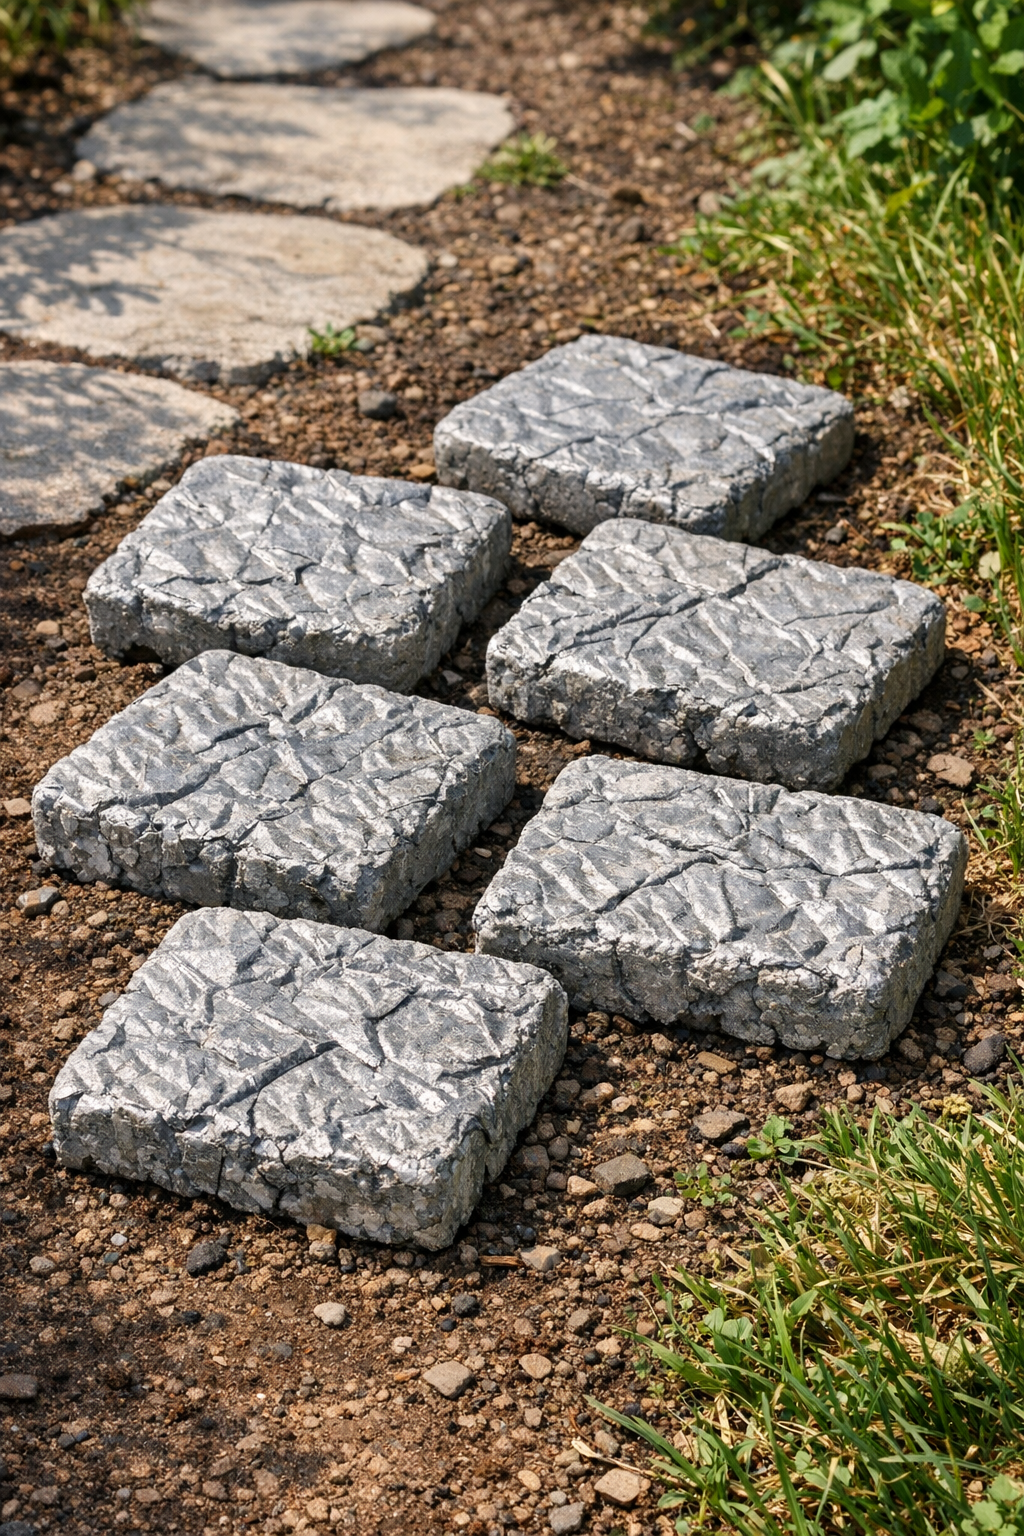
There’s something especially satisfying about making a garden project out of just a couple of humble things, and this one reminds me of the sort of practical ingenuity folks have always leaned on out here in the Midwest. These heavy crinkled patio blocks are made by pouring cement into crumpled foil roasting pans, and the pans leave behind a beautifully wrinkled texture that looks far fancier than the effort it takes. The finished blocks have a rugged, old-stone feel that works beautifully along a path, around a birdbath, or tucked between garden beds.
I’m especially fond of projects like this because they don’t ask for fancy tools or a workshop full of supplies. If you’re a beginner and want an easy weekend make, or if you simply enjoy turning everyday materials into something sturdy and useful, this is a good one to try. It’s simple, a little messy in the best way, and the results are downright charming.
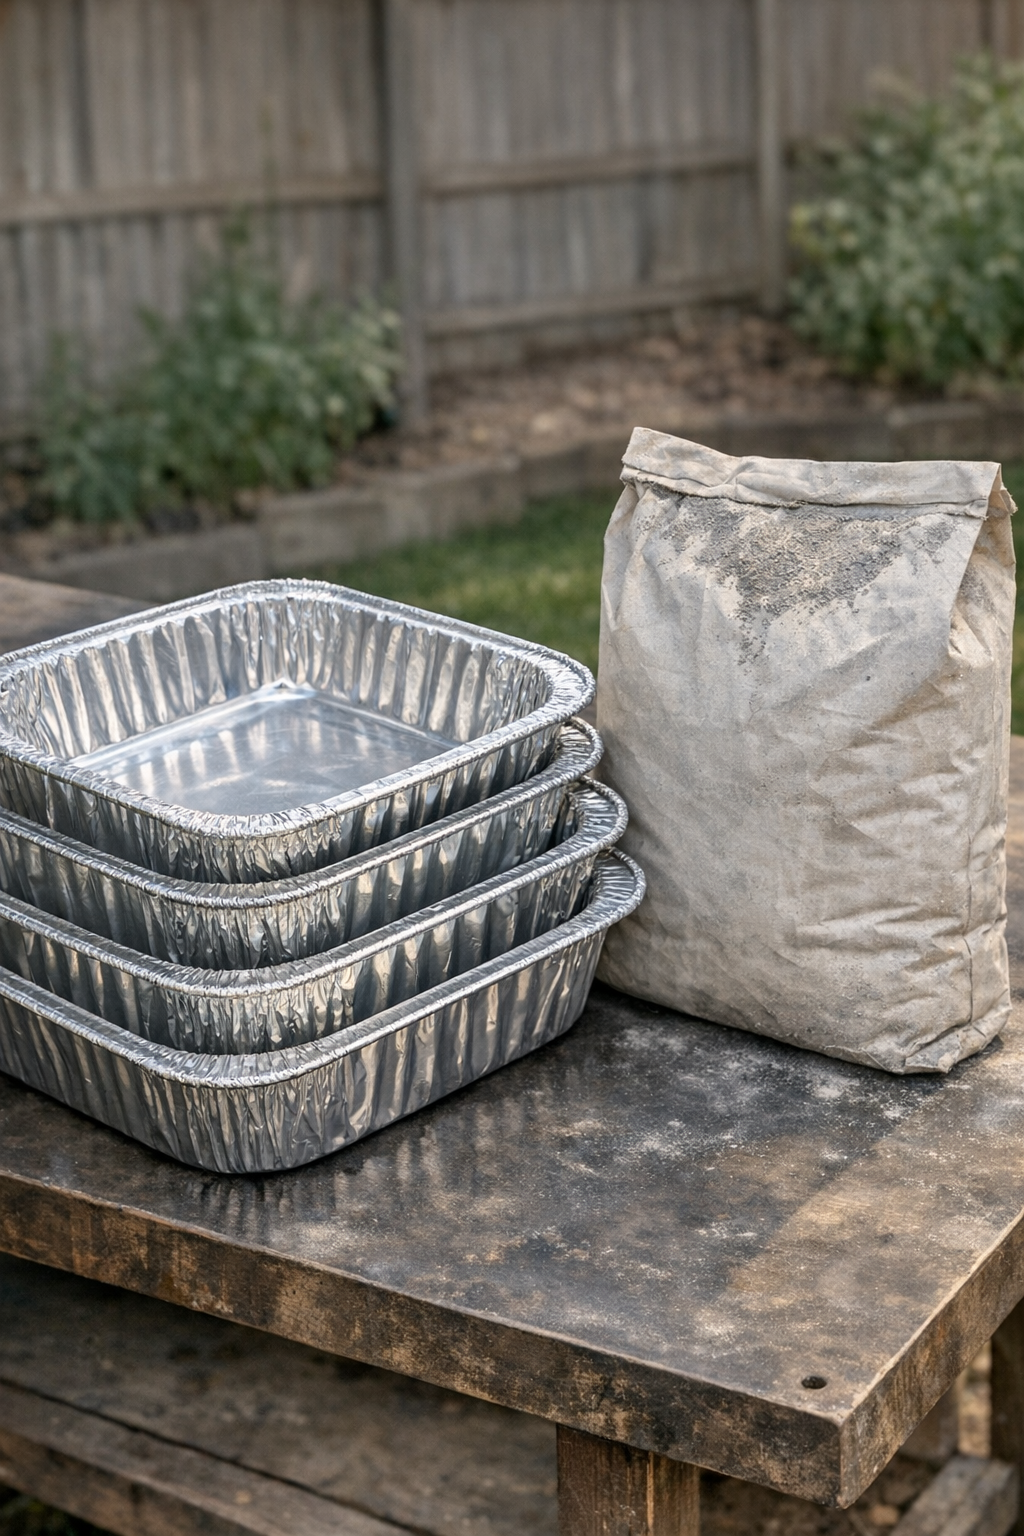
Materials
4 disposable foil roasting pans, standard 11 x 9 inch size
Instructions
1. Choose a flat outdoor work area and set the foil roasting pans on a level surface where they can sit undisturbed for at least 24 to 48 hours.
2. Crumple each foil roasting pan firmly by hand, then gently open it back up so it still holds cement but keeps plenty of deep wrinkles and folds along the bottom and sides.
3. Add the cement mix to a bucket or wheelbarrow and stir in water a little at a time until it reaches a thick brownie-batter consistency that can be poured but still holds some body.
4. Pour the wet cement into each crinkled pan, filling them about 1 1/2 to 2 inches deep so the finished patio blocks will be sturdy and heavy.
5. Tap the pans firmly against the table or ground a few times to settle the cement and release large air bubbles without flattening out the wrinkled pan texture.
6. Smooth only the top surface lightly with a scrap board or trowel if needed, leaving the bottom and sides untouched so the crinkle pattern stays sharp.
7. Let the cement cure in the pans according to the mix directions, usually until hard enough to handle after 24 hours, then longer if the weather is cool or damp.
8. Peel away the foil carefully once the blocks are firm, and let the patio blocks finish curing for several more days before placing them in a walkway or high-traffic spot.
Variations & Tips
For a more rustic look: Crumple the pans more aggressively before opening them back up. The deeper the folds, the more dramatic the stone-like texture will be.
For smaller stepping stones: Use less cement in each pan, about 1 inch deep, if you want lighter pieces for decorative edging rather than main walkway blocks.
For easier release: If your foil feels thin and wants to cling, let the blocks harden a bit longer before peeling. I’ve found patience works better than tugging and risking a chipped corner.
For straighter placement: When installing the blocks, press them into a shallow bed of sand or soil so they sit level even if the edges are naturally uneven from the crumpled pans.
Weather tip: On hot, windy days, cover the curing blocks loosely so they don’t dry too fast and crack. Slow curing usually gives you a stronger finished block.
My favorite use: I like these tucked through a kitchen garden where the crinkled texture catches the light after a summer rain. They have that lovely old-fashioned, make-do beauty that never seems to go out of style.