
There’s something mighty satisfying about turning a plain household item into something sturdy enough to earn its keep out in the garden. This project uses plastic dish drainers and cement to make heavy grooved garden bases that can hold pots up off the ground, create a more stable footing under planters, or help keep containers from rocking in soft soil after a good Midwestern rain.
I’m especially fond of simple projects like this because they don’t ask much of you, but they give back for years. If you’ve got a patio full of pots, a few awkward spots in the yard, or just like practical fixes that feel a little clever, this is an easy afternoon project with a useful result.
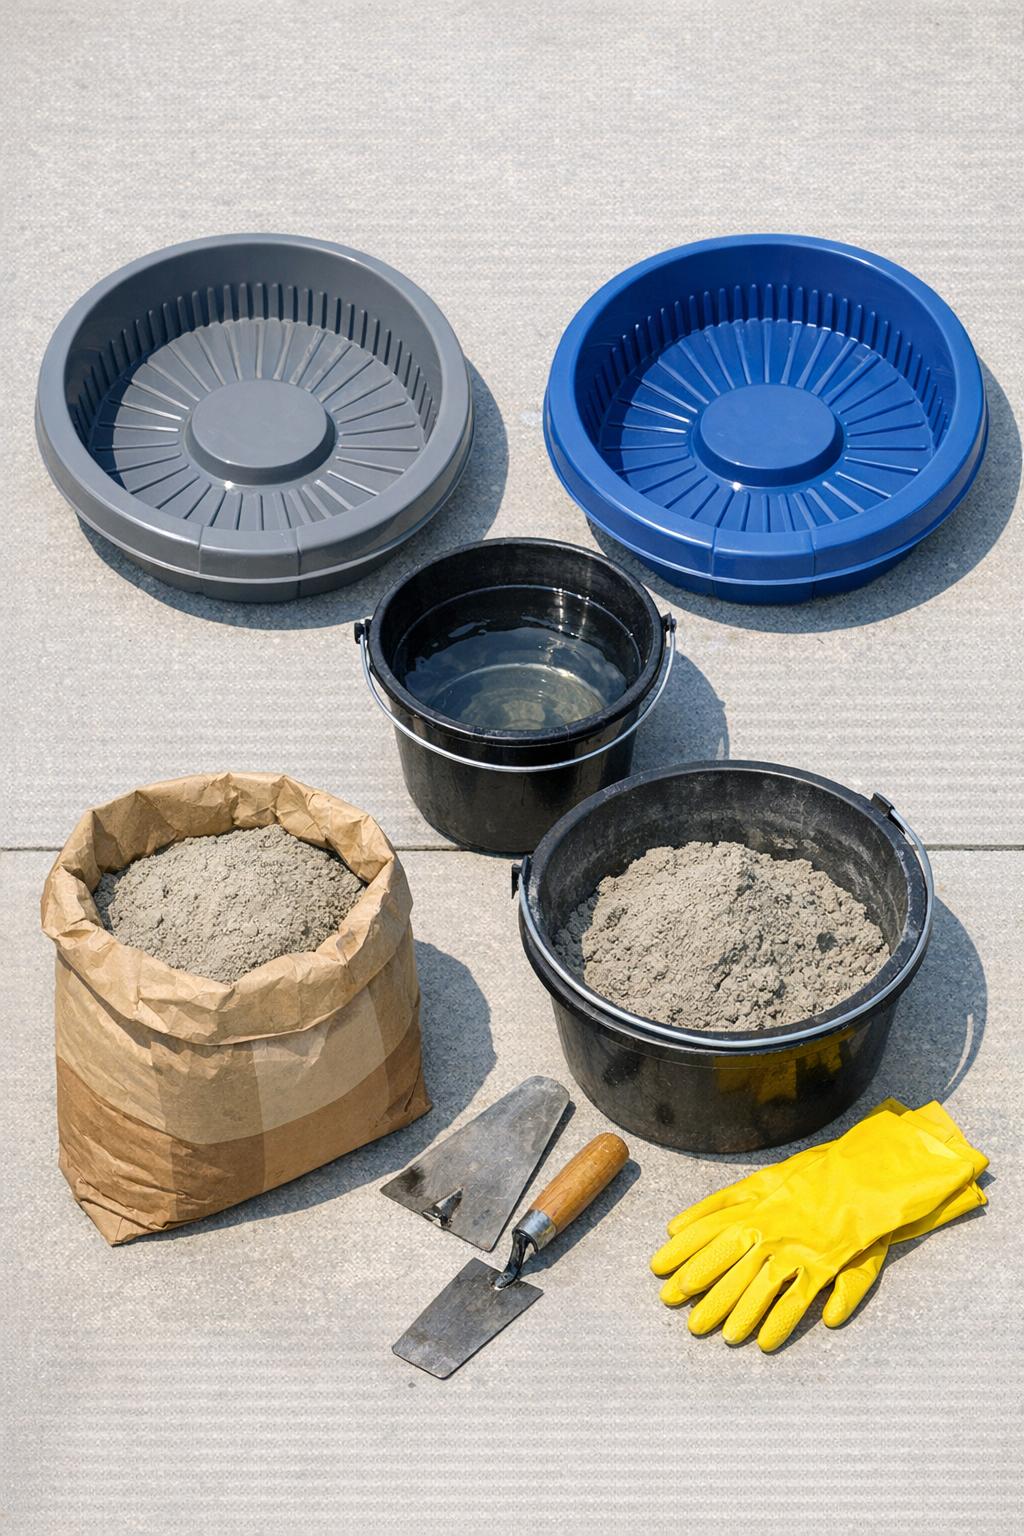
Materials
2 plastic dish drainers, 12 to 14 inches wide, with raised grooves or ridges
Instructions
1. Set your cardboard or drop cloth on a flat, level surface outdoors or in a well-ventilated workspace, and place the dish drainers on top with the inside facing up.
2. Lightly coat the inside of each drainer with cooking spray or a very thin wipe of vegetable oil so the cured cement releases more easily later.
3. Pour the cement mix into your bucket and add water a little at a time, stirring until you have a thick, scoopable texture like stiff mashed potatoes.
4. Scoop cement into the first dish drainer, pressing it firmly into all the grooves and corners so the pattern transfers cleanly.
5. Continue filling until the cement layer is about 2 to 2 1/2 inches thick, then smooth the top with your trowel so the base will sit evenly when turned out.
6. Repeat the filling and smoothing process with the second drainer, making both bases roughly the same thickness so they cure evenly and look like a matched set.
7. Tap the sides of each drainer a few times with your hand to settle the cement and release trapped air bubbles.
8. Let the cement set undisturbed according to the bag directions, usually 24 hours for initial hardening, keeping the molds level the whole time.
9. Once firm, gently flex the plastic dish drainers and lift them away from the cement bases; if needed, tap the bottoms lightly to help release them.
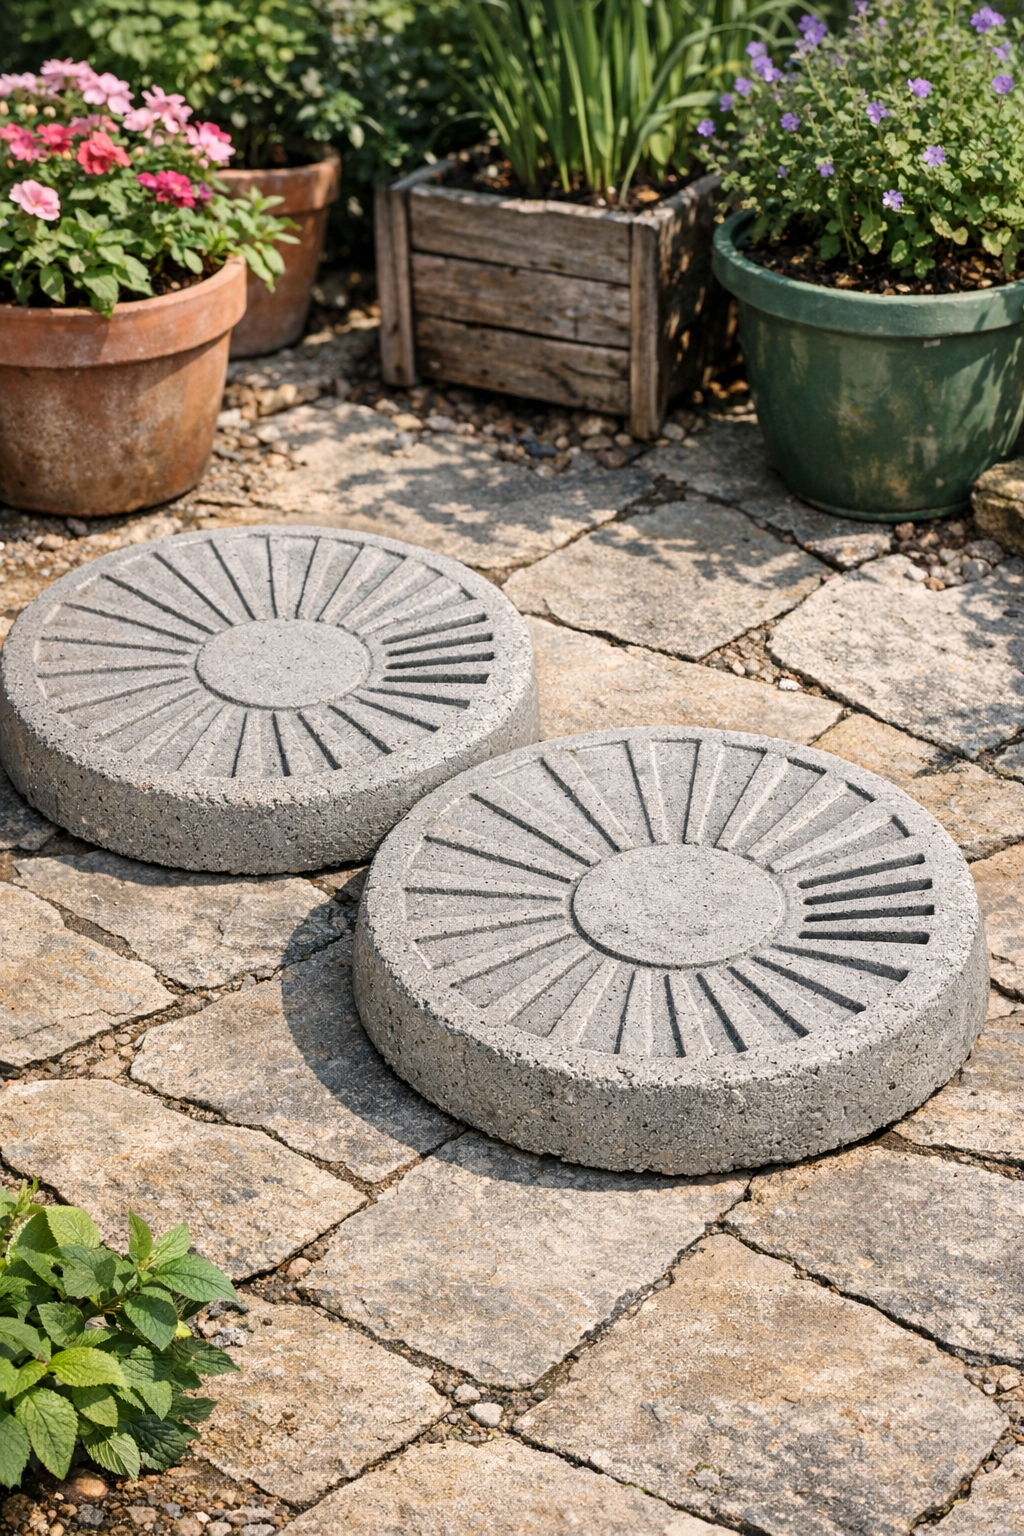
10. Allow the bases to cure for another 2 to 5 days before putting full weight on them, then place them under planters, urns, or other garden containers with the grooved side facing up or down as needed for drainage and grip.
Variations & Tips
For larger pots: Choose wider, heavier plastic drainers and make the cement layer closer to 3 inches thick for extra support under big containers.
For easier drainage: If your drainer has deep channels, position the finished base so those grooves help direct water away from the bottom of the pot.
For a cleaner release: Don’t overdo the oil or spray; just a whisper-thin coat works best and keeps the cement surface from getting slick spots.
For a rustic finish: Leave the edges as-is for a farmhouse garden look, or rub off any sharp bits with a scrap of sandpaper after the base fully cures.
For longer life: Let the bases cure fully before exposing them to hard freezes or heavy watering; cement gains strength steadily over several days.
Best use: I like these under planters that sink into mulch or tip on uneven ground, because that extra weight and those molded grooves make a real difference in day-to-day garden tidiness.