
I love a clever kitchen-adjacent trick, and this project has that same satisfying “how did that become that?” energy. In this tutorial, I’m turning ordinary black plastic garbage bags into faux slate patio tiles with just two additional main items, creating lightweight decorative tiles that look surprisingly stone-like once they’re layered, fused, and finished.
This is a wonderful project for anyone who enjoys budget-friendly home décor, small patio upgrades, or a good bit of creative upcycling. As someone who spends plenty of time thinking about texture, color, and transformation in cooking, I find this craft especially fun because it’s all about building layers and surface character—very much like developing a good crust in a cast-iron pan, only here we’re making “slate.”
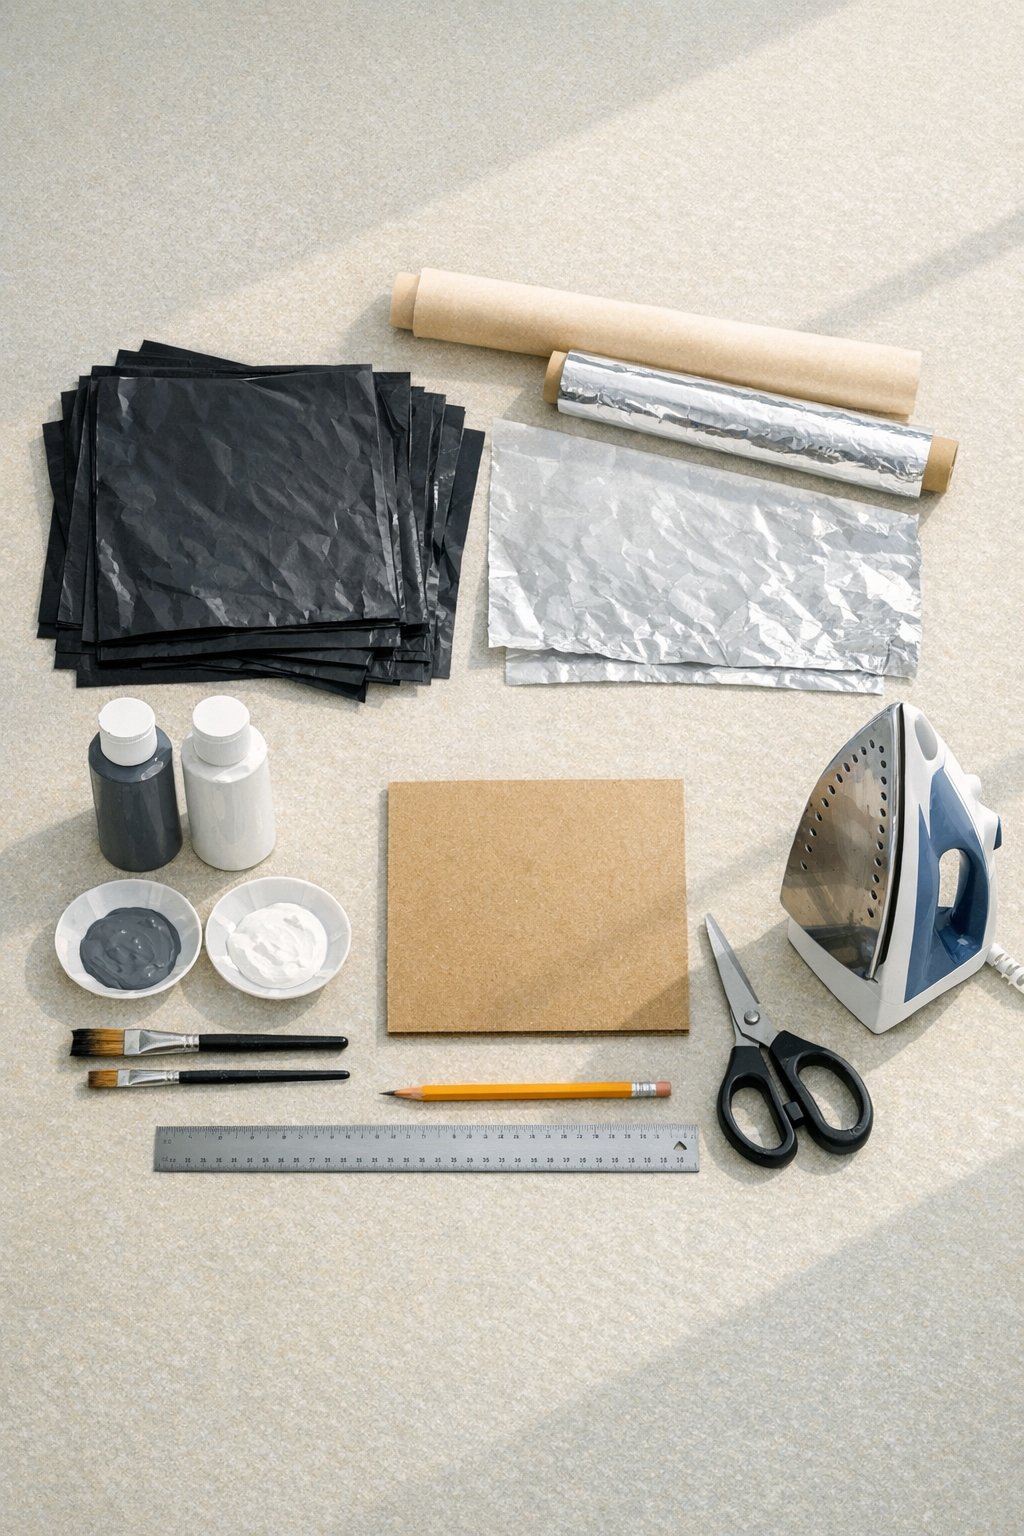
Materials
Instructions
1. Cut the cardboard into a square template measuring 12 x 12 inches, then use it to mark and cut 18 plastic squares from the garbage bags so you can make three tiles with six layers each.
2. Stack six black plastic squares evenly, smoothing them flat with your hands so the edges line up as closely as possible.
3. Place the plastic stack between the parchment paper on top and aluminum foil underneath, creating a protective sandwich before applying heat.
4. Press the iron gently over the parchment for 5 to 8 seconds at a time, lifting and moving it section by section until the layers fuse into one thicker sheet.
5. Let the fused sheet cool for 1 minute, then peel back the parchment and trim the edges into a clean 12 x 12 inch square if needed.
6. Repeat the layering and fusing process two more times so you have three square tile bases in total.
7. Crumple each tile lightly in your hands and flatten it back out to create natural-looking ridges and uneven surface texture similar to slate.
8. Mix the gray acrylic paint with a small touch of black and white to make a slate tone, then dry-brush it lightly across the raised texture so the black base still shows through.
9. Add a very small amount of white paint to a dry brush and skim just the highest ridges to mimic the subtle highlights you see on real slate.
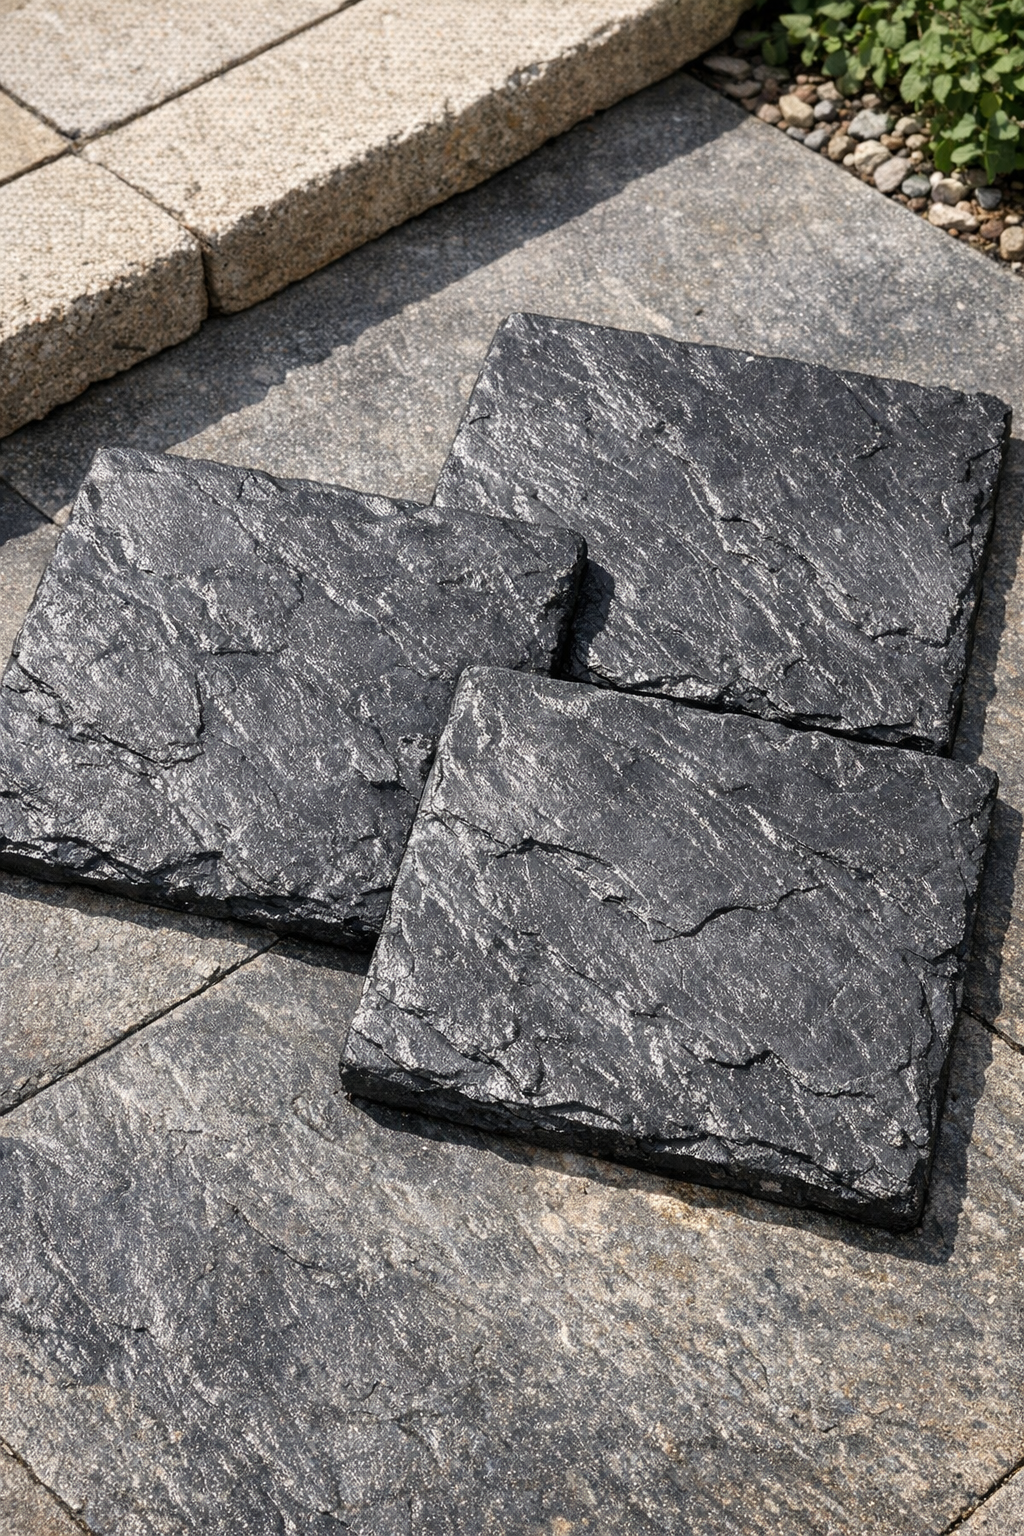
10. Allow the painted tiles to dry completely for at least 30 minutes before arranging them as decorative faux patio accents, table centerpieces, or plant-stand surfaces.
Variations & Tips
Smaller tile option: If you want coasters or plant-pot risers instead of patio-style pieces, cut the plastic into 4 x 4 inch or 6 x 6 inch squares and follow the same layering method.
Texture control: For a flatter, more modern tile, crumple the fused sheet only once very lightly; for a more rugged stone look, crumple and smooth it two or three times before painting.
Paint finish: Dry-brushing is what makes this convincing, so use very little paint on the brush and build the color gradually rather than trying to cover the black base all at once.
Heat safety: Keep the iron on low heat and always test a small piece first, because too much heat can shrink the plastic too fast or create holes.
Best use: These are best as decorative faux tiles rather than load-bearing walking surfaces, and I particularly like them under planters or grouped on an outdoor table for a dramatic slate look without the weight.