
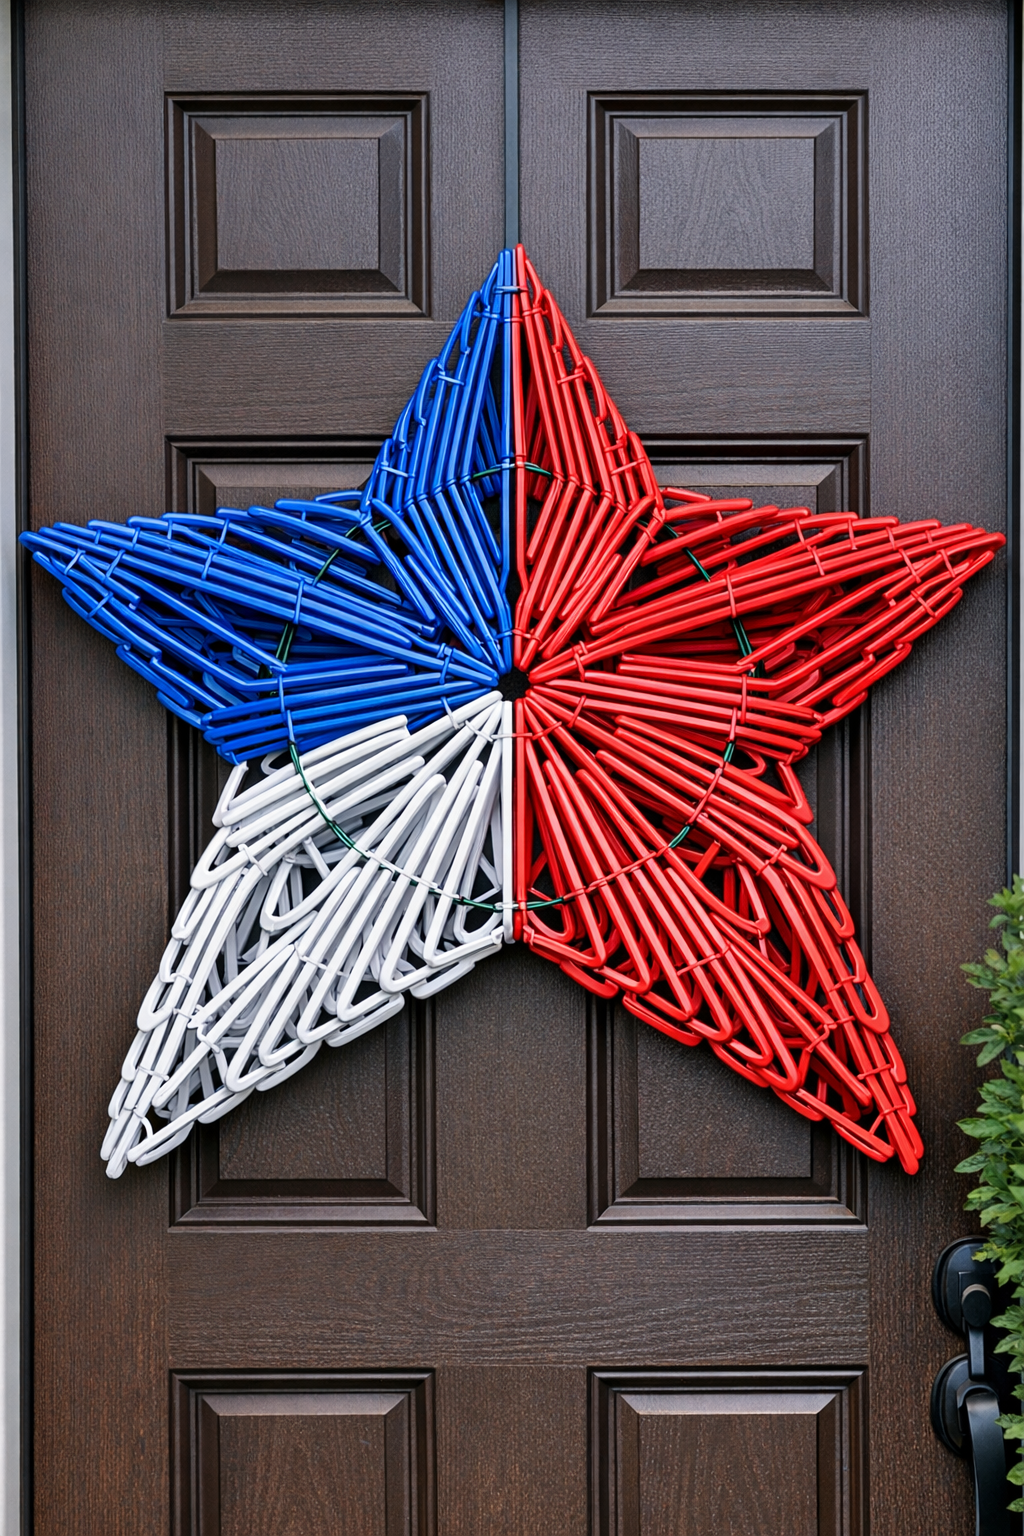
This patriotic front door hanger is one of those big-impact projects that looks much more complicated than it really is. By arranging plastic clothes hangers into a star shape and securing them to a sturdy wire wreath form, you can make an oversized red, white, and blue decoration that feels cheerful, festive, and perfect for summer holidays.
I love projects like this because they give you that “wow, you made that?” reaction without needing fancy tools or a whole afternoon of frustration. If you like budget-friendly décor, or you want something bold for Memorial Day, the Fourth of July, or Labor Day, this is a fun one to tackle.
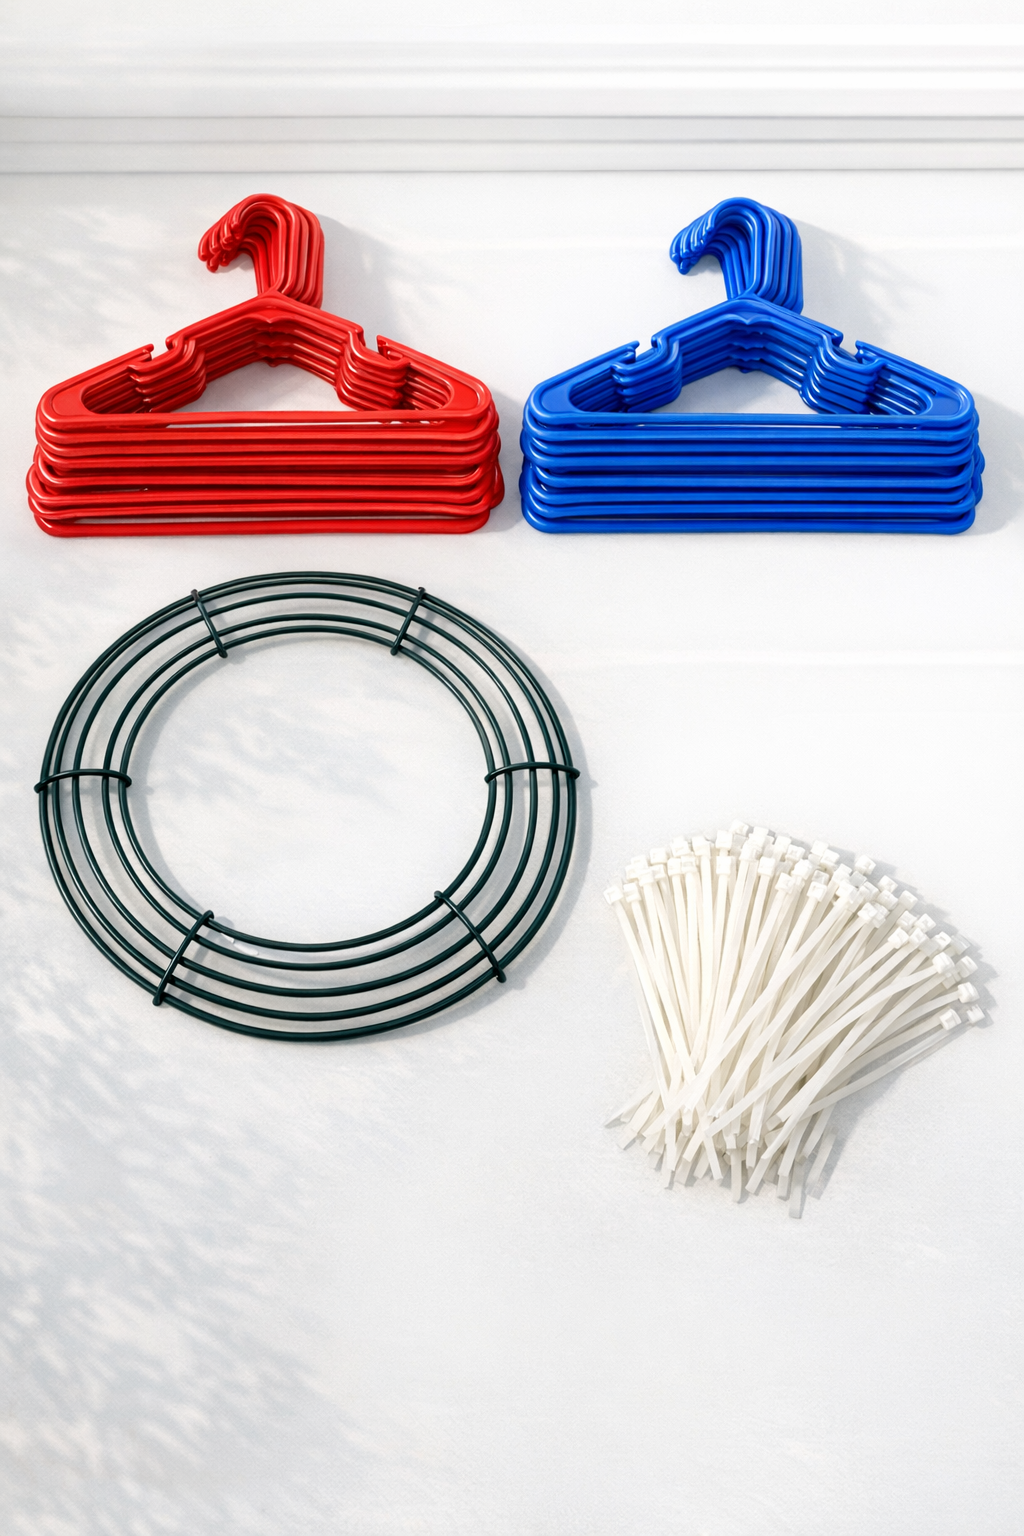
Materials
25 red plastic clothes hangers, standard adult size
Instructions
1. Clear a large work surface and sort the hangers by color so you can easily plan your pattern before attaching anything. I like to lay them all out first because it helps me catch uneven spacing early.
2. Place the wire wreath form flat on your table and tape your star reference nearby so you can keep the five points consistent as you work. Think of the wreath form as the sturdy frame that will support the whole shape.
3. Start building the top point of the star by overlapping 5 hangers with the hook ends angled inward toward the center of the wreath form. Use 2 zip ties per hanger to fasten them tightly to the wire frame.
4. Add the next group of hangers to form the upper right point, slightly overlapping the first section so the star begins to look full instead of sparse. Keep the bottom edges of the hangers fanned outward to create clean, sharp lines.
5. Continue attaching hangers point by point until all five points are formed, alternating red and blue sections around the wreath form. Step back every few hangers to check that the star looks balanced from a distance.
6. Fill in thin spots with the remaining hangers, tucking them between existing layers and zip-tying them onto the frame where needed. Use more red on one side and more blue on the other if you want a bolder two-tone look.
7. Tighten every zip tie firmly, then trim the tails so the back sits flatter against your door. This is the step that makes the project look tidier and keeps little hands from getting scratched when you hang it up.
8. Rotate the star and adjust the hanger angles by hand until all five points look even and full. Plastic hangers have a little give, so don’t be afraid to nudge them into place.
9. Tie an 18-inch ribbon or piece of outdoor twine securely to the top back section of the wreath form. Make sure the knot is centered so the star hangs straight.
10. Hang the finished star on your front door or porch wall and fluff the points one last time for the fullest look. Once it’s up, the layered hangers catch the light in such a fun way.
Variations & Tips
Color placement: For a more classic patriotic look, group all the red hangers on three points and all the blue hangers on the other two points. If you prefer a mixed look, alternate colors evenly around the entire star.
Budget tip: Dollar-store hangers work just fine for this project. If the plastic feels flimsy, use an extra zip tie at each attachment point to keep everything secure.
Door-friendly hanging: If you do not want the wreath form rubbing against your door, add a couple of small felt pads to the back. That little trick helps protect painted surfaces.
Shape control: If your star looks too round, pull the outer hanger corners farther toward each point to sharpen the silhouette. I usually make a few final adjustments after it is hanging, because that is when uneven spots are easiest to notice.
Picky-decorator variation: If bright red and blue feels too bold for your porch, use navy and white hangers for a softer look. I always think it is worth matching a project to the style of your home so it feels intentional instead of random.
Weather tip: For a covered porch, this project holds up nicely through a holiday weekend or season. If your door gets direct sun or heavy rain, use outdoor-rated zip ties and bring the hanger inside during rough weather to help it last longer.