
I have always had a soft spot for porch projects that look a sight fancier than they really are, and this one surely fits the bill. These giant faux succulent planters are made from plain black nursery pots and inexpensive plastic spoons, but once they are painted a soft matte sage and layered like petals, they take on that plump rosette look you see in succulent gardens and high-end catalogs.
Out here in the Midwest, we learn to appreciate decorations that can stand up to a bit of weather and still make the front steps feel welcoming. If you want a porch accent that is lightweight, budget-friendly, and simple enough to make in an afternoon, this is a good one. I especially love it for folks who want the look of greenery without having to fuss over watering.
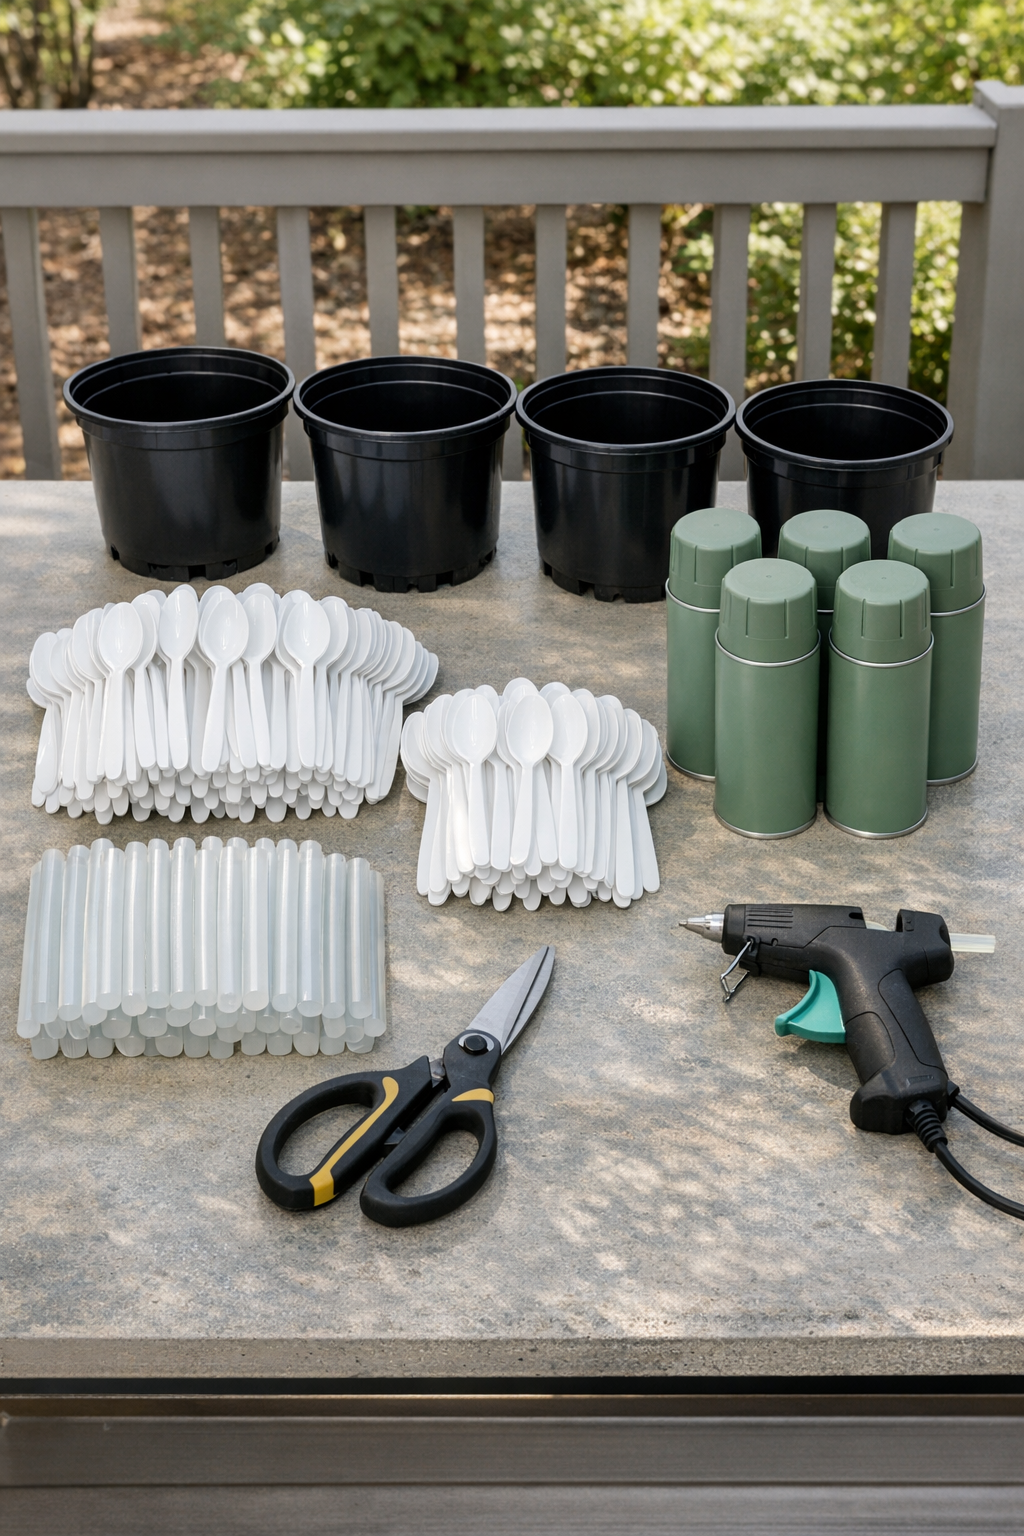
Materials
Instructions
1. Wash the 200 plastic spoons in warm soapy water, rinse them well, and let them dry completely so the paint will stick cleanly.
2. Set up your painting area outdoors or in a very well-ventilated space with a drop cloth underneath, then put on gloves and a mask.
3. Arrange the spoons in a single layer with the bowl sides facing up, working in batches so they do not touch while you paint.
4. Spray the spoons with light coats of matte sage green paint, keeping the can 8 to 10 inches away, and let them dry according to the paint directions.
5. Flip the spoons and spray the other side with another light coat so the finished planters look good from every angle.
6. Once the paint is fully dry, cut the handles off all 200 spoons, trimming each one just below the bowl so you are left with petal-shaped pieces.
7. If you want the pots to feel sturdier on the porch, add about 1 cup of gravel or a few small stones to the bottom of each nursery pot before decorating.
8. Start with the first pot upside down, and hot glue a ring of spoon petals around the bottom edge, overlapping them slightly with the rounded sides facing outward.
9. Add the next ring above the first, staggering the petals so each new spoon sits between two petals below it, just like a succulent rosette.
10. Keep working upward in rows until the whole outside of the pot is covered, leaving only the flat base uncovered since it will sit against the porch floor.
11. For the top section near the opening of the pot, angle the spoon petals slightly inward to mimic the tighter center of a giant succulent.
12. Repeat the same process for the remaining 3 pots, using about 50 spoon petals per pot and pressing each piece for a few seconds so the glue sets firmly.
13. Check all 4 planters for gaps, then fill any bare spots with extra spoon petals until the shape looks full and even.
Variations & Tips
Try a softer color: Dusty eucalyptus, muted olive, or pale blue-green spray paint all give a lovely succulent look. I lean toward sage because it feels calm and timeless on a porch.
Use different pot sizes: If your nursery pots are a bit larger or smaller, simply adjust the spoon count. What matters most is keeping the rows evenly spaced and nicely overlapped.
Work in small glue sections: Hot glue sets quickly, so I only glue 4 to 6 petals at a time. That keeps the rows neat and saves you from having to pull pieces off and start over.
Add a protective finish: If your porch gets strong sun or frequent rain, a clear matte outdoor sealer can help the paint last longer. Make sure the paint is fully cured before spraying a topcoat.
Style them simply: These look handsome flanking a front door, grouped by porch steps, or lined along a railing. In my experience, repeating all 4 together gives the biggest impact and makes the whole trick look much more expensive than it is.
Mind the heat: On very hot days, painted plastic can soften a little, so I like to keep these in a covered porch area rather than in harsh all-day sun.