
When summer is in full swing, pool noodles, inflatable rings, and foam toys seem to multiply overnight. I love a tidy yard, and this simple pool toy hammock is one of those projects that solves a real problem without asking for much time, money, or skill. By stretching a sturdy mesh laundry bag between two wooden fence posts with bungee cords, you create an airy storage sling that lets wet toys drip dry while keeping them off the ground.
This is a great beginner DIY for anyone with a fence near the pool, patio, or garden side yard. I’m always drawn to practical solutions that work with what you already have, and this one reminds me of the best kitchen tricks: simple materials, smart tension, and good airflow make all the difference.
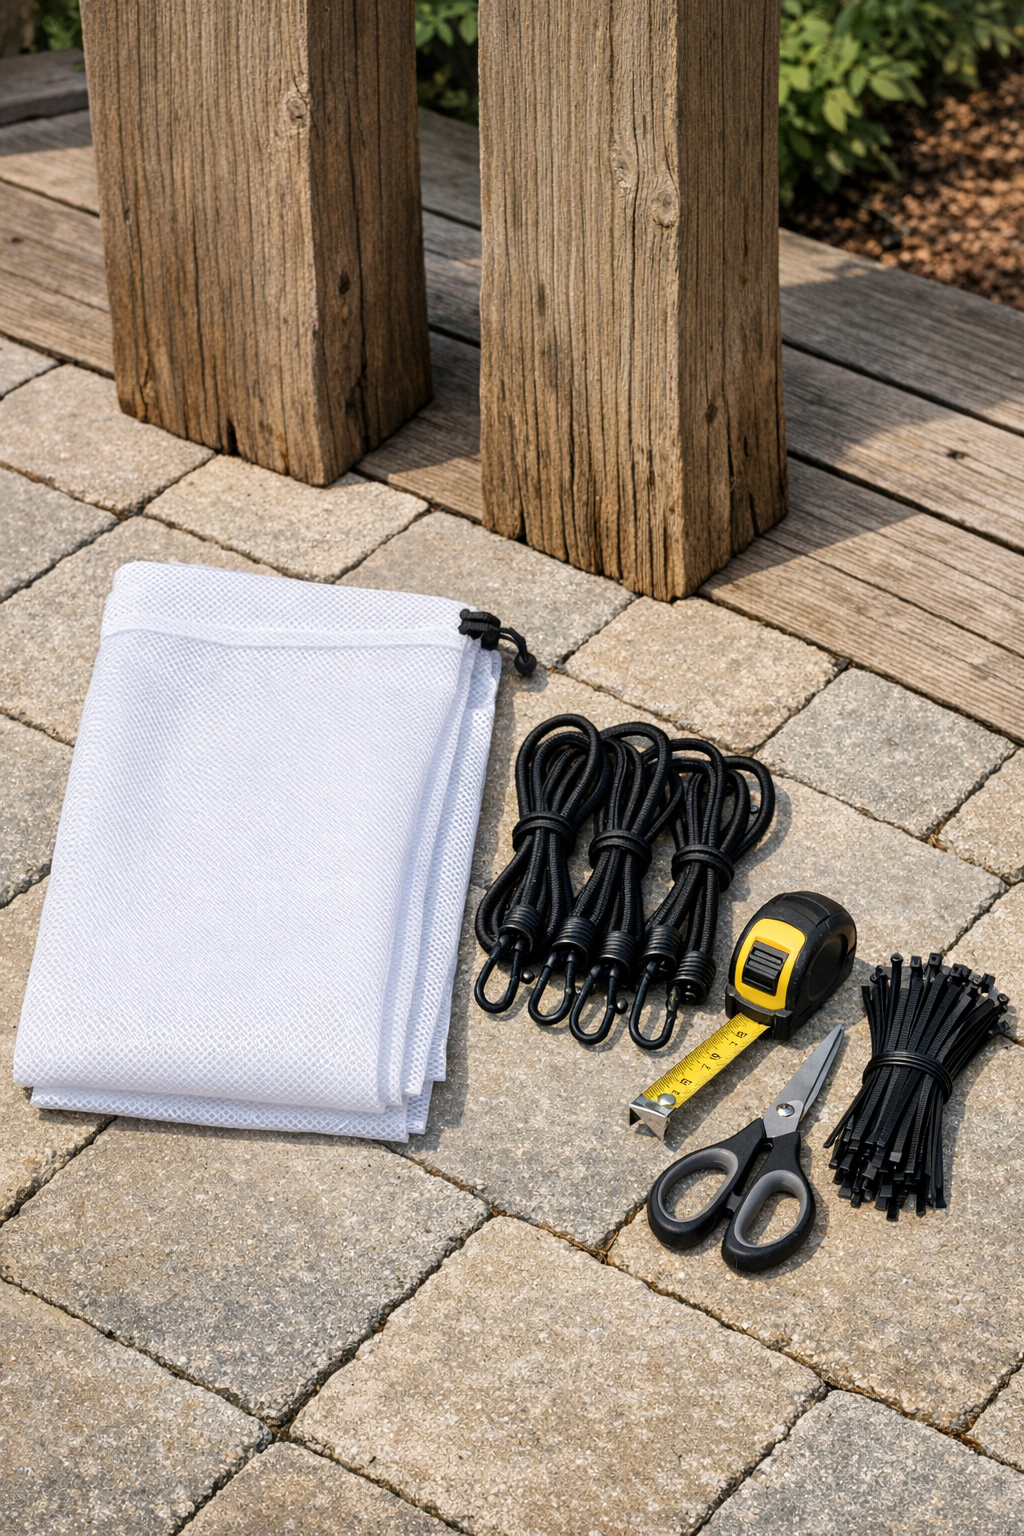
Materials
Instructions
1. Choose two sturdy wooden fence posts near the pool or patio that are 24 to 40 inches apart. Make sure the area is easy to reach and high enough to keep toys off the ground.
2. Measure the distance between the posts and compare it to your mesh bag width. The bag should stretch gently across the space without pulling so tight that the seams strain.
3. Dry off the posts if they are damp or dirty so the cords sit securely. Check for splinters, loose boards, or protruding nails before you begin.
4. Open the mesh laundry bag fully and turn it so the widest side faces outward like a sling. If the bag has a drawstring opening, position that side at the top for easy loading later.
5. Hook one bungee cord through the upper left corner or top edge of the mesh bag and secure the other end around the left fence post. Repeat on the upper right corner with a second bungee cord attached to the right fence post.
6. Attach a third bungee cord to the lower left corner or lower edge of the bag and secure it to the left post. Do the same on the lower right side so the bag forms a deep pocket in the center.
7. Adjust the bungee cord tension until the bag sits evenly and dips in the middle without sagging too low. You want enough give to hold bulky toys but not so much that items spill out.
8. Add reusable zip ties at the corners or along the side edges if the mesh shifts too much. This extra step is especially helpful if you store long pool noodles or larger foam floats.
9. Test the hammock with a few lightweight pool toys first, then add the rest gradually. Spread the toys out so air can circulate and water can drain through the mesh.
10. Remove and rehang the bag seasonally if needed, and replace any worn cords right away. Once installed, this hammock becomes an easy grab-and-drop zone for everyday pool cleanup.
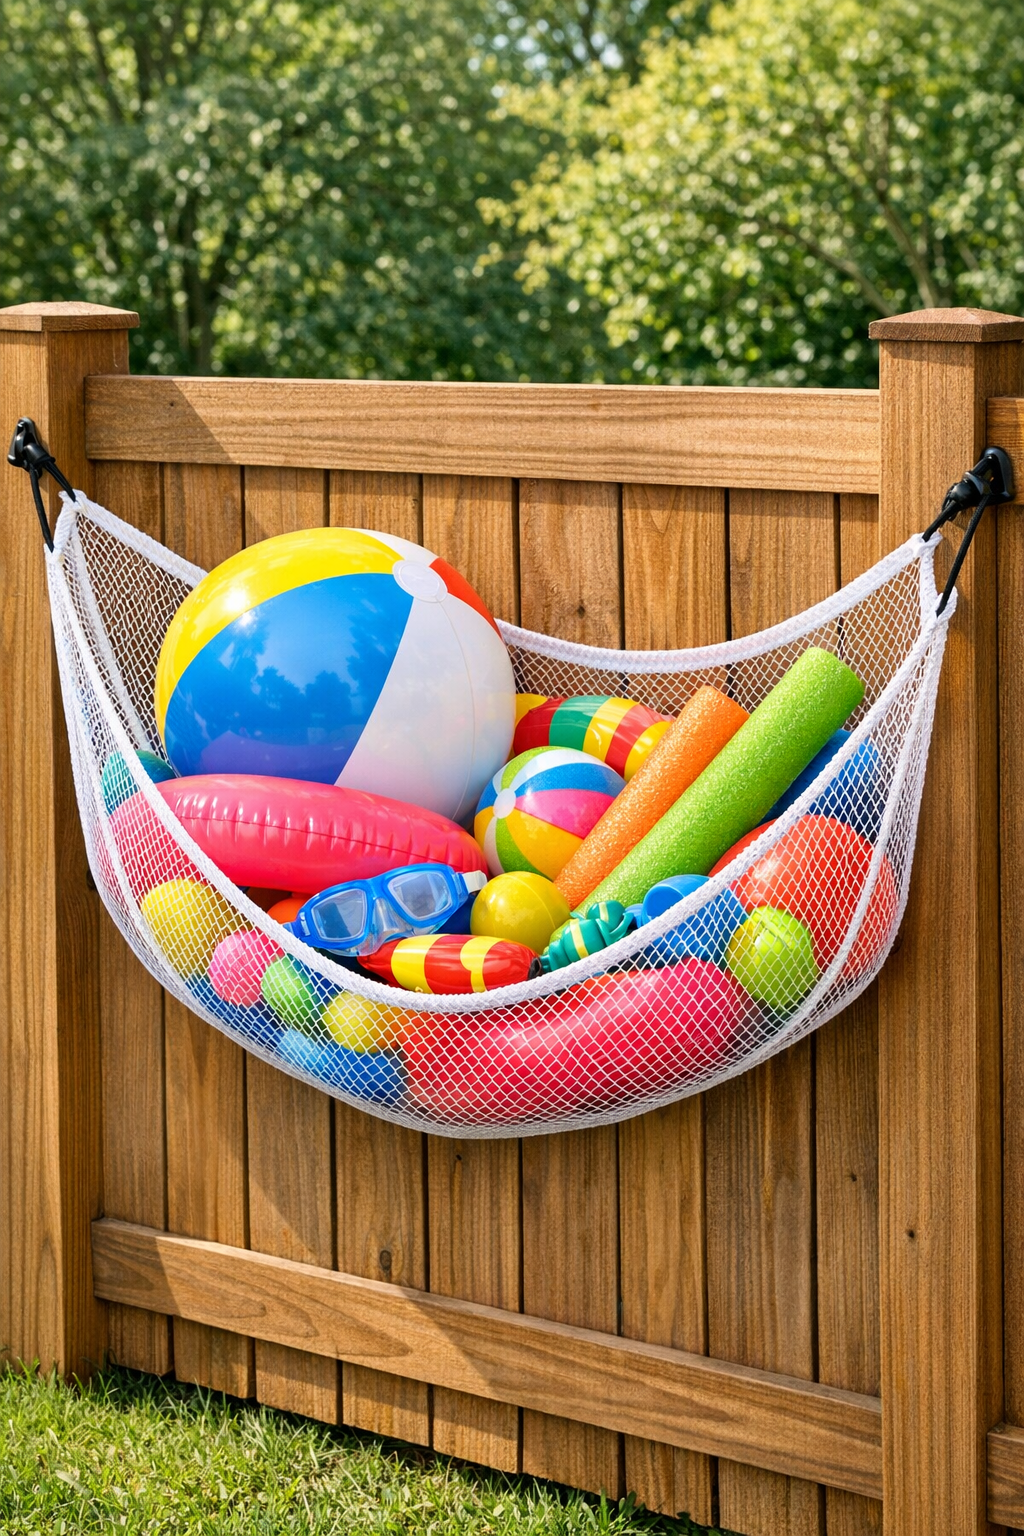
Variations & Tips
Use a different mesh bag: A zipper-top laundry bag or large mesh gear bag also works well, as long as the seams are reinforced and the material drains quickly.
Adjust the height: Mount the hammock lower for children to help with cleanup, or higher if you want to keep toys away from pets and lawn equipment.
Choose the right cords: I prefer shorter heavy-duty bungees because they give enough stretch without making the hammock too loose. If your posts are farther apart, use a larger bag before moving up to much longer cords.
Keep it lightweight: This setup is best for foam toys, noodles, dive sticks, and small inflatables. Skip heavy water-filled loungers or anything with sharp edges that could tear the mesh.
Make it look tidier: If you want a cleaner finish, use matching black zip ties and a white or neutral mesh bag so the storage blends into the fence instead of shouting for attention.
Check for wear: Sun, chlorine, and weather can age both mesh and elastic. Give the hammock a quick inspection every couple of weeks, much the way I check a favorite kitchen towel or oven mitt that gets constant use.