
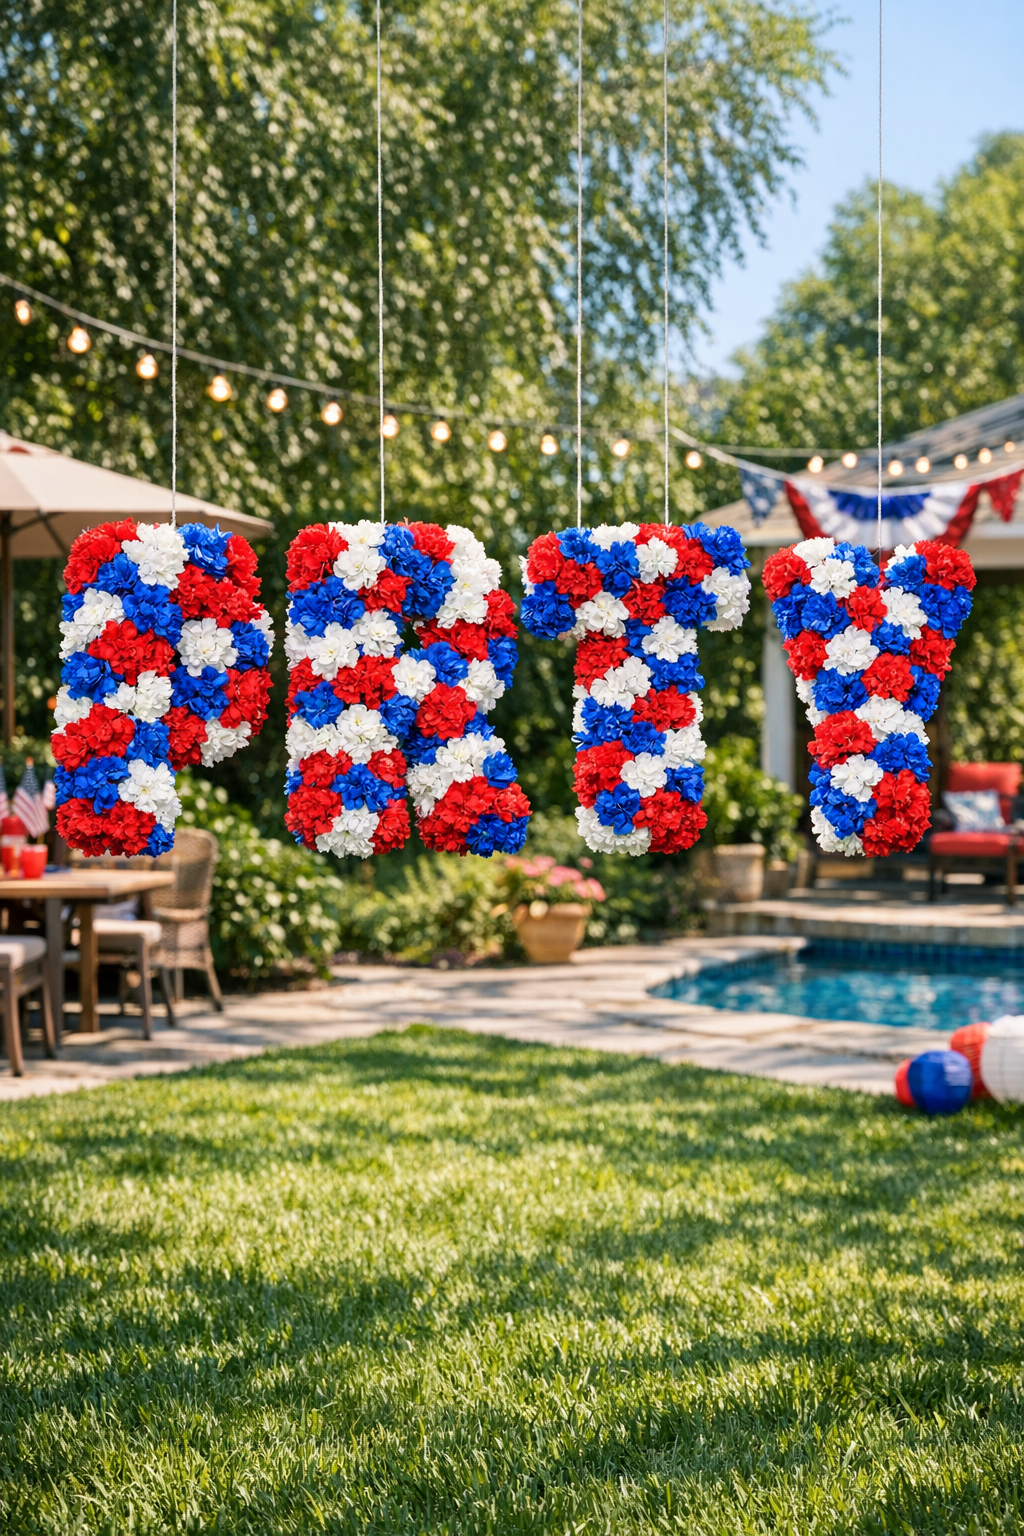
There’s something wonderfully dramatic about oversized party décor, especially when it looks custom but is built from humble, easy-to-find supplies. For this project, I’m turning four large white Styrofoam blocks into floating backyard party letters, then covering them with a dense layer of bright red, white, and blue Dollar Store flowers for a festive finish that reads beautifully from across the yard.
I like this kind of build because it gives you a big visual payoff without asking for advanced carpentry skills. If you’re decorating for a summer cookout, graduation, patriotic holiday, birthday, or neighborhood gathering, this is the sort of project that feels ambitious but is actually quite manageable when broken into simple steps.
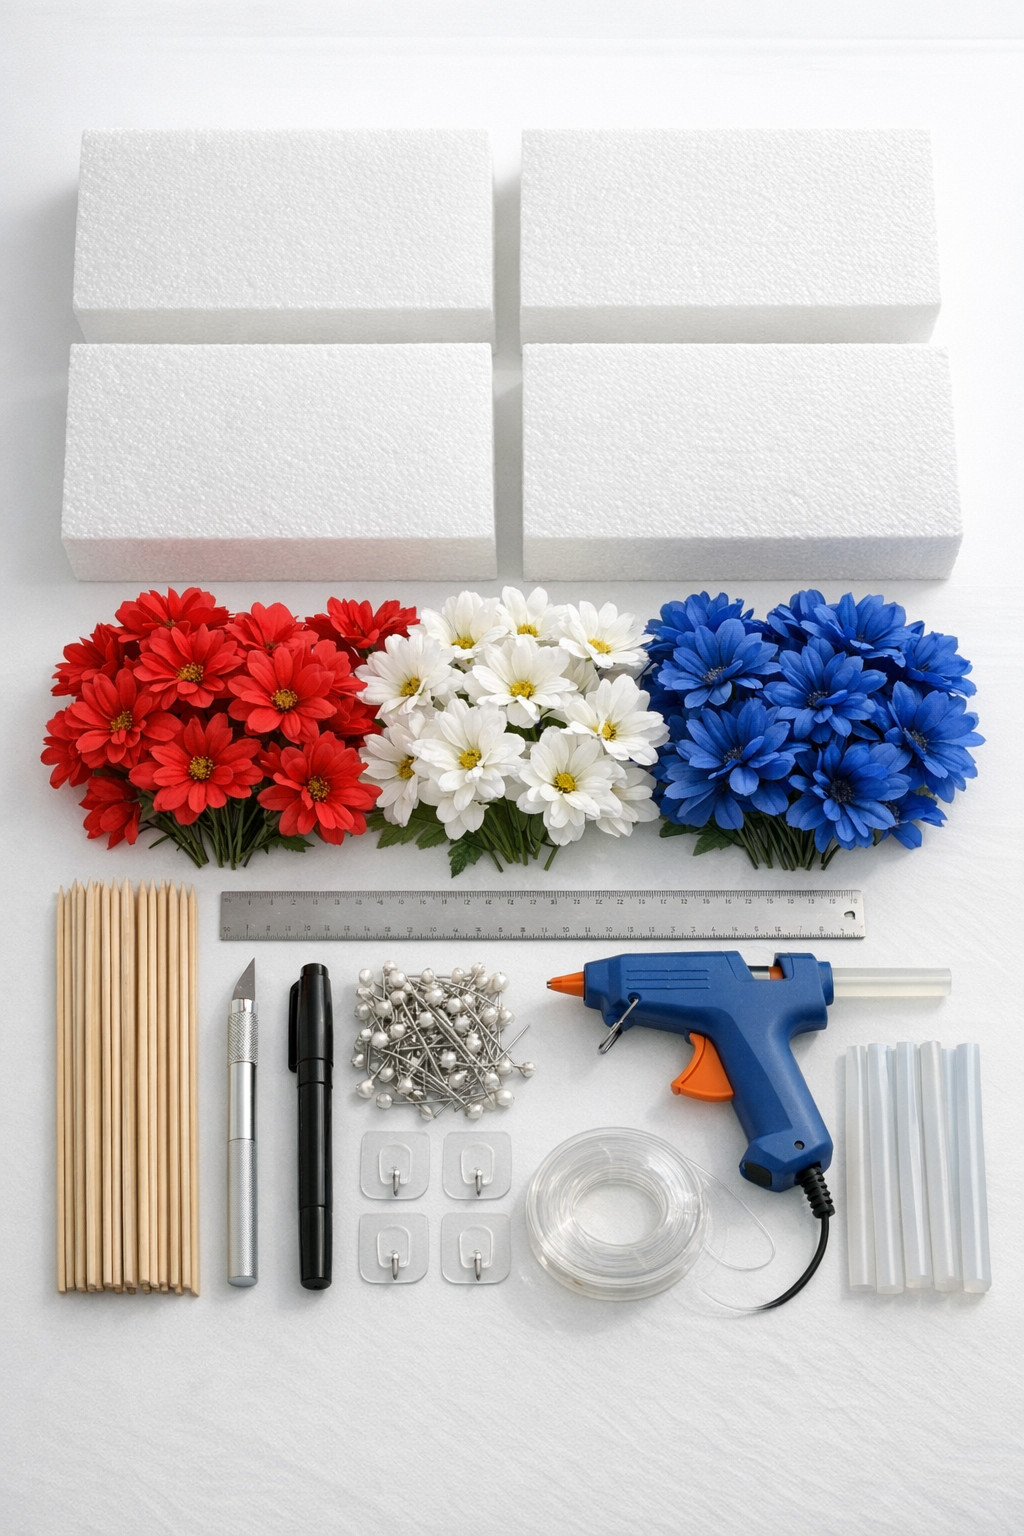
Materials
Instructions
1. Decide on your four-letter word or letter set before cutting anything, and sketch each letter to fit one Styrofoam block face. Block-style letters with straight edges are easiest to cut cleanly and read clearly from a distance.
2. Measure the front of each Styrofoam block and mark the letter outlines with a black marker, leaving at least 1 inch of border around the outside edge so the foam stays strong. Keep the strokes bold and simple rather than narrow or decorative.
3. Place the block on a protected surface and cut along the marked lines with a sharp craft knife using several shallow passes instead of one deep cut. If your letters include inner cutouts, like an A or O, remove those centers slowly so the edges stay crisp.
4. Trim any rough foam bits with the knife and test the shape from a few feet away to make sure each letter reads clearly. Clean silhouettes matter more than perfect edges because the flowers will cover the surface.
5. Sort the flowers by color and remove bulky plastic stems, leaving 1 to 2 inches of stem on each bloom when possible. For flowers that pop off completely, set them aside to attach later with hot glue or toothpicks.
6. Plan your color placement before attaching anything by laying red, white, and blue blooms across one letter. I like alternating the colors in loose clusters so the finished look feels full and festive instead of rigidly striped.
7. Start covering the front face of each letter by pushing flower stems directly into the foam, spacing blooms tightly so very little white shows through. Add a dot of hot glue at the stem base for loose flowers or spots where the foam feels crumbly.
8. Fill gaps with smaller blooms, single petals, or trimmed flower pieces secured with toothpicks or floral pins. Step back often and check for thin areas, because empty patches are easier to spot from a distance than they are up close.
9. Cover the outer edges of each letter with another row of flowers so the shape looks lush and finished from the side. Use floral pins or short skewers where the side pieces need extra hold.
10. Reinforce the backs by inserting 2 or 3 wooden skewers horizontally into the thickest part of each foam letter if it feels fragile. This small step helps prevent cracking when you lift or hang the finished pieces.
11. Attach fishing line loops to the back of each letter with floral pins and hot glue, placing them evenly near the top for balance. If the letters are especially large, make two hanging points per letter instead of one.
12. Hang the letters from outdoor hooks, a fence, pergola, or sturdy backdrop frame, adjusting the line lengths until they appear to float evenly. Give each letter a gentle shake to make sure the flowers and hanging points are secure before the party starts.
Variations & Tips
Choose an easy word: Four letters like HOME, USAA-style initials, GRAD, LOVE, or a name abbreviation are easiest for this build because each block becomes one letter.
Use flower texture wisely: Mixing larger blooms with a few smaller filler flowers gives the surface a fuller, more professional look and helps stretch your 300-flower supply.
Keep the letters lightweight: Don’t overdo the glue; the stems pushed into foam do most of the work, and too much glue adds weight without adding much strength.
Plan for weather: If the display will be outside all day, hang it in a spot protected from strong wind and direct sprinkler spray, since Styrofoam and bargain florals both hold up better when kept relatively dry.
Make it event-specific: The same method works for school colors, wedding neutrals, baby shower pastels, or holiday palettes; just swap the flower colors and keep the same foam-letter base.
Check spacing before guests arrive: I always hang oversized décor a little earlier than I think I need to, because one crooked letter is somehow the first thing everyone notices in a backyard setup.