
I love a yard project that looks high-end but is secretly very doable on a busy weekend, and these glow-in-the-dark stepping stones check every box. You make them by pouring quick-set concrete into cake pans, then pressing in glass marbles to create a pretty, light-catching surface that adds color by day and a soft glow at night.
If you want an easy way to dress up a garden path, fill in a bare patch near a flower bed, or add a little personality to the side yard, this is a great beginner-friendly project. I’m always drawn to DIYs that feel creative without requiring a full workshop, and this one is especially satisfying because the results look so polished for such simple materials.
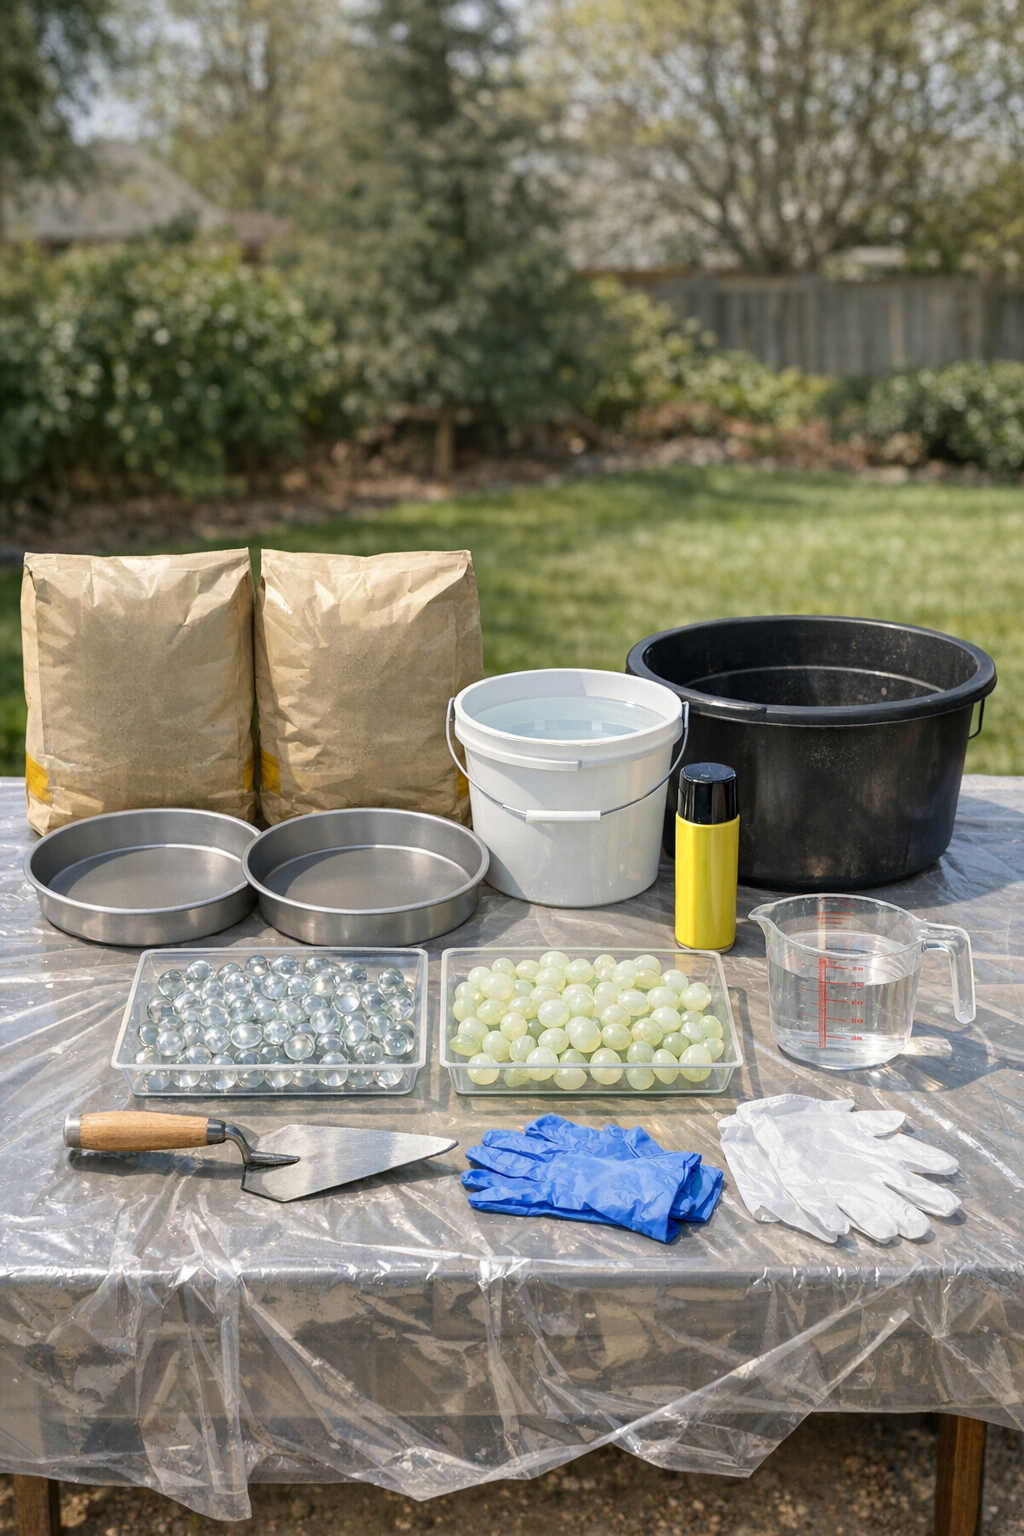
Materials
Instructions
1. Set up your work area on a flat outdoor surface and lay down the plastic drop cloth. Lightly coat the inside of each cake pan with nonstick spray or a very thin layer of petroleum jelly so the concrete releases more easily later.
2. Sort your glass marbles or flat gems by color and size before you mix the concrete. I like doing this first because once the concrete is ready, you’ll want to work pretty quickly.
3. Pour one bag of quick-set concrete into the mixing tub and add water a little at a time, stirring until it reaches a thick brownie-batter consistency. Mix only one bag at a time so it does not begin setting before you can pour and decorate it.
4. Divide the mixed concrete evenly between the two cake pans, filling each pan to about 1 1/2 inches deep. Tap the pans gently on the ground a few times to release trapped air bubbles and level the surface.
5. Wait 5 to 10 minutes, just until the surface begins to firm up slightly but is still soft enough to press. This short pause helps keep the marbles from sinking too deep, which I learned the hard way the first time I rushed it.
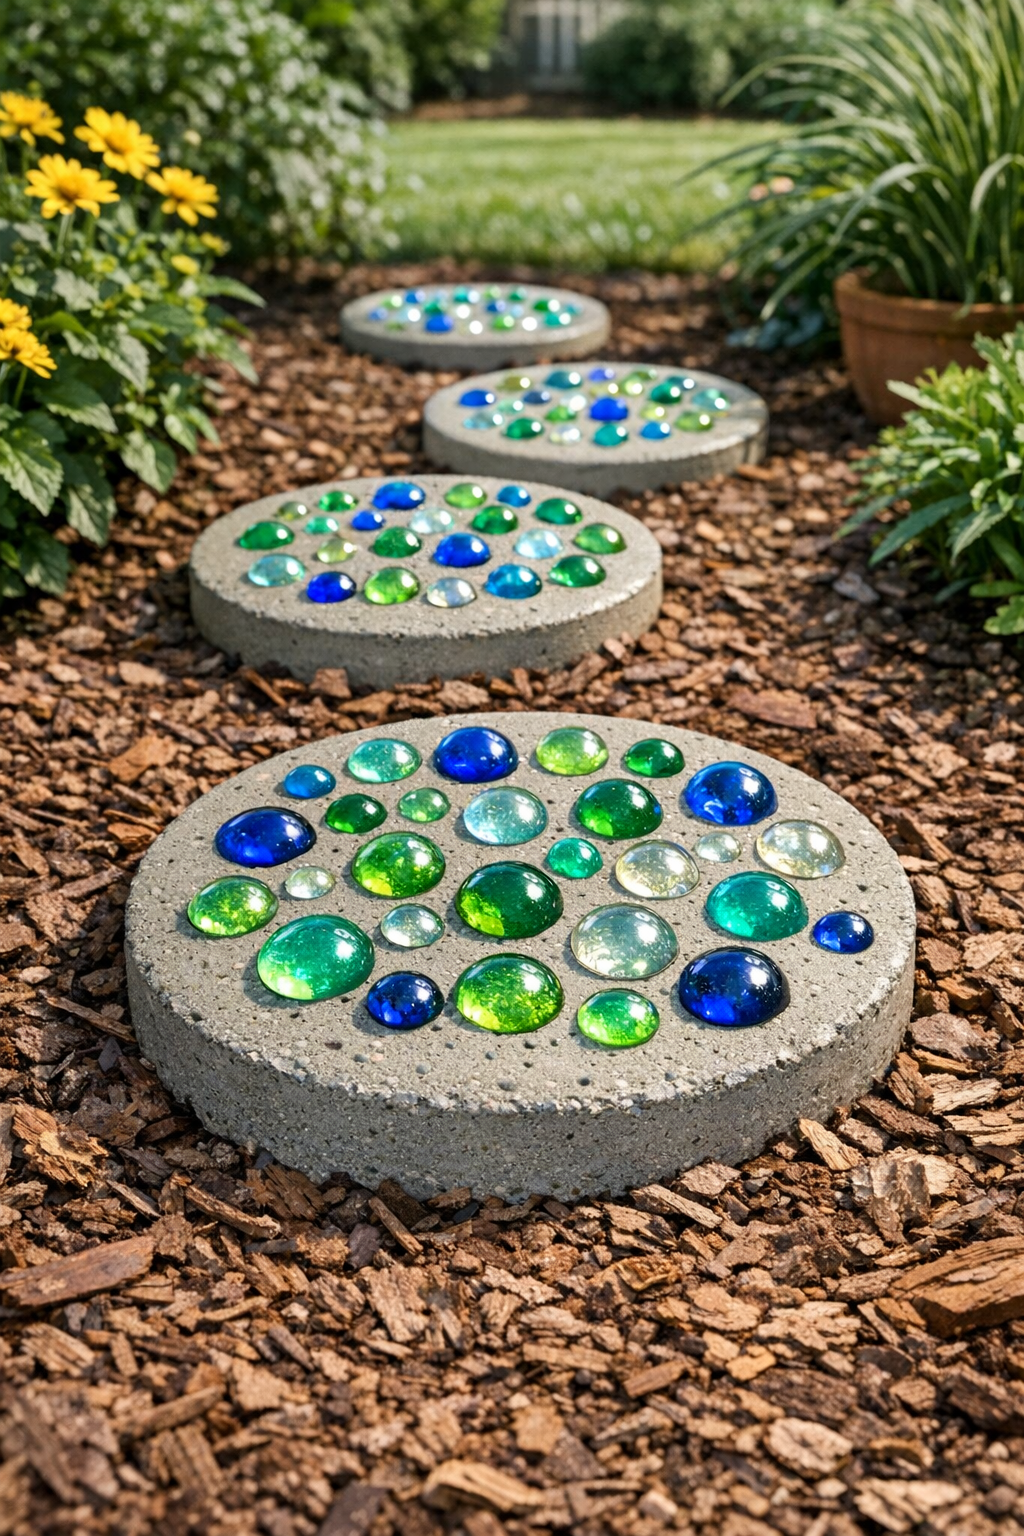
6. Press the glass marbles into the concrete in your chosen pattern, spacing them about 1/2 inch apart. Push each marble in until roughly one-third to one-half of it is embedded, leaving enough exposed to catch the light.
7. Smooth any raised concrete around the marbles with your gloved finger or the edge of a trowel. If needed, add a spoonful of extra concrete to low spots and blend it in gently.
8. Let the stones sit undisturbed until the concrete is fully set, following the package timing, usually about 24 hours. Keep them in a dry, shaded area during curing so the surface hardens evenly.
9. Turn each pan upside down onto a soft patch of grass, sand, or loose soil and gently tap to release the stone. If one sticks, run a little warm water over the outside of the pan for a minute and try again.
10. Cure the unmolded stones for another 2 to 3 days before placing them in the yard. Set them into the soil so they sit level with the ground, then rinse off any concrete dust to make the marbles shine and glow more clearly.
Variations & Tips
Pattern idea: Arrange the marbles in spirals, rings, or a flower shape if you want the stones to look more decorative without making the process harder.
Glow boost: Use a higher percentage of glow-in-the-dark marbles or glow glass gems if the nighttime effect is your main goal. They charge best after a full day of direct sunlight.
Size option: Swap the 9-inch cake pans for 6-inch pans if you want smaller stepping stones for a tighter path or for filling spaces between plants.
Surface safety: Keep the tops mostly flat and avoid overcrowding the marbles so the finished stones stay comfortable and stable to walk on.
Weather tip: If it’s very hot or windy outside, cover the pans loosely with plastic while they cure so the concrete does not dry too fast and crack.
Placement tip: I like setting these where they’ll catch sun during the day and be visible from a patio or kitchen window at night, because that’s when the glow feels the most rewarding.