
If you want that bold, sculptural patio look without hauling home real desert plants or remembering to keep them alive, this faux agave project is such a fun trick. I love projects like this because they give you a big visual payoff on a pretty modest budget, and once they’re done, you can tuck them on a porch, patio, or by a front entry and enjoy them season after season.
What makes this one especially satisfying is how simple the base materials are: inexpensive plastic kitchen spatulas, spray paint, and terracotta pots. If you can lay things out, paint in batches, and arrange pieces in a pleasing shape, you can make these. I’d especially recommend this for anyone who wants low-maintenance outdoor decor with a little wow factor.
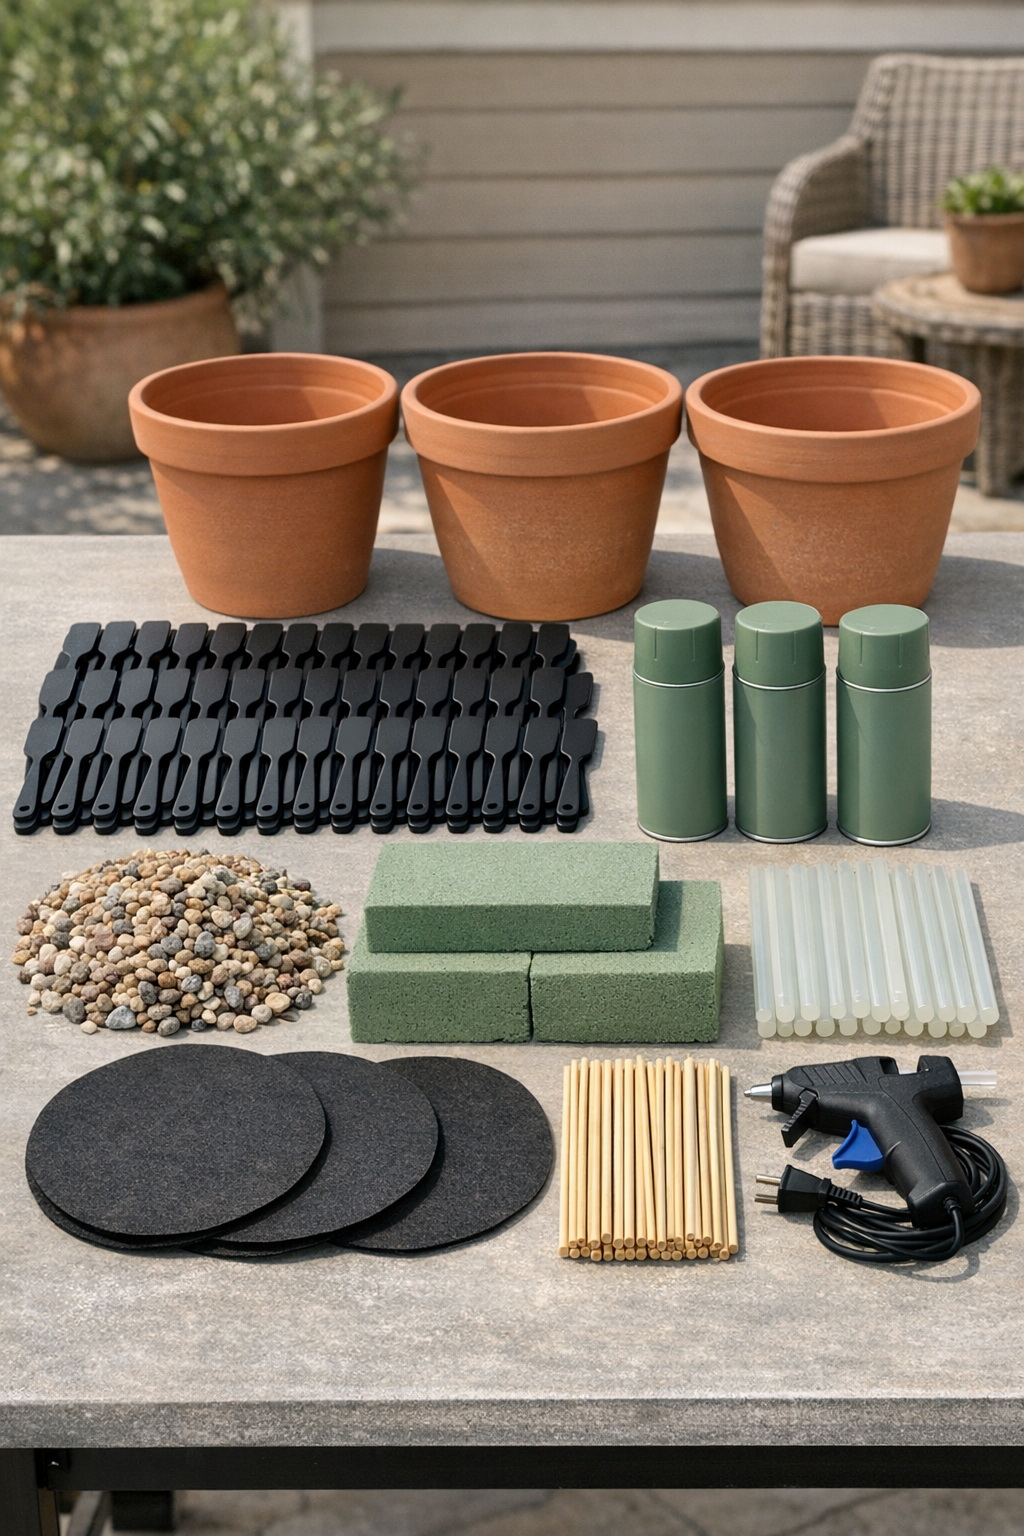
Materials
Instructions
1. Clean all 60 spatulas with warm soapy water, rinse them well, and let them dry completely so the paint will stick evenly.
2. Set the spatulas out on a drop cloth or cardboard in a well-ventilated area, spacing them so the paint can reach all edges without sticking pieces together.
3. Spray paint the front side of each spatula with light, even coats of matte sage green paint, let them dry, then flip and paint the back side the same way.
4. Add a second coat anywhere the plastic still shows through, and let all the spatulas cure fully according to the paint can directions before assembling.
5. Fill the bottom of each terracotta pot with enough pea gravel to add weight and keep the finished planter from tipping in wind.
6. Set a fitted nursery pot or filler form inside each terracotta pot, then secure foam blocks in the center with outdoor adhesive so you have a firm base for inserting the leaves.
7. Cover the top of the foam with a circle of landscape fabric or burlap, cutting a small slit in the center and a few extra slits where the outer leaves will go.
8. Glue one wooden skewer or floral pick to the handle side of each spatula, extending it downward so you can push the piece securely into the foam.
9. Divide the spatulas into three equal groups of 20 so each pot gets a full, balanced agave shape.
10. Start with the outer ring on the first pot, inserting 8 spatulas at a low outward angle and spacing them evenly like a starburst.
11. Add a middle ring of 7 spatulas slightly more upright, overlapping them between the outer leaves to build a natural layered look.
12. Finish with 5 center spatulas standing the most upright, clustering them tightly so the plant has that full agave rosette shape.
13. Repeat the same 8-7-5 arrangement for the other two pots, adjusting angles and spacing until all three faux agaves look full and symmetrical.
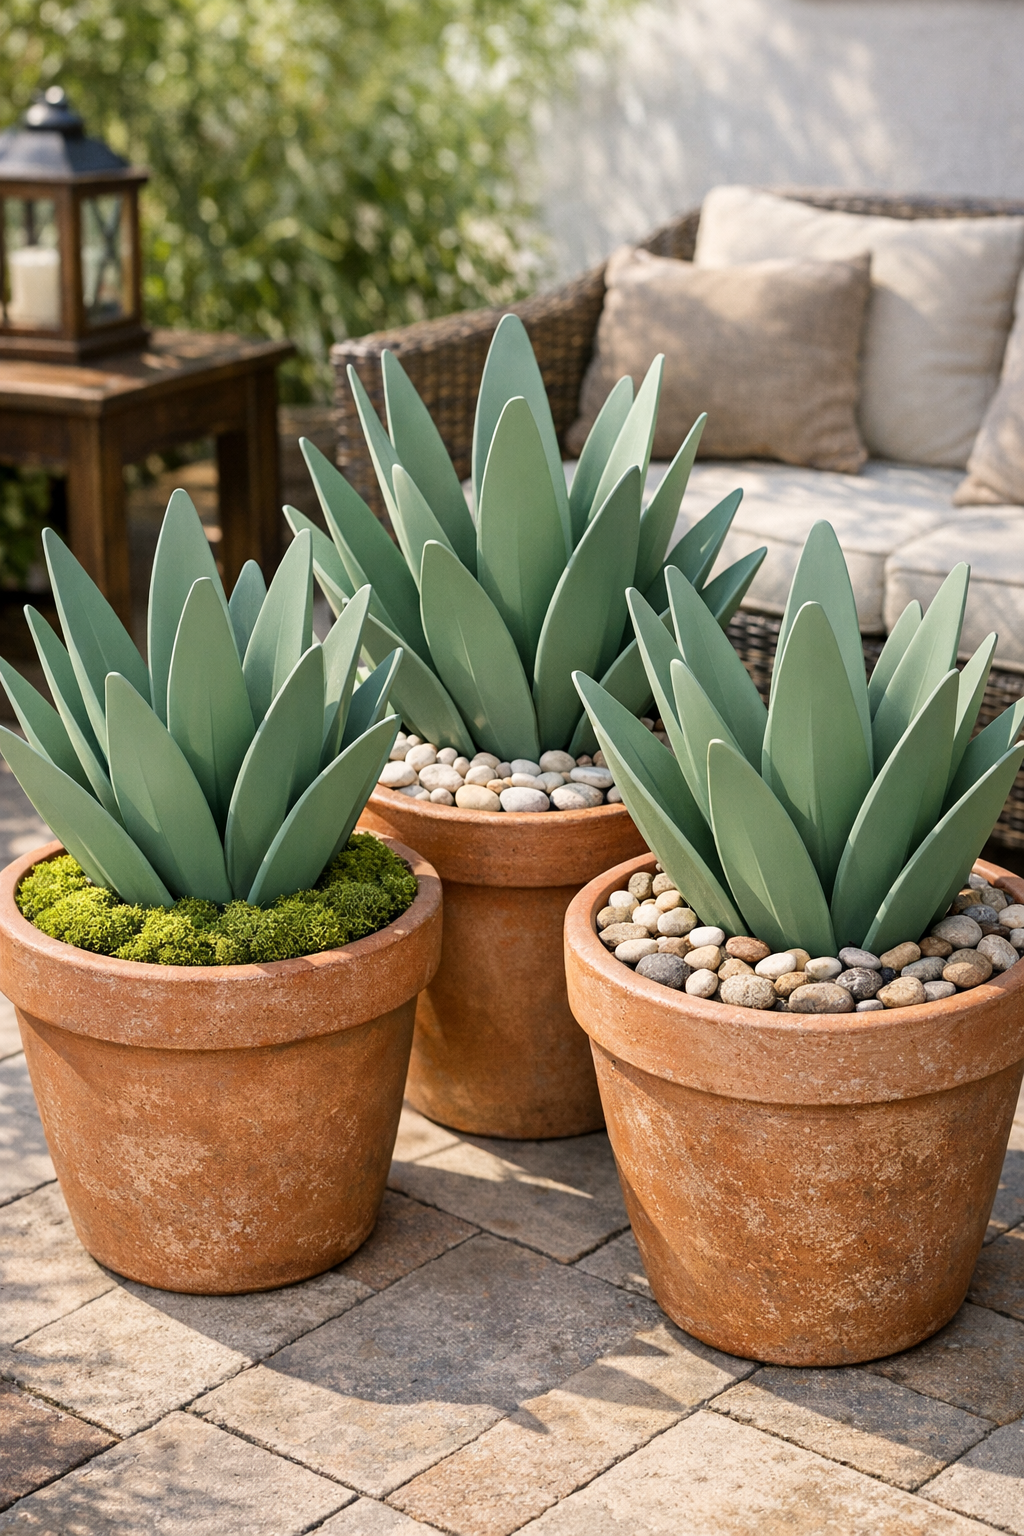
14. Top each pot with decorative moss or small pebbles to hide the fabric and foam, then press everything gently into place for a finished look.
Variations & Tips
For a more realistic color: Use two shades of green spray paint and dust the leaf bases lightly with a deeper olive tone. That little bit of variation makes the finished pots look much less plastic.
For windy patios: Add extra gravel or even a brick inside the bottom of each pot before building the plant. As a parent, I always appreciate decor that does not topple over the minute the weather changes.
For a larger agave look: Use longer spatulas for the outer ring and standard ones toward the center. Mixing sizes gives the planter a more dramatic, mature shape.
For picky decorators: If sage green is not your style, try dusty blue-green, olive, or a soft gray-green. I think of it the same way I do setting out food for family and friends: a small tweak in color can make the whole thing feel just right for your home.
To help the paint last: Choose spray paint made for plastic and outdoor use, and let the pieces cure fully before assembly. A clear matte outdoor sealer can also give the leaves a little extra protection.
For easier arranging: Lay out one full agave pattern on a table before inserting pieces into the pot. It saves time and helps you catch uneven spacing before everything is anchored in place.