
I’ve always had a hard time throwing out a sturdy plastic jug, especially those big laundry bottles that seem like they ought to have one more life in them. Around here, we were raised to reuse what we could, mend what we had, and think twice before sending anything to the trash. This project turns cut-up plastic laundry jugs into heavy-duty patio bricks using just two other household materials, and it’s the sort of practical make that feels right at home beside a garden path or tucked around a shed.
If you enjoy upcycling and don’t mind a hands-on outdoor project, this one is worth trying. These bricks are best for decorative patios, stepping paths, and utility areas rather than structural work, and I recommend making them in a well-ventilated outdoor setup with care. The method is simple once you get your rhythm: cut, melt, mix, press, and cool.
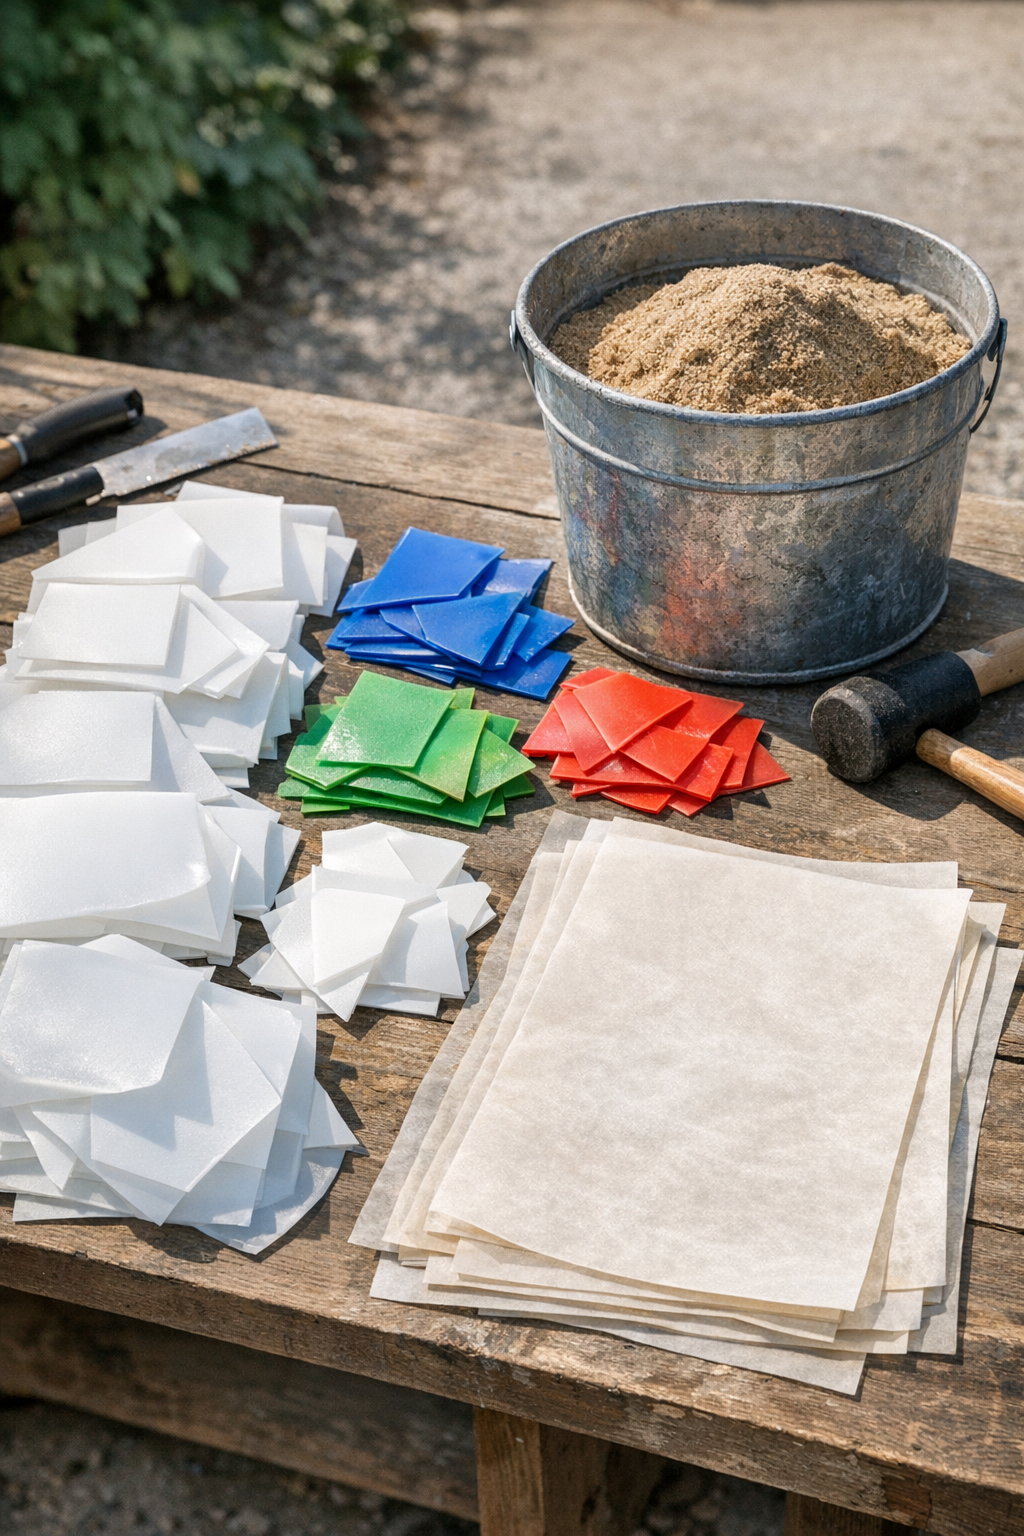
Materials
Instructions
1. Wash the laundry jugs thoroughly, let them dry completely, and cut away the spouts, handles, and curved bottoms so you’re left with flatter sections of plastic.
2. Cut the flat plastic into small pieces about 1/2 to 1 inch wide; the more even the pieces, the more evenly they’ll melt.
3. Prepare a brick mold by lining it with baking parchment, leaving enough overhang to help lift the brick out later; a metal loaf pan or a rectangular steel mold works well.
4. Set up outdoors or in a very well-ventilated area with a safe heat source, then place a layer of parchment on your work surface so the hot mixture has a protected landing spot if needed.
5. Add a layer of plastic pieces to your heated metal container or mold and warm them just until they begin to soften and collapse together.
6. Sprinkle in a portion of dry sand and press it into the softened plastic, then add more plastic and more sand in alternating layers until the mold is full.
7. Continue heating gently and pressing the mixture so the melting plastic flows around the sand and fills the corners; avoid scorching by using steady moderate heat rather than rushing it.
8. Fold parchment over the top and compress the hot mixture firmly with a flat metal plate or tamper to pack the brick tightly and level the surface.
9. Let the brick cool in the mold until firm enough to hold its shape, then lift it out using the parchment and set it aside to finish cooling completely.
10. Trim any thin flashing from the edges once the brick is cool, and repeat the process until you have enough bricks for your patio or garden path.
11. Lay the finished bricks over a level, compacted base of gravel or sand, leaving a small gap between each one so you can adjust them neatly as you go.
Variations & Tips
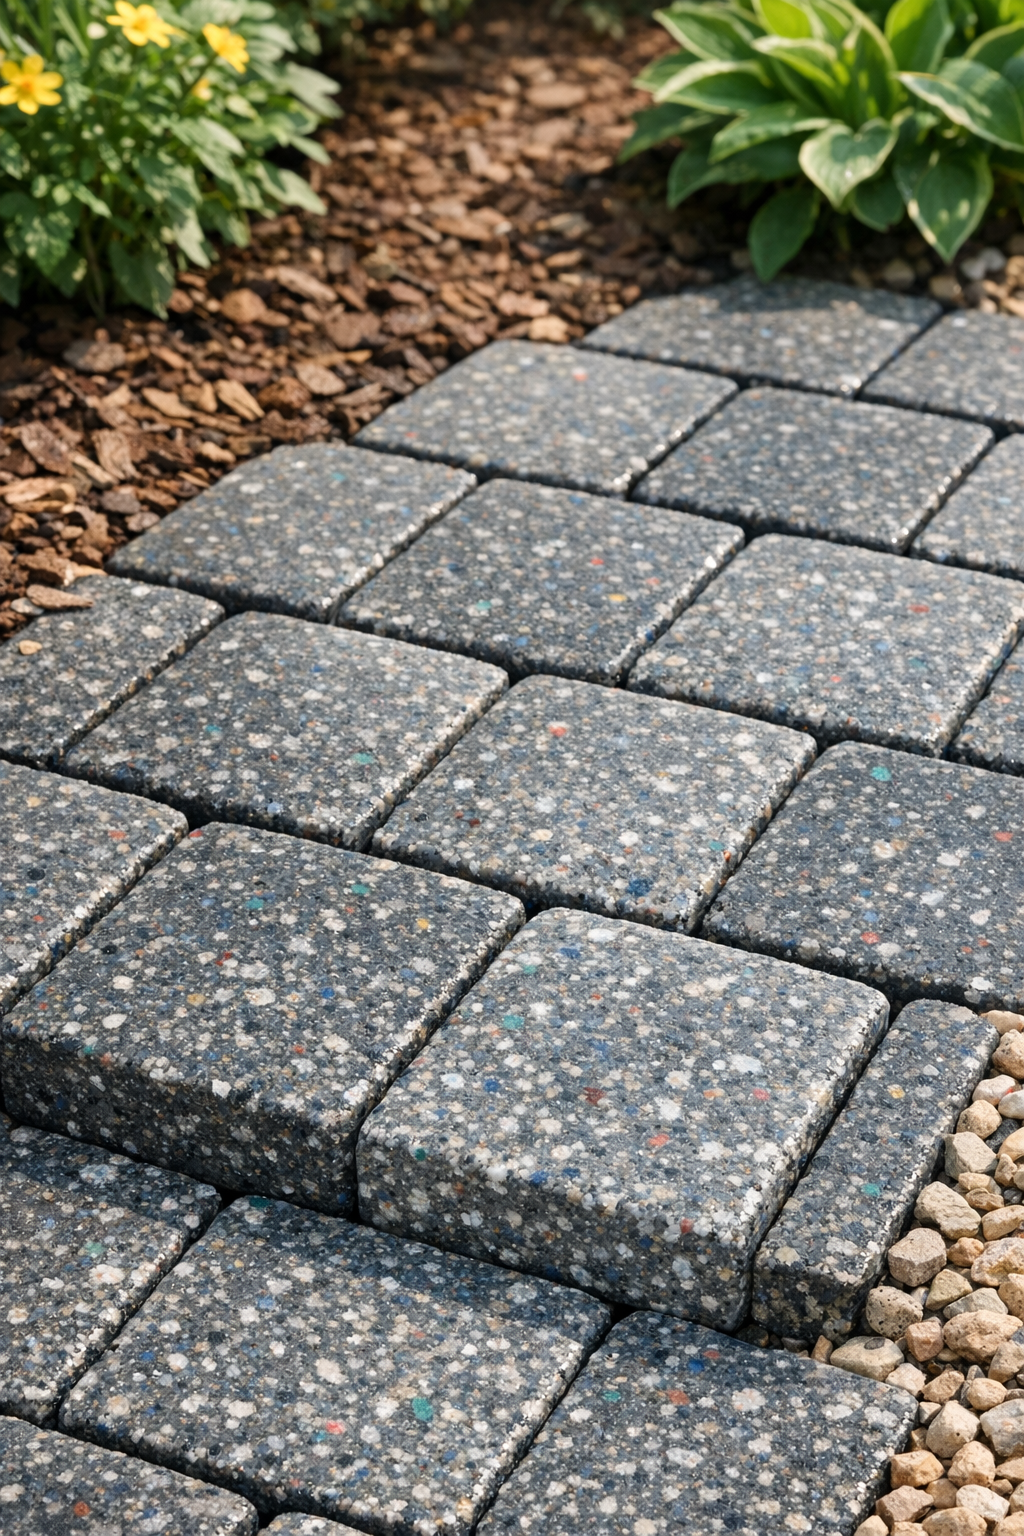
For a more uniform look: Sort the plastic by color before cutting it up. White jugs make a more stone-like brick, while colored jugs create a speckled finish that can look surprisingly handsome in a garden.
For better consistency: Keep your sand very dry before mixing. Damp sand can create steam and interfere with how well the plastic binds everything together.
Mold choice: A metal loaf pan is a good starter size if you’re making just a few bricks. For flatter patio pavers, use a shallow rectangular mold so each brick comes out closer to standard stepping-stone thickness.
Best use: I like these for garden paths, potting-shed floors, and utility corners where you want durability and easy cleanup. I would not use them for load-bearing structures, fire pits, or any surface exposed to very high heat.
Work in batches: Once you make one brick, the rest go easier. I’ve found it helps to pre-cut all the plastic first, stack your parchment sheets, and measure your sand ahead of time so the hot work goes quickly and smoothly.
Safety tip: Melt plastic only outdoors or in a very well-ventilated work area, and use proper heat-safe gloves and tools. Slow, controlled heating gives cleaner results than high heat, and that old-fashioned patience usually pays off in the end.