
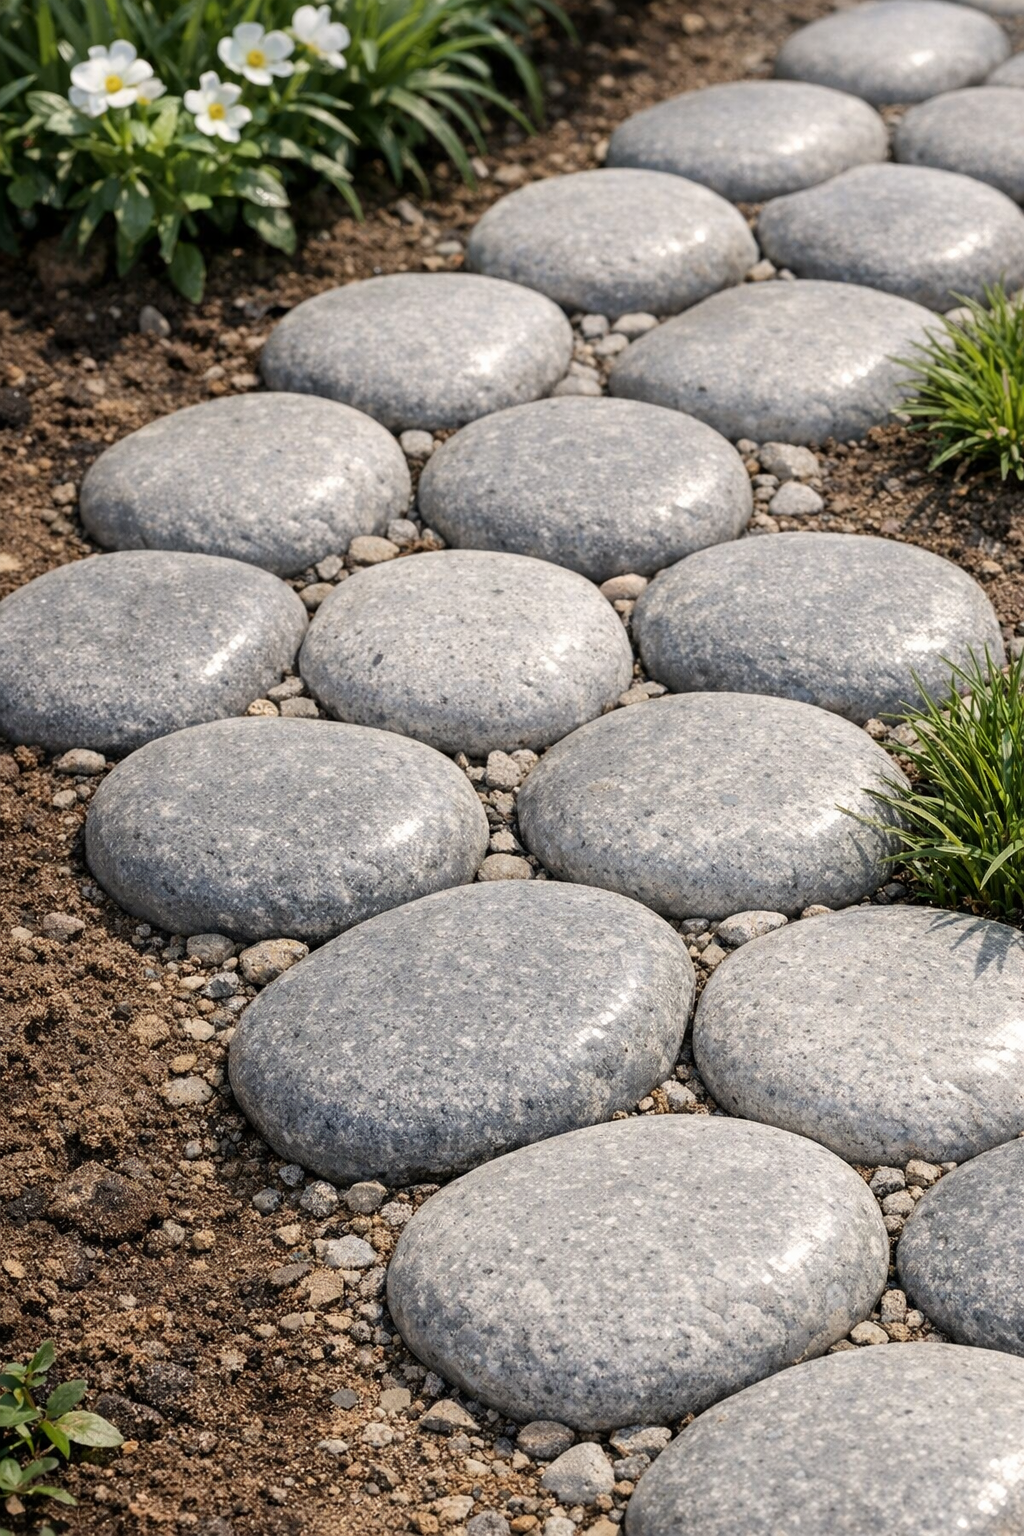
I love a yard project that looks expensive but starts with the sort of humble supplies most of us already recognize at a glance. These smooth concrete cobbles are made by shaping wet cement inside clear plastic freezer bags, which gives them that softly rounded, stone-like finish without any special molds. The result is a set of heavy, durable garden accents that can be used to edge a bed, fill a bare patch, or create an easy stepping path.
If you’ve never worked with cement before, this is one of the friendliest places to begin. The plastic bag does most of the shaping for you, and the project is forgiving in a way I appreciate more and more these days. It reminds me a bit of cooking dumplings or fresh cheese—portion, shape, rest, and let time do its work. If you want a simple weekend DIY with a surprisingly polished finish, this one is well worth making.
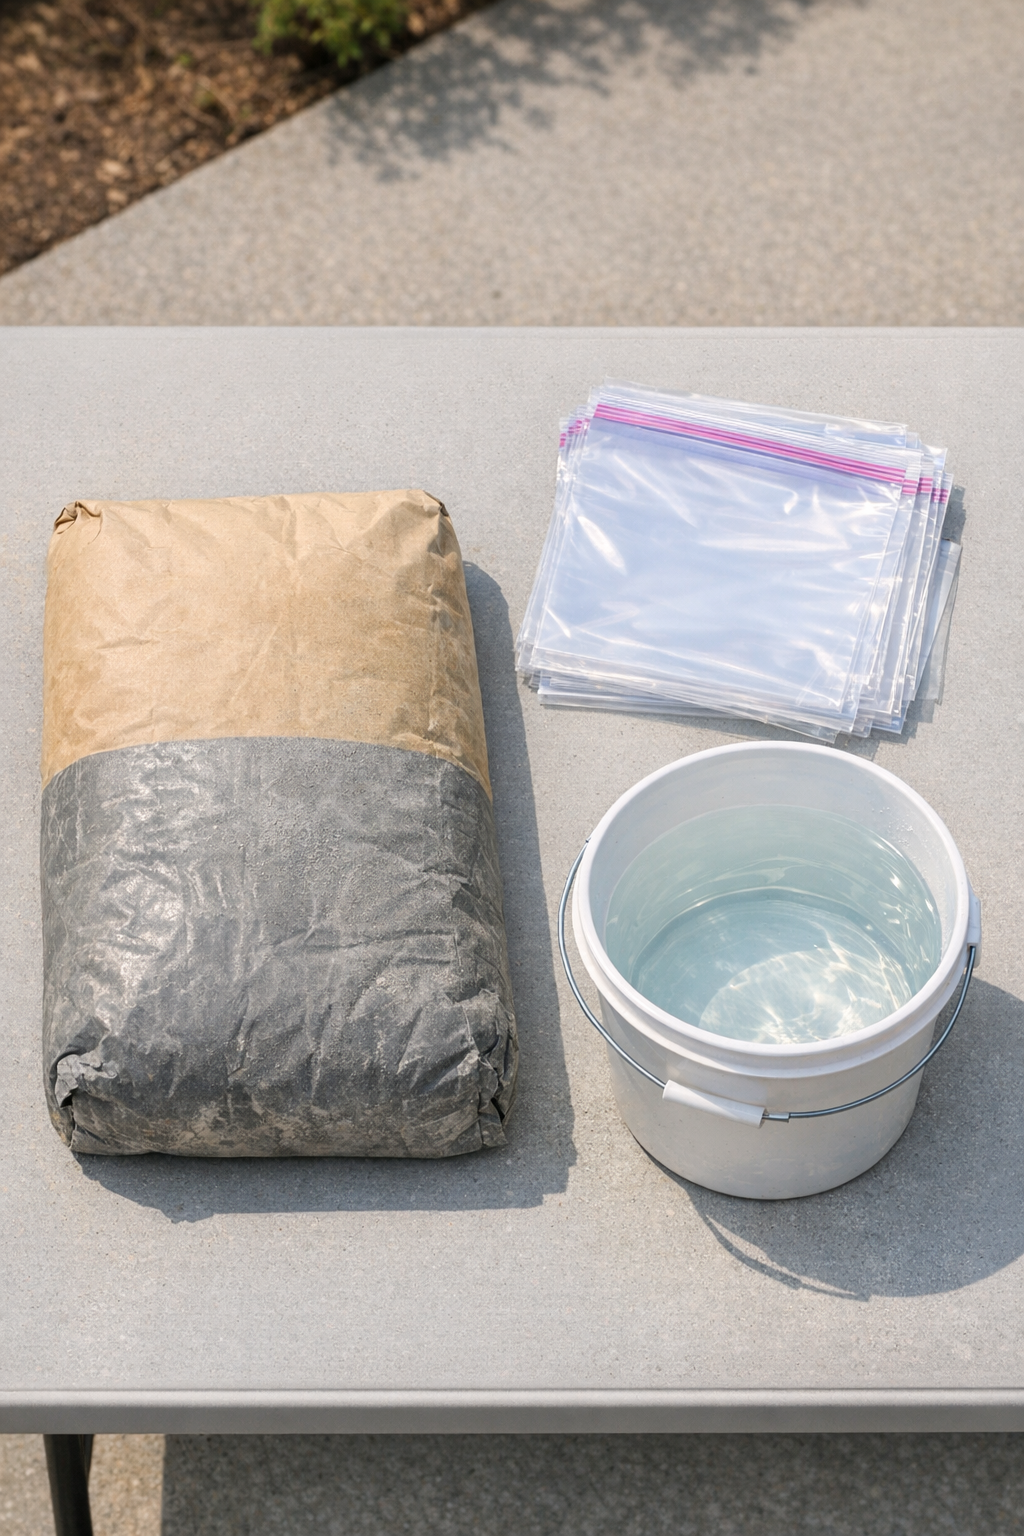
Materials
Instructions
1. Choose a flat outdoor work area and protect it if needed, since cement splatter can harden quickly and is difficult to remove once set.
2. Add cement mix to a bucket or mixing tub in small batches and stir in water a little at a time until it reaches a thick, scoopable consistency like stiff oatmeal.
3. Open one clear freezer bag and fold the top edge outward a little to keep the opening clean while you fill it.
4. Scoop about 5 to 7 pounds of wet cement into the bag, depending on how large you want each cobble, then press out excess air before sealing the bag closed.
5. Gently shape the filled bag with your hands into a rounded, flattened cobble form about 2 to 3 inches thick, smoothing the surface as evenly as possible.
6. Set the bagged cobble down on the flat surface and pat the top lightly so the bottom settles and becomes stable enough to sit without tipping.
7. Repeat the filling and shaping process with the remaining bags, keeping the cobbles similar in size if you want them to look uniform in the yard.
8. Leave the bagged cobbles undisturbed to cure for 24 to 48 hours, or until they feel fully hard when pressed through the plastic.
9. Cut or peel away the freezer bags carefully once the cement has hardened, exposing the smooth surface created by the plastic.
10. Let the unwrapped cobbles continue curing in a shaded spot for another 3 to 5 days so they gain more strength before moving them into place.
11. Arrange the finished cobbles in the yard as edging, stepping stones, or decorative accents, setting them onto firm soil or gravel so they stay level.
Variations & Tips
For more natural shapes: Vary the amount of cement in each bag slightly and avoid over-handling them; that irregularity makes the finished cobbles look more like real worn stones.
For smoother surfaces: After sealing each bag, tap and massage the cement gently to eliminate trapped air pockets. In cooking terms, I think of it like settling batter before baking—small bubbles can change the final finish.
For easier placement: Make several medium cobbles instead of a few very large ones. They are simpler to lift, easier to level, and more flexible when you’re laying out a path.
For a tidier cure: Set the filled bags on a scrap board, paver, or sheet of cardboard while they harden so the bottoms stay clean and flat enough to rest well in the yard.
For stronger results: Keep the cement mix thick rather than soupy. Too much water weakens cured cement, just as too much liquid can throw off the structure of a dough or batter.
For color and finish planning: Plain gray works beautifully in most landscapes, but you can make the cobbles look more intentional by grouping them with gravel, mulch, or darker soil for contrast.