
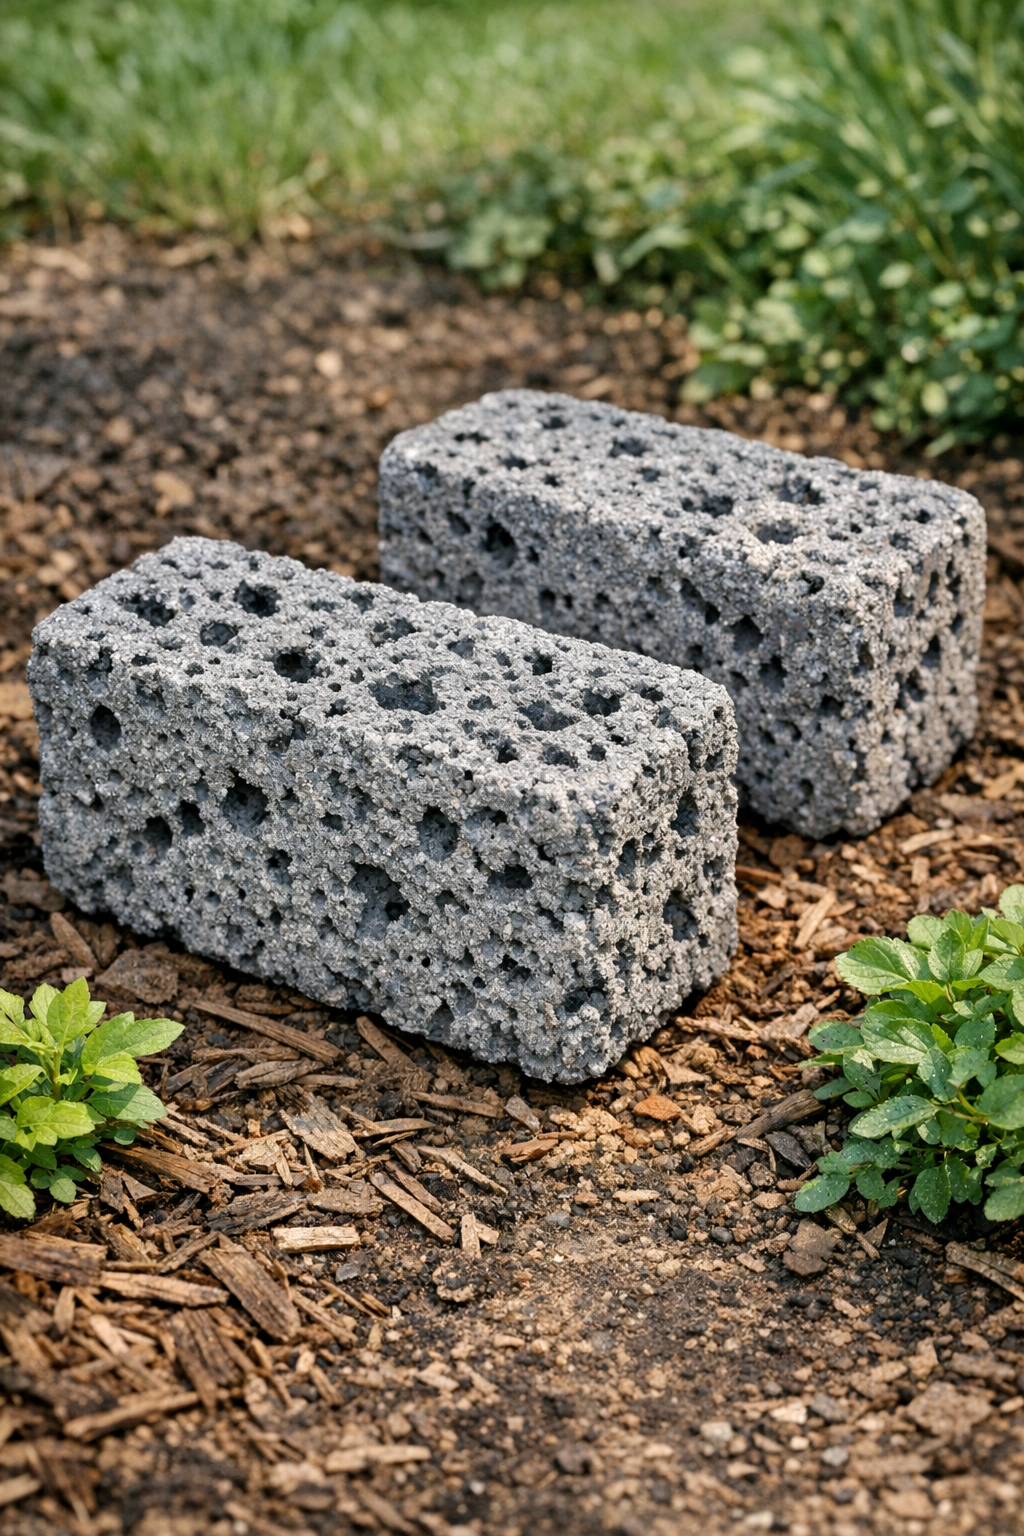
I love a garden project that looks a little odd in the middle and then suddenly makes perfect sense at the end, and this is exactly that kind of DIY. By soaking jumbo car sponges in a wet cement mix and combining them with one simple household item, you can make heavy, porous garden bricks that look rustic, hold up surprisingly well, and blend beautifully into planted spaces.
This is a great project if you want edging, stepping accents, or decorative filler bricks for a garden bed without buying pricey specialty stone. I’m always looking for practical weekend projects I can squeeze in between work and dinner prep, and this one is low-cost, hands-on, and genuinely satisfying if you do not mind getting a little messy.
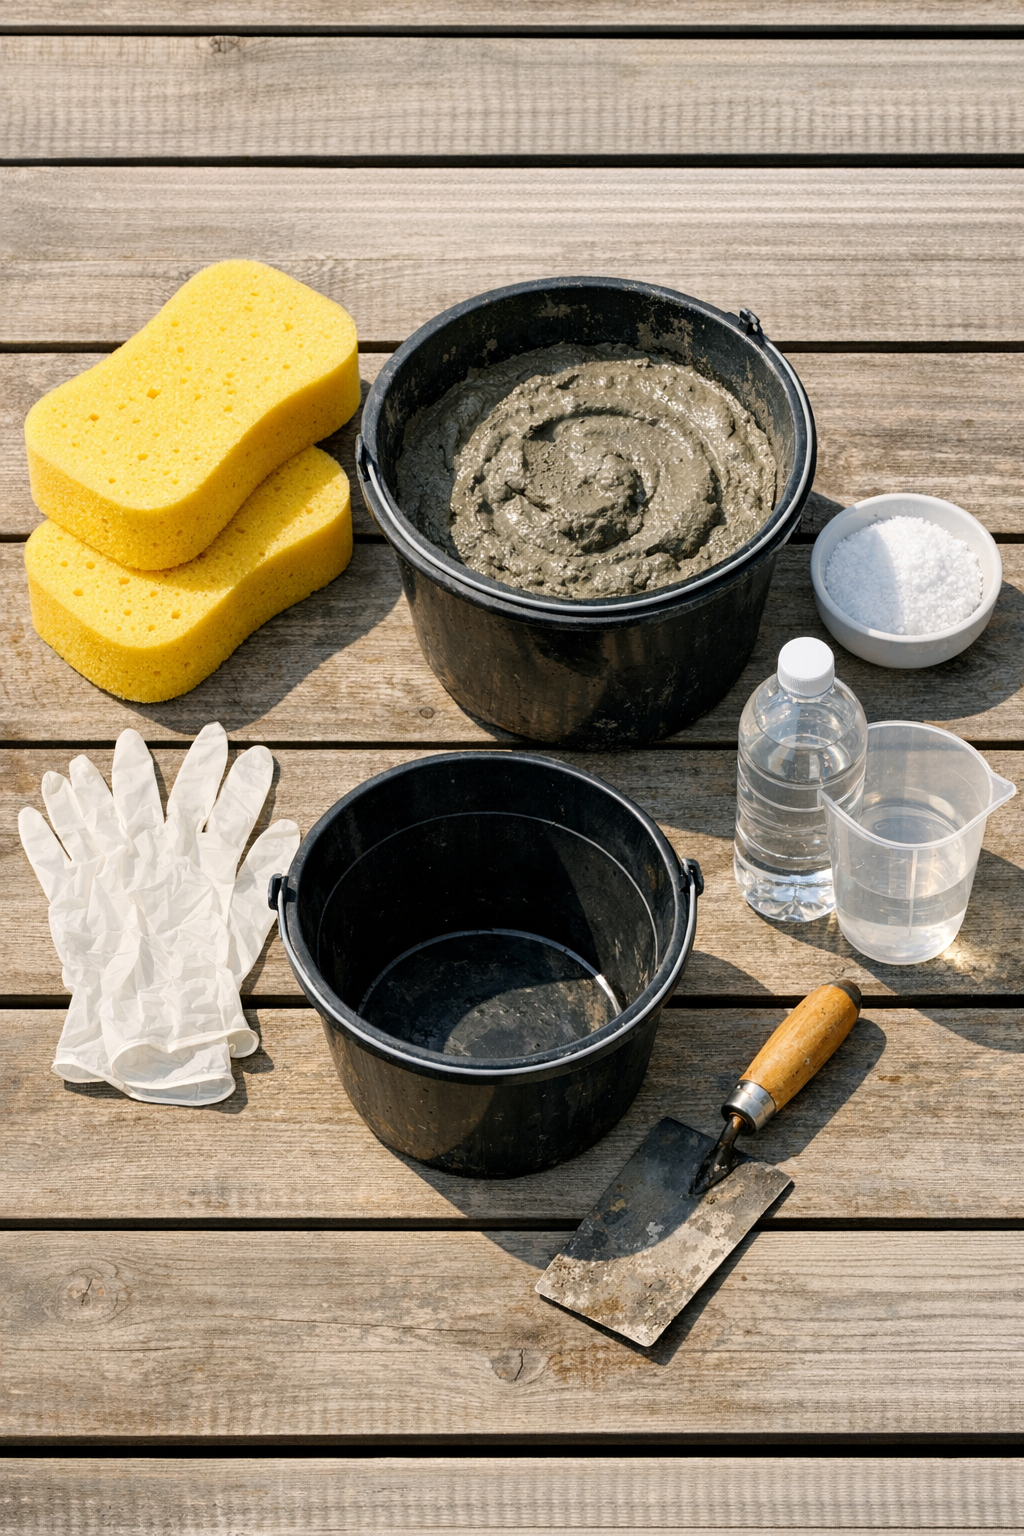
Materials
Instructions
1. Cover your work area with a plastic drop cloth and put on gloves. Set the two jumbo sponges nearby so they are ready to use as soon as the cement is mixed.
2. Add the premixed concrete or cement-based repair mix to a bucket, then stir in the table salt until evenly distributed. The salt helps create extra surface texture and porous pockets in the finished bricks.
3. Pour in the water a little at a time and mix until the cement reaches a thick pancake-batter consistency. It should be wet enough to soak into the sponge but thick enough to cling to it.
4. Press the first sponge into the wet cement and squeeze it several times to pull the mixture deep into the pores. Turn it over and keep working cement into all sides until the sponge is fully saturated and coated.
5. Repeat with the second sponge, making sure there are no dry yellow areas left exposed. Use your hands or trowel to smear a little extra cement over the outside for a more stone-like finish.
6. Set each soaked sponge on the plastic-covered surface and gently shape it into a brick form. Keep the edges slightly uneven if you want a more natural garden look.
7. Let the bricks sit undisturbed for 24 hours until firm to the touch. If the weather is very hot or dry, lightly mist them once or twice so they cure slowly and do not crack.
8. After the first cure, check the shape and patch any thin spots with a little leftover cement mix. Smooth only lightly, since the rough texture is what gives these bricks their porous garden character.
9. Allow the bricks to cure for another 24 to 48 hours until they feel heavy and solid. Once fully cured, move them carefully into the garden and place them as decorative edging, between plants, or as small stepping accents in low-traffic spots.
Variations & Tips
Use for edging: These work especially well tucked along the front of a flower bed or around a small herb patch where you want texture without a perfectly formal border.
Choose the right mix: A cement-based repair mix or fine concrete blend usually gives the best coating on sponge surfaces because large gravel can make shaping harder.
Keep expectations realistic: I think of these as decorative garden bricks, not structural pavers. They are best for light-duty use and spots where a rustic, porous look is the goal.
Adjust the shape: You can leave them rectangular, pinch the sides for a more stone-like form, or make one slightly taller than the other for a less uniform arrangement.
Try a weathered finish: After curing, brush off loose dust and let the bricks age naturally outdoors. Over time, they usually settle into the garden with a softer, older-stone look that I personally love.
Make a small batch first: If this is your first time working with cement, start with just these two bricks before scaling up. It is the kind of project that gets much easier once you see how wet the mix should be.