
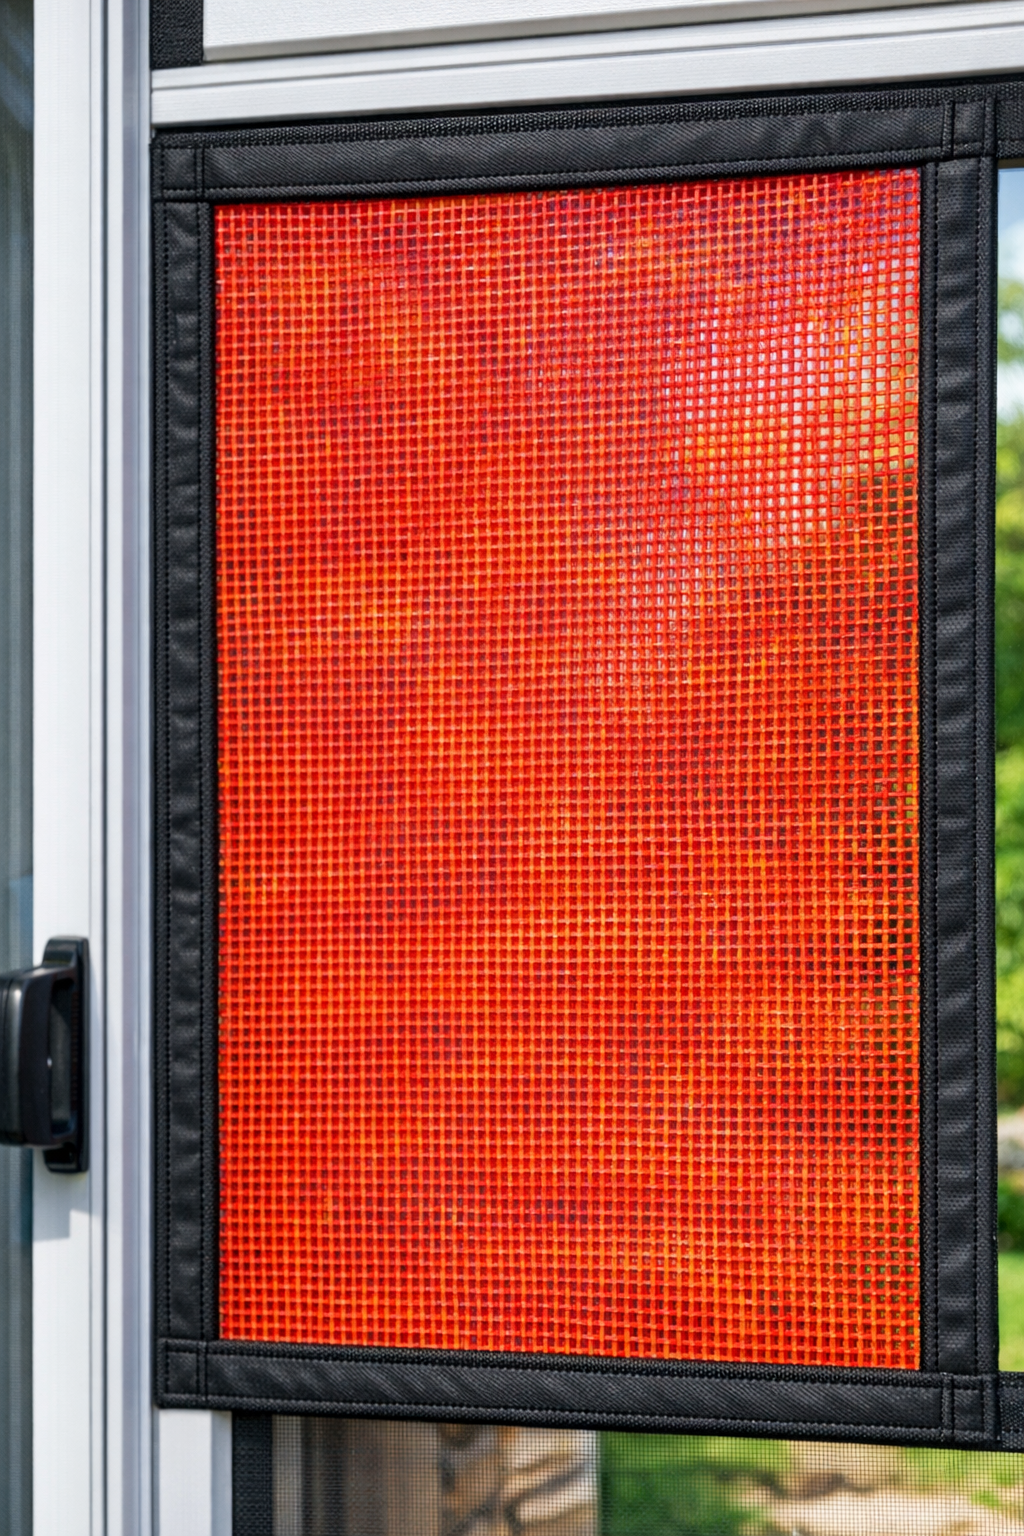
I love a project that turns packaging headed for the bin into something sturdy and genuinely useful, and this one does exactly that. By fusing flattened red citrus bags into a tougher sheet and attaching it as a screen insert, you can make a surprisingly durable mesh panel for a screen door, porch door, or utility door with just three main materials.
What makes this worth trying is the combination of thrift and function. If you already save produce bags the way I save interesting spice jars and sturdy food containers, this project will feel especially satisfying. It’s best for a secondary door, mudroom, garden shed, or patio screen where you want airflow and a scrappy, upcycled look without spending much.
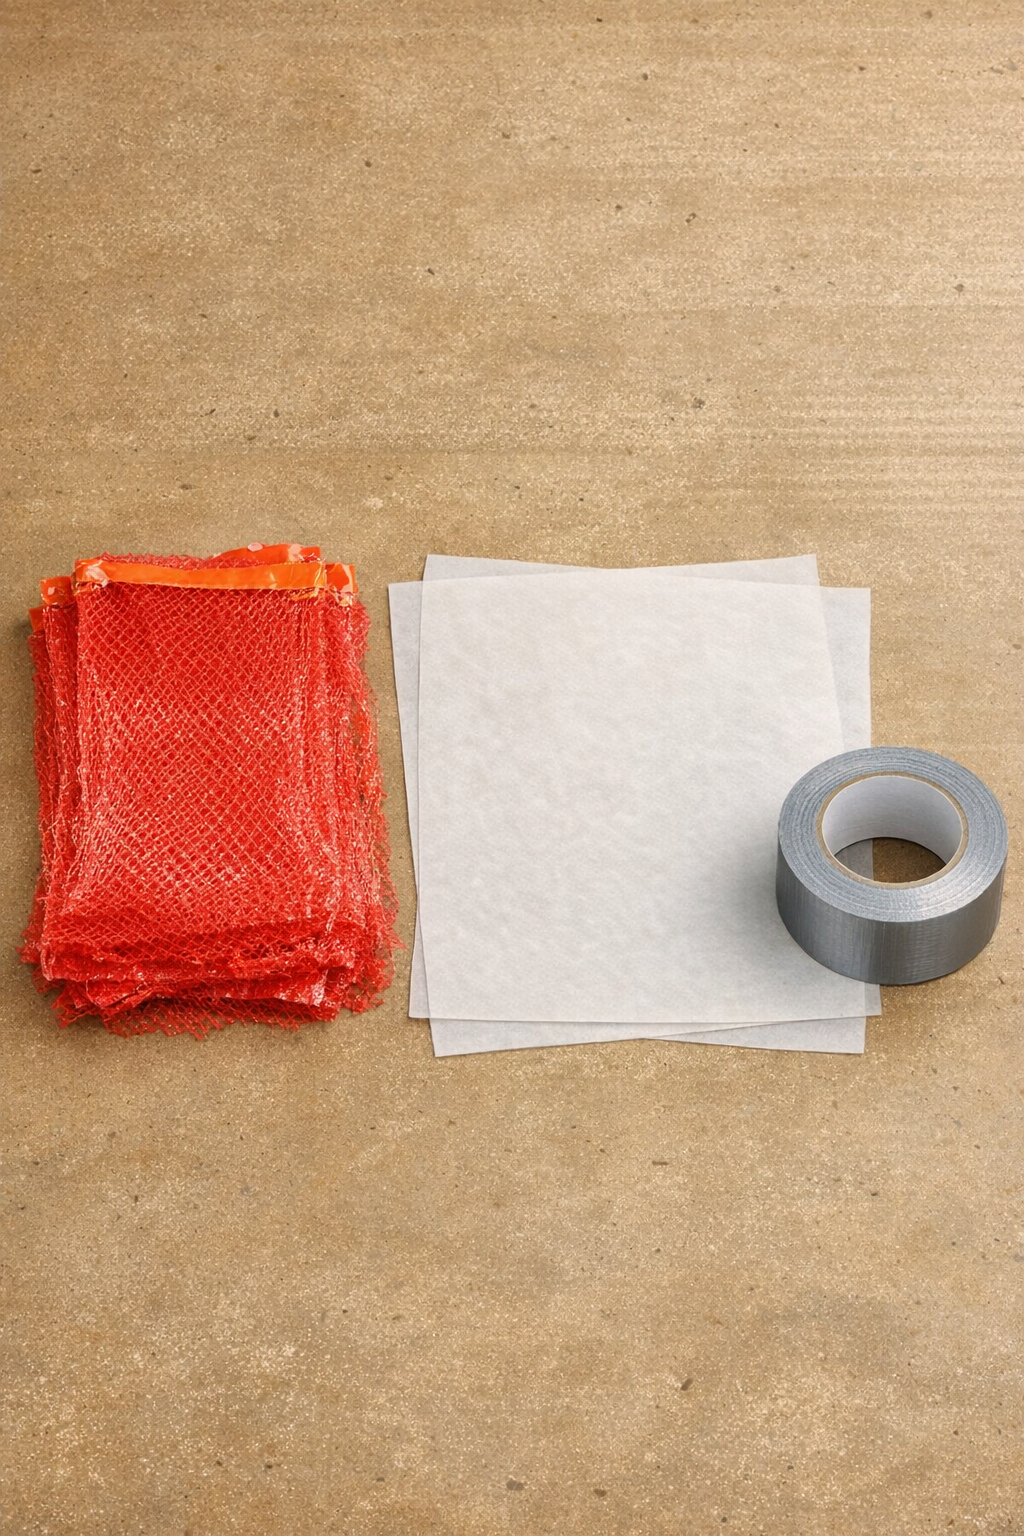
Materials
Instructions
1. Collect enough citrus bags to cover your screen opening, then wash off any dust or sticky spots and let them dry fully. Trim away drawstrings, tags, thick seams, and any damaged sections so you’re left with workable mesh panels.
2. Measure the open area of your screen door and add 2 inches on all sides for overlap. Use that measurement to estimate how many flattened bag panels you’ll need to fuse into one large sheet.
3. Cut each bag open along one side seam and across the bottom so it opens into a flat rectangle. Smooth the mesh gently with your hands so the plastic lies as flat and even as possible.
4. Overlap the flattened panels by about 1/2 inch and arrange them into a large rectangle slightly bigger than your final door measurement. Stagger the overlaps so you don’t create one weak straight seam across the whole sheet.
5. Sandwich a section of the arranged mesh between two sheets of parchment paper. Keep the plastic fully covered so it never touches the iron directly.
6. Iron the covered section on a low to medium synthetic setting for 5 to 10 seconds at a time, pressing and lifting rather than sliding. Check often; the mesh should soften and bond at the overlaps without melting into hard, brittle holes.
7. Move across the sheet in sections until the entire panel is fused together, then let it cool flat for a minute before lifting it. If a seam pulls apart, place it back under parchment and press again briefly.
8. Repeat the same process with additional sections or add more flattened bags until your full screen panel is large enough for the door opening. Aim for an even thickness, with extra reinforcement at corners and along edges.
9. Fold over about 1 inch around all four edges of the fused panel and secure those folds with duct tape, half on the front and half wrapped to the back. This taped border acts like a hem and gives the mesh enough strength to handle stapling, pinning, or taping onto a door frame.
10. Test-fit the panel against the screen door opening and trim if needed, leaving at least 1 inch of taped overlap on every side. Make sure the panel sits flat without pulling or sagging.
11. Attach the finished mesh panel to the door frame or behind the existing screen frame using your preferred fastening method. Press the taped edges firmly into place and smooth outward so the screen stays taut.
12. Check the whole panel for gaps, then patch any thin spots or small tears with a small piece of fused mesh and a strip of duct tape at the edge if needed. Once installed, the door should allow airflow while holding up better than a single produce bag layer ever could.
Variations & Tips
Use smaller panels first: If this is your first time fusing plastic mesh, make a sample square about 12 x 12 inches before committing to a full door-sized piece. It’s the easiest way to learn how your iron behaves.
Watch the heat closely: In my kitchen, I’m always reminding myself that high heat transforms ingredients quickly; plastic is no different. Too cool and it won’t bond, too hot and the mesh can shrink or become brittle, so short presses work better than long ones.
Reinforce high-stress areas: Add an extra layer of fused mesh at the bottom corners and near the handle side of the door. Those are usually the first places to wear out.
Choose the right location: This project is best for utility spaces, enclosed porches, garden doors, or temporary repairs. For a front entry that gets full sun and constant use, standard hardware cloth or commercial screening will still last longer.
Keep the mesh ventilated: Because citrus bags have an open weave, airflow stays better than with solid fused plastic. Avoid over-fusing the center sections so you preserve as much openness as possible.
Patch instead of replacing: One advantage of this method is that repairs are simple. Just fuse a small matching patch and tape or re-press it over the damaged area.