
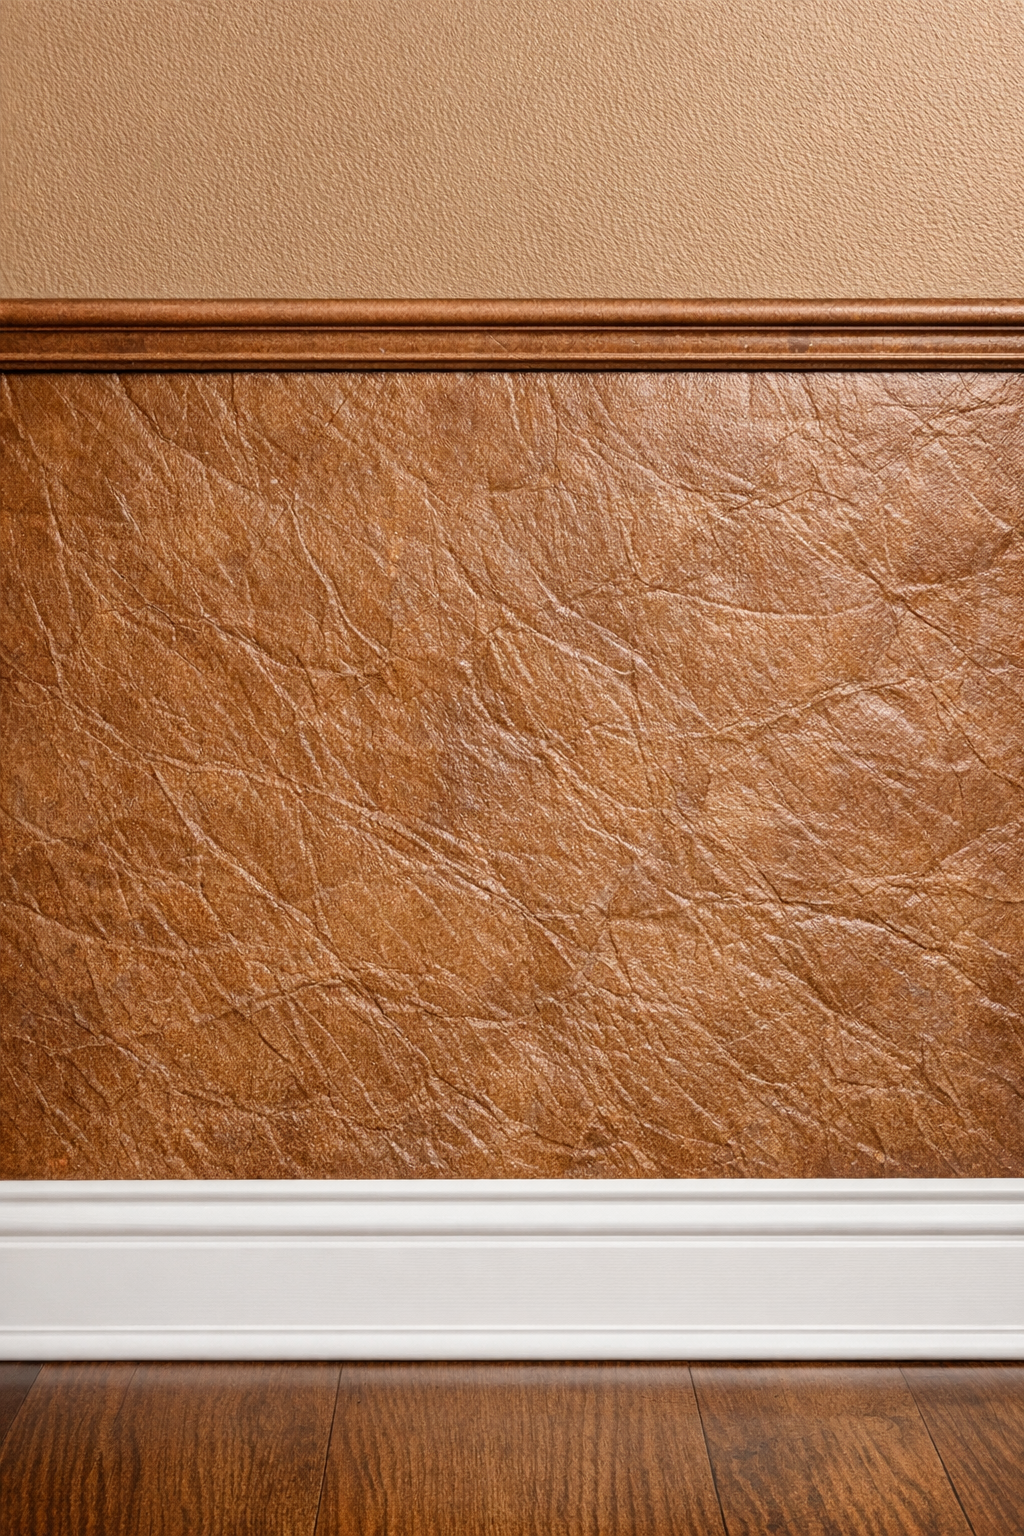
I love a budget-friendly wall treatment, especially one that looks far more expensive than it really is. This faux leather wainscoting project uses humble brown paper lunch bags and glue to create a rich, textured finish that gives a plain wall a warm, tailored look. Once the glued paper is ironed smooth and bonded down, it takes on that slightly worn, leather-like character that makes a room feel instantly more custom.
This is a great weekend project if you want a big visual payoff without buying wood panels or pricey wallpaper. I’m always looking for ways to make builder-basic spaces feel more finished, and this is exactly the kind of transformation I can squeeze into a busy schedule with a little prep work the night before.
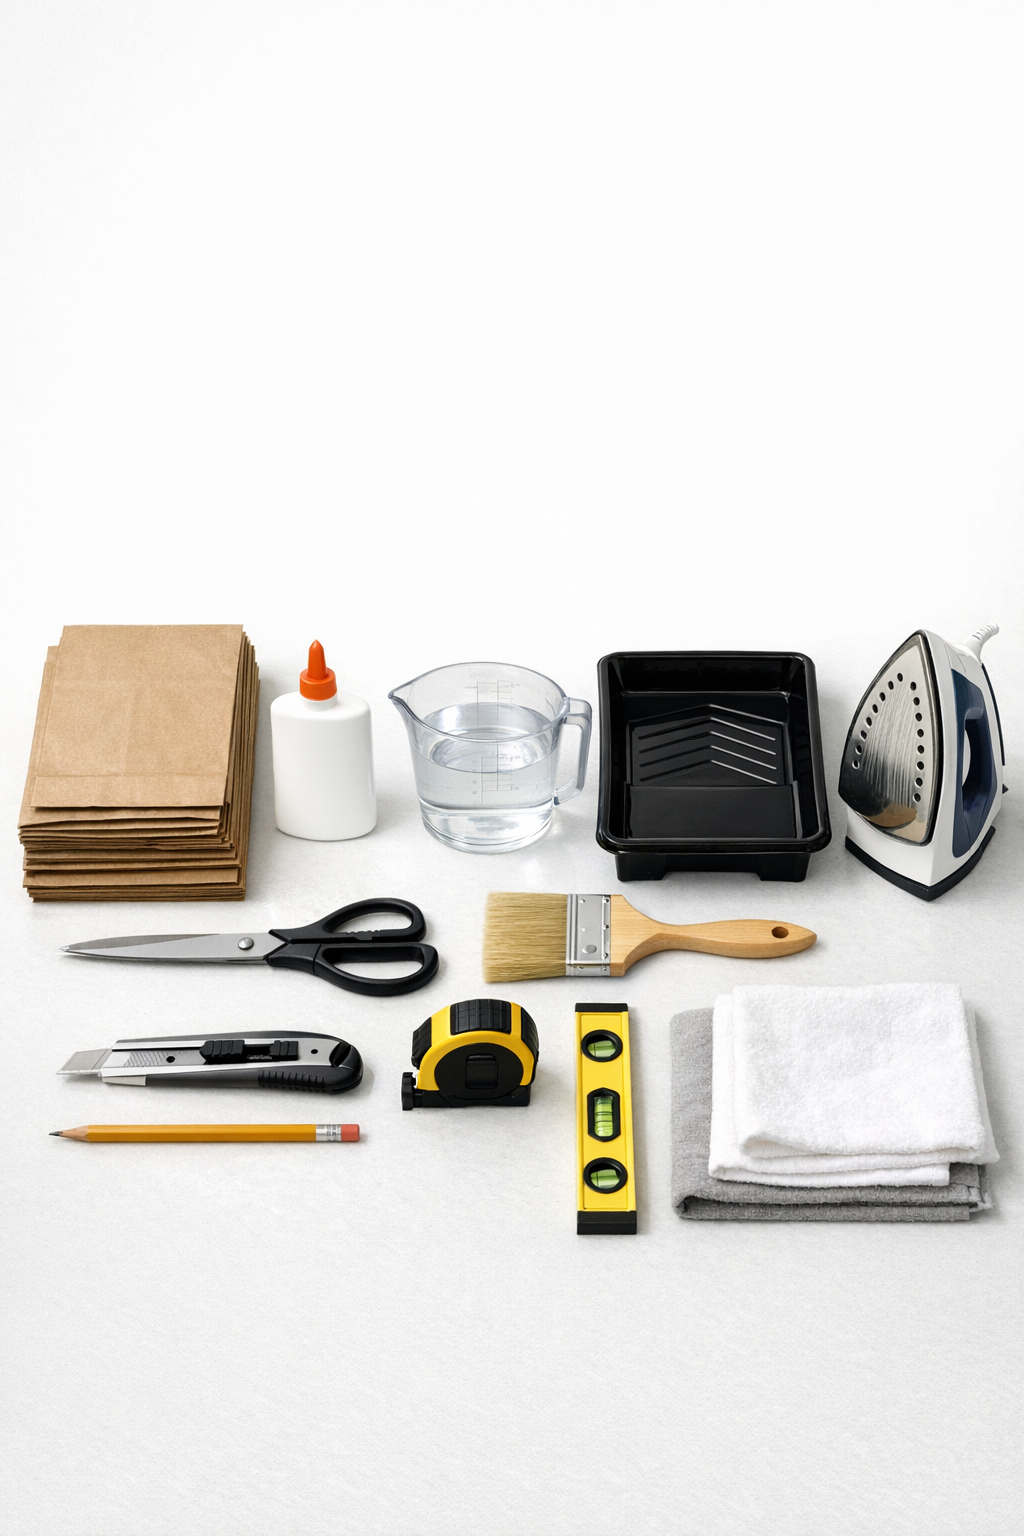
Materials
Brown paper lunch bags, 75 to 100 standard 5 x 3 x 10 inch bags for about 32 square feet of wainscoting
Instructions
1. Measure the length and height of the wainscoting area and calculate the square footage so you know how many bags to prep. I like to mark a level top line first so the finished treatment looks intentional and even.
2. Clean the wall thoroughly and let it dry completely, then lightly sand any glossy paint so the glue can grip better. If the wall is dark, stained, or very slick, roll on a coat of primer and let it dry.
3. Protect the floor and baseboards with a drop cloth and painter’s tape. Keep a damp cloth nearby because glue drips are easiest to wipe up right away.
4. Cut each brown paper lunch bag open along one side seam and remove the bottom fold so you can flatten it into a single sheet. Crumple each sheet into a loose ball, then gently smooth it back out to create that soft, worn texture that mimics leather.
5. Mix the glue with warm water in a tray or bowl using a 2:1 ratio, about 2 parts glue to 1 part water, until smooth. The mixture should be spreadable like a thin paste, not watery.
6. Brush a medium coat of the glue mixture onto a small wall section about 2 feet wide. Working in small areas keeps the adhesive from drying before you get the paper in place.
7. Press one crumpled paper sheet onto the glued wall, smoothing it with your hands while keeping some wrinkles and creases visible. Overlap the next sheet by about 1/4 inch and continue until the section is covered.
8. Brush a light coat of the glue mixture over the surface of the paper to seal it, then move to the next section of wall. Continue until the entire wainscoting area is covered, trimming around outlets, corners, and trim with a utility knife as needed.
9. Let the paper dry fully for 12 to 24 hours until it feels crisp and firmly attached. Don’t rush this part, because the ironing works best once the glue has cured.
10. Set an iron to a medium heat setting with no steam, then place it directly over the dried paper and move slowly in small passes. The heat helps flatten high spots, bonds the glue more tightly, and gives the paper that smoother faux leather finish.
11. Check for loose corners or bubbles and brush a little extra glue underneath any spots that need reattaching, then let those repairs dry. Trim the top edge neatly along your level line or trim molding for a crisp wainscoting finish.
12. Apply a matte clear topcoat if you want extra washability and durability, especially in a hallway, dining room, or mudroom. Once dry, remove the tape and style the space as usual.
Variations & Tips
For a darker leather look: Brush on a diluted brown glaze or water-based stain over the sealed paper after it dries. Test it on a scrap first, because brown paper can deepen quickly.
For cleaner seams: Tear some sheet edges by hand instead of cutting every piece perfectly straight. Soft, irregular overlaps tend to disappear better once glued and ironed.
For busy schedules: Prep and crumple all the bags one evening, then do the wall application the next day. That’s usually how I break up projects when I’m juggling work and home life.
For high-traffic rooms: Use two thin coats of a matte water-based polyurethane instead of one heavier coat. It protects the finish without making it look overly shiny.
To avoid scorch marks: Keep the iron moving and start with a lower heat test in an inconspicuous corner. Every glue mix and wall surface behaves a little differently.
To make it look more like classic wainscoting: Stop the paper at one-third wall height and cap it with a simple shelf ledge or trim board. That combination gives the treatment a more traditional architectural feel.