
I love a project that delivers a big visual payoff without asking me to pour concrete, cut complicated joinery, or commit to a permanent structure. This floating deck does exactly that. By laying interlocking gray composite deck tiles over a properly leveled pea gravel base, you can turn an underused patch of backyard into a clean, comfortable seating area in a weekend.
What makes this build especially practical is that it’s approachable for beginners but still rewards careful prep. In my kitchen, I always say good results start before the “main event,” and outdoor projects are no different. If you take the time to mark the footprint, level the base, and compact the gravel well, the tile installation itself goes quickly and the finished deck feels surprisingly polished.
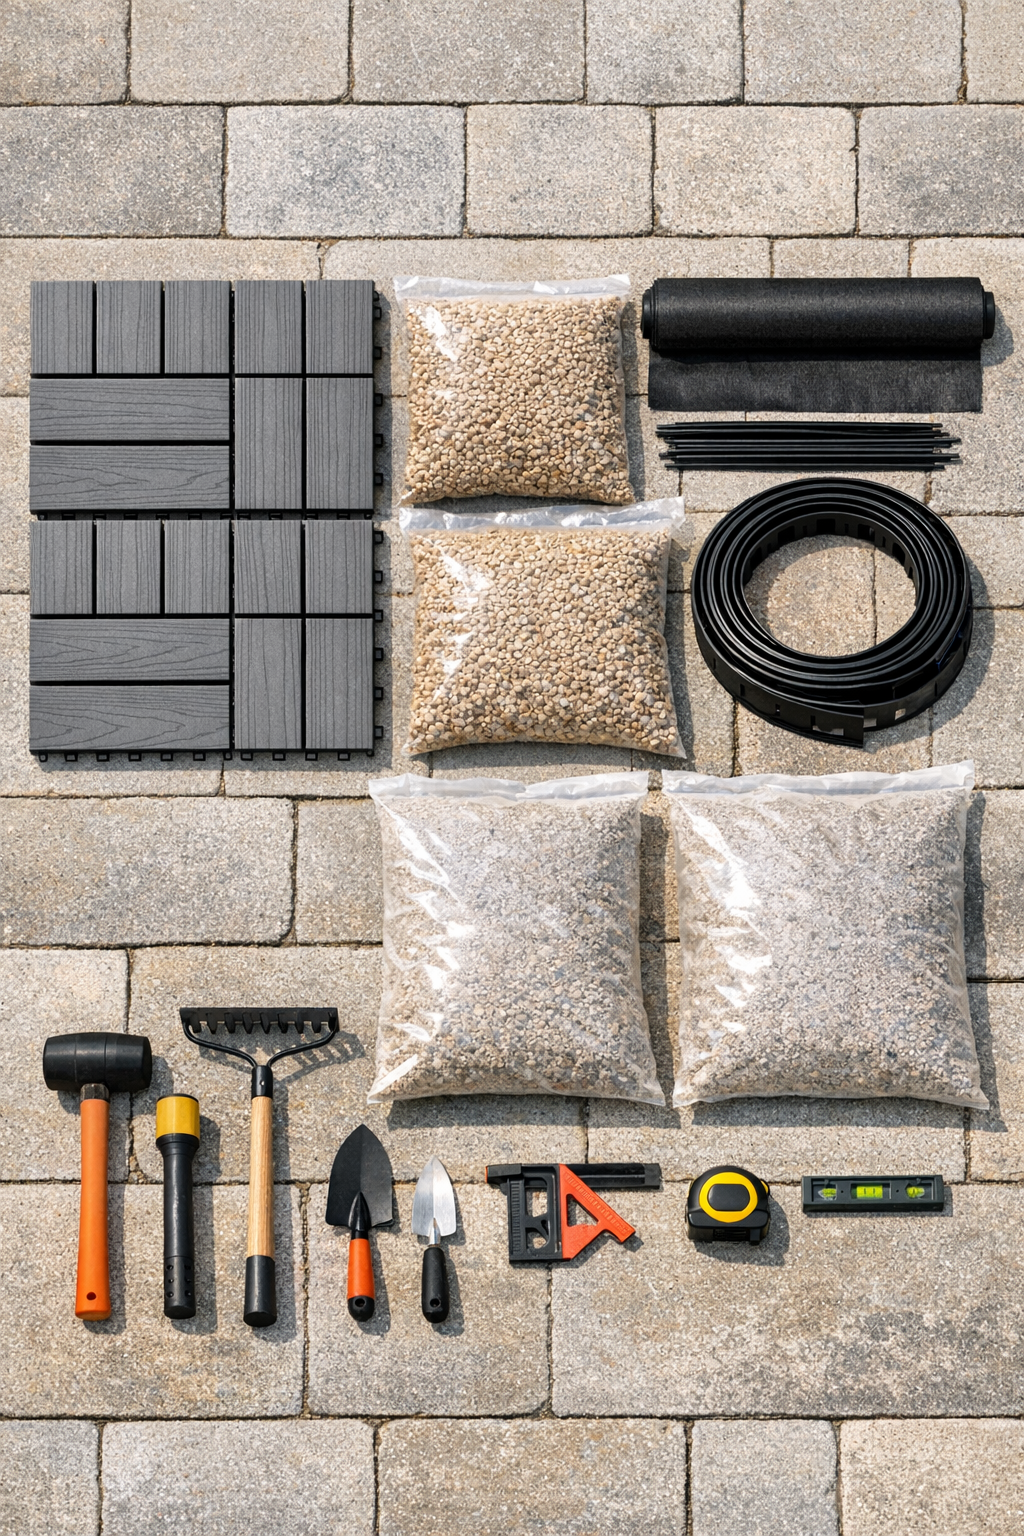
Materials
Instructions
1. Choose a flat-to-gently sloped area with good drainage, then measure and mark a 9-foot x 9-foot square using stakes and mason’s string. Check the corners for square by matching diagonal measurements before you dig.
2. Remove grass, roots, and topsoil from the marked area to a depth of about 3 inches. Keep the base as even as possible and rake out any soft spots.
3. Tamp the exposed soil firmly, then lay landscape fabric across the entire excavated area. Overlap seams by at least 6 inches if you need more than one piece, and secure it with weed barrier pins.
4. Install landscape edging around the perimeter to hold the base in place. Stake it securely so the border stays straight and does not shift while you fill and level.
5. Spread about 1 inch of paver base or crushed stone fines over the fabric, then rake it level. Lightly compact it and use a long straight board to check for low or high spots.
6. Add a 2-inch layer of pea gravel on top of the leveling layer and rake it smooth. Compact it lightly, then screed again until the surface is flat, stable, and consistently supported across the whole footprint.
7. Test the surface with a level in several directions and make small adjustments with extra gravel or a little coarse sand where needed. The goal is not perfect mathematical perfection, but a base that feels even underfoot and does not rock.
8. Start in one corner and set the first gray composite tile in place, making sure its edges align with the border. Add the next tile by locking the interlocking tabs together, row by row, keeping the seams straight.
9. Continue laying tiles across the deck, checking every few rows that the pattern stays square and the surface remains flush. If one tile sits proud, lift it and correct the base underneath before moving on.
10. Install edge trim or border pieces if your tile system includes them, especially on exposed sides for a cleaner finish. Walk the entire deck slowly to confirm every tile is locked and fully supported.
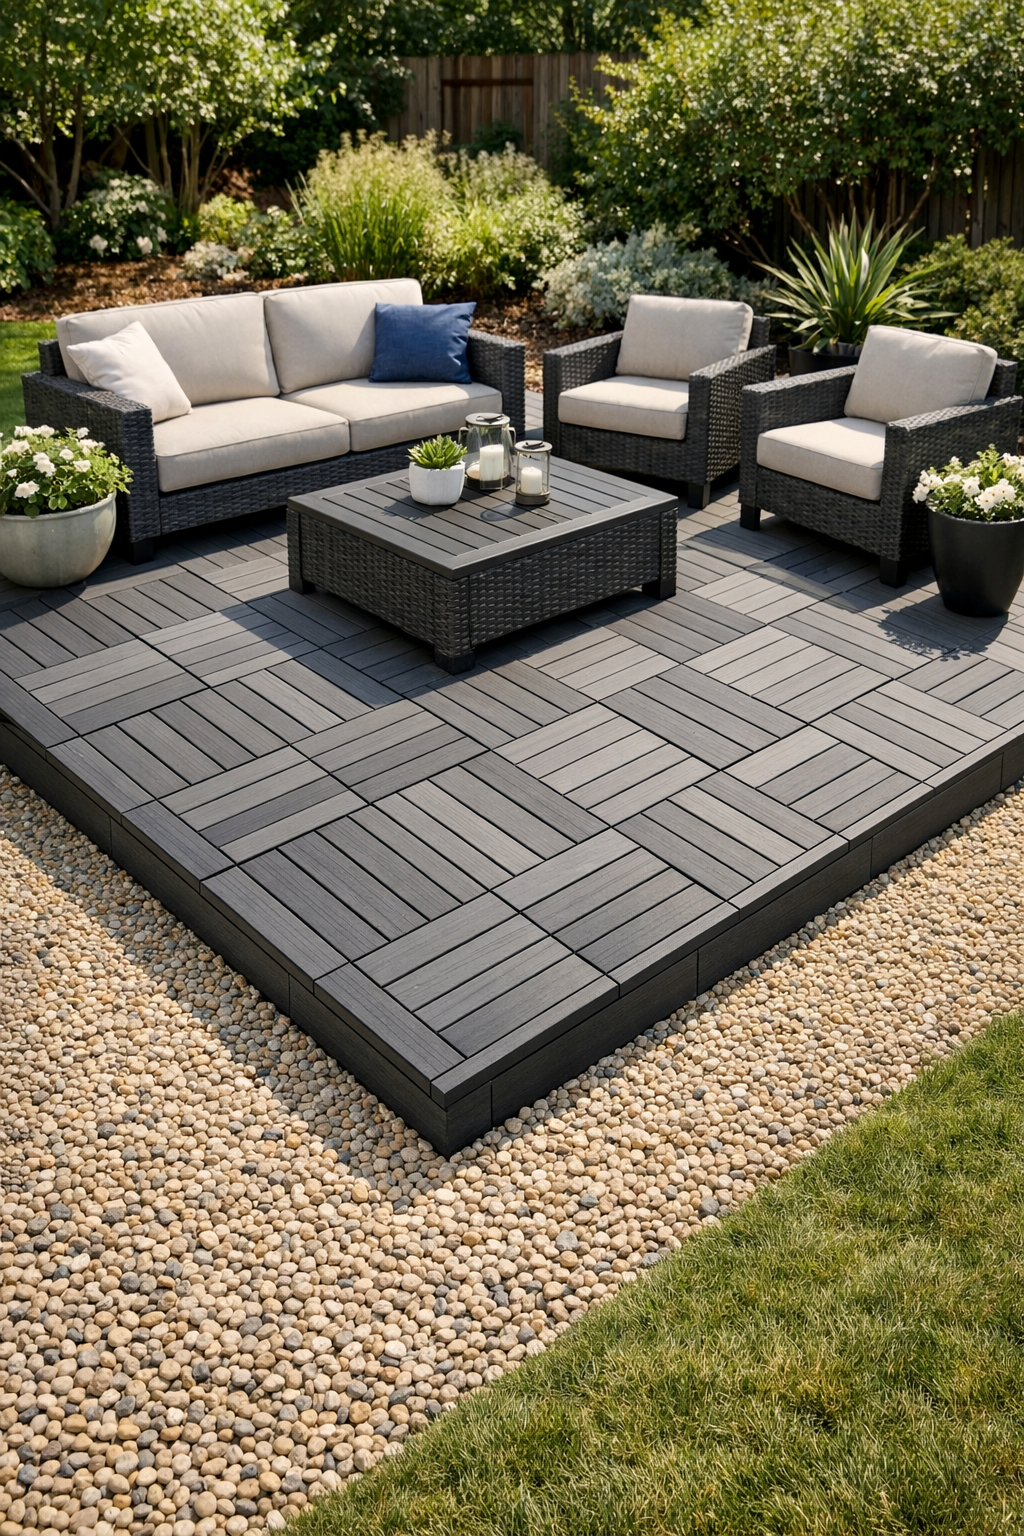
11. Sweep the deck clean and tidy the surrounding yard edge so the new platform looks intentional. Set out a pair of chairs or a small table, and you have an instant outdoor room without building a traditional framed deck.
Variations & Tips
Change the size: This method scales easily. I recommend planning your dimensions around the tile size so you avoid awkward cuts and keep the installation fast.
Use a slight drainage slope: If your yard is very flat, a subtle slope of about 1/8 inch per foot away from the house helps water move off the area without being noticeable.
Add a border: A contrasting border in black or a darker charcoal tile can make the deck look more finished, much like plating a dish with a tidy rim that frames everything nicely.
Mind the furniture weight: Composite tiles are excellent for seating areas, side tables, and planters, but always check the manufacturer’s rating before placing a grill, hot tub, or very heavy item on top.
Refresh the base if needed: If a section settles after a rainy spell, lift those tiles, add a little gravel or coarse sand, and relock them. That easy adjustability is one of the reasons I find this project so appealing.
Keep weeds down: Landscape fabric and proper edging do most of the work, but pulling the occasional stray sprout early will keep the deck looking crisp with very little maintenance.