
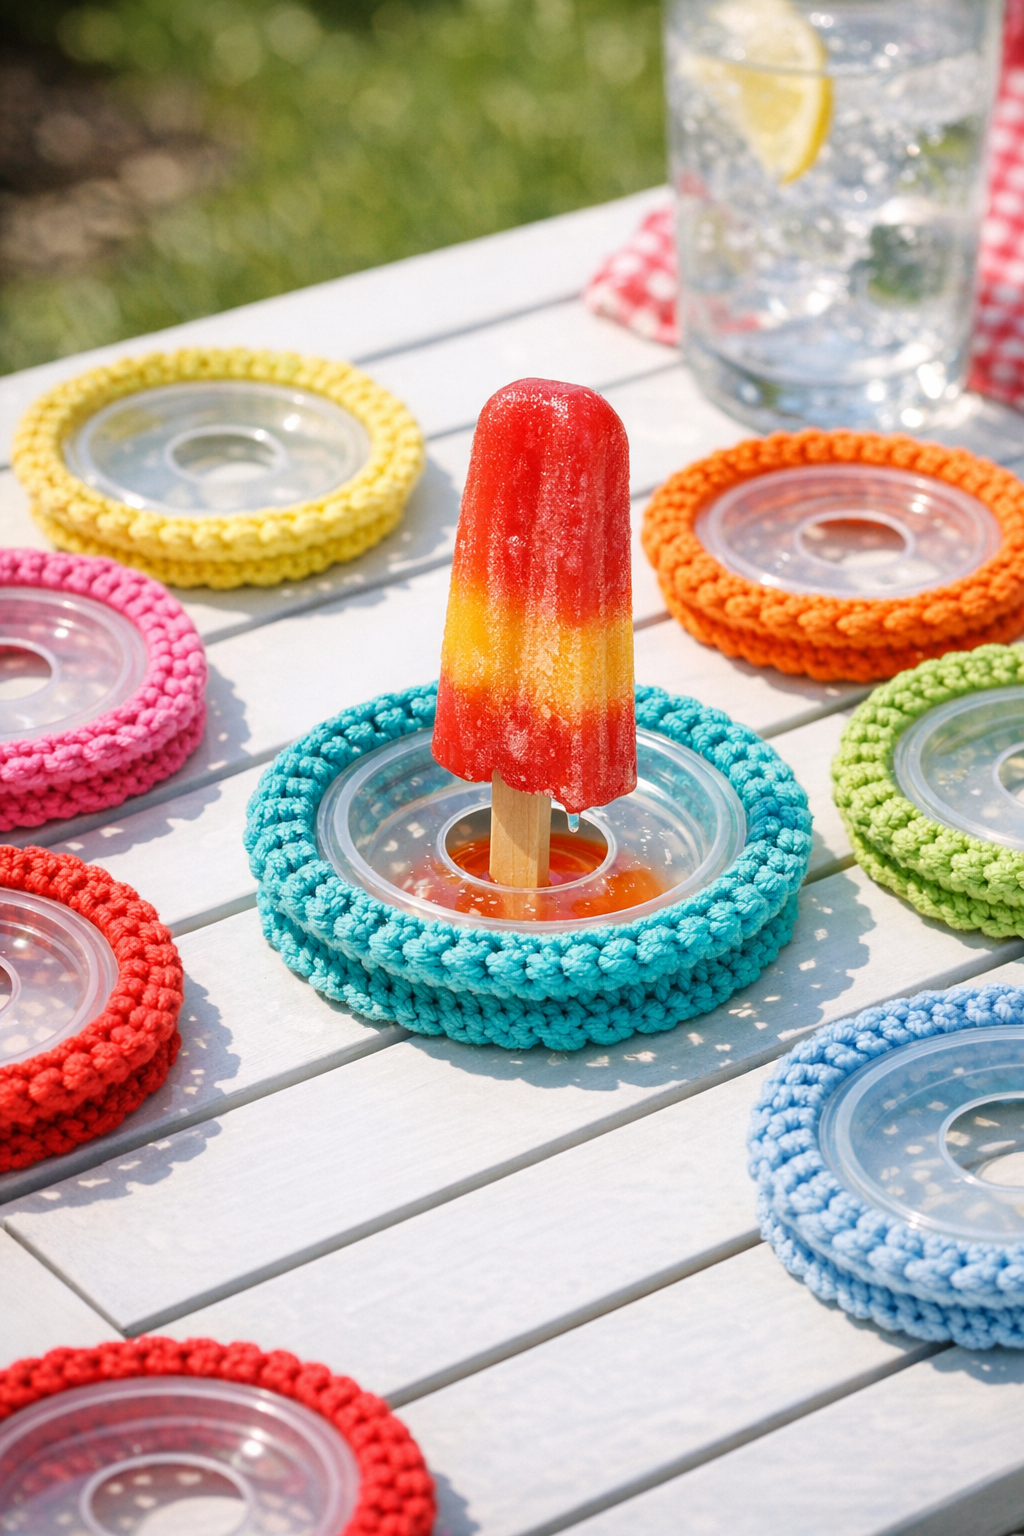
When I run across a clever little summer fix that costs almost nothing and keeps sticky hands under control, I pay attention. This crochet popsicle drip catcher set uses saved plastic applesauce cup lids as the sturdy center, then adds a soft cotton crocheted edge that catches drips before they end up on shirts, patio cushions, or the car seat on the way home from the park.
I especially like this project because it blends practicality with a bit of resourcefulness. If you already crochet, it is a satisfying quick make, and if you are comfortable with simple stitches, it is very approachable. The finished catchers are washable, reusable, and just right for outdoor summer treats.
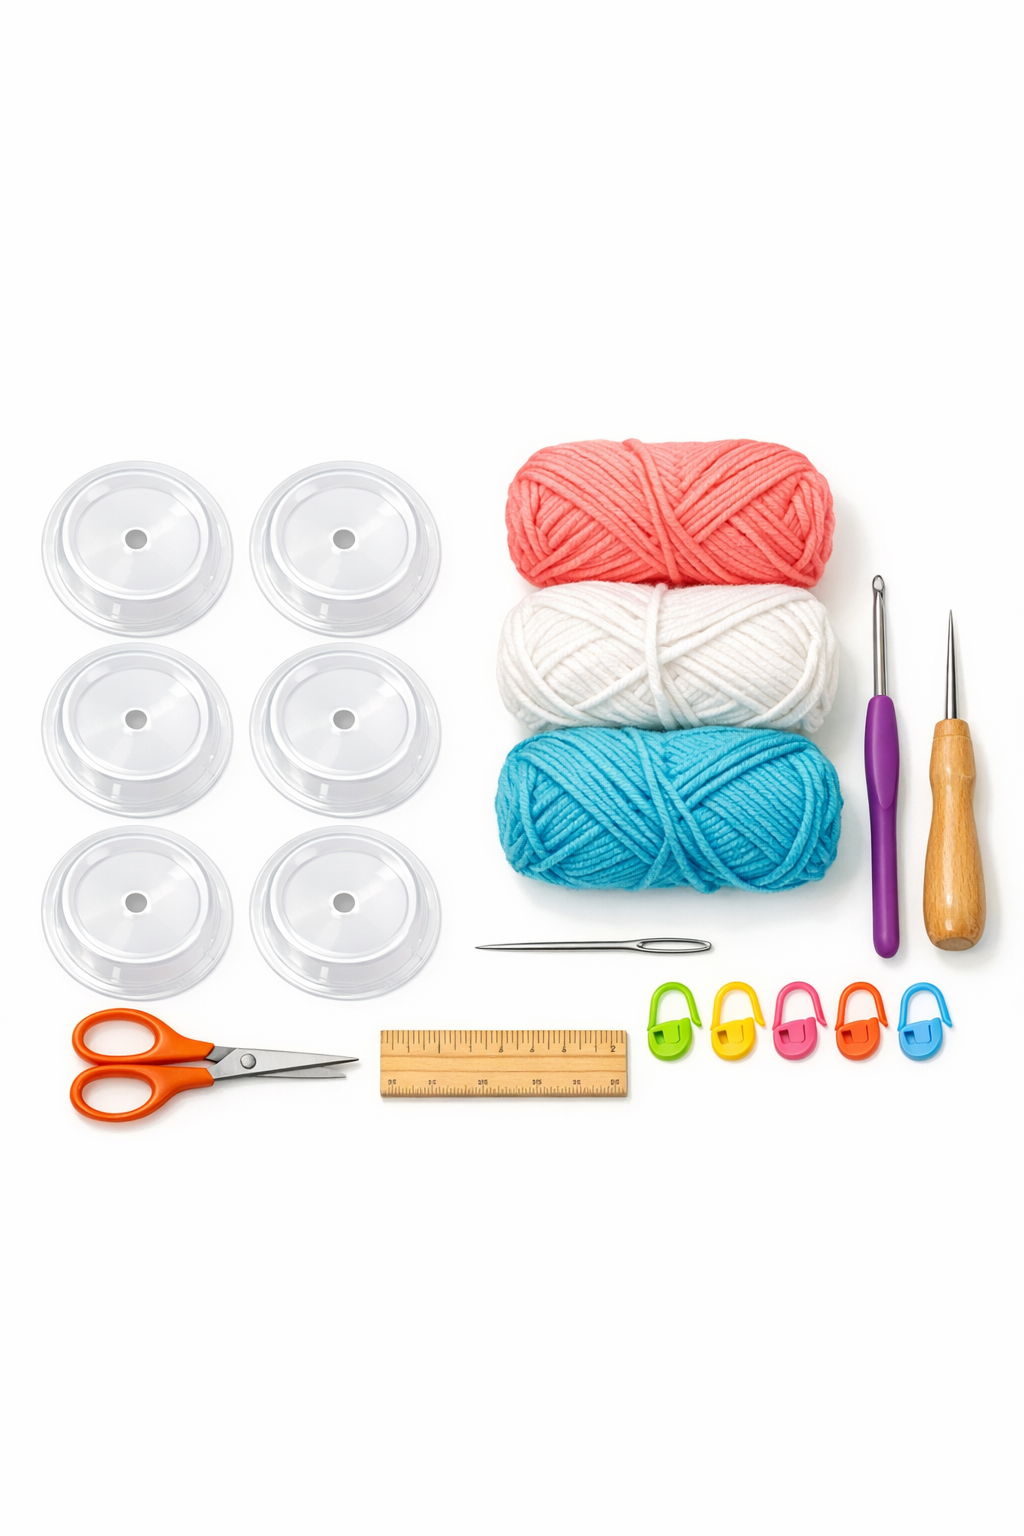
Materials
Instructions
1. Wash the applesauce lids thoroughly in warm soapy water, remove any residue, and dry them completely so the yarn stays clean and the stitches grip well.
2. Cut or confirm a center opening in each lid large enough for a popsicle stick to slide through easily, about 3/8 to 1/2 inch wide, and smooth any rough plastic edges.
3. Mark dots around the outer rim of one lid, spacing them evenly about 3/8 inch apart, then punch 24 to 36 holes around the edge, keeping them about 1/8 inch in from the rim.
4. Tie on the cotton yarn through one punched hole, insert the hook through the next hole, and work 1 single crochet in each hole all the way around the lid.
5. Join the round with a slip stitch to the first single crochet and check that the stitches lie flat; if the edge is pulling, add a few extra stitches in wider gaps.
6. Chain 1 and work a second round in single crochet, placing 2 single crochet stitches in every fourth stitch to gently flare the catcher so it can hold drips.
7. For a deeper lip, chain 1 and crochet a third round with 1 single crochet in each stitch, adding 2 single crochet stitches in every sixth stitch only if needed to keep the edge from cupping.
8. Finish the edge with a simple decorative round by working 1 slip stitch in the next stitch, chain 3, skip 1 stitch, and repeat around for a light scallop.
9. Cut the yarn, pull the tail through, and weave in the ends securely with a yarn needle so nothing loosens after washing.
10. Repeat the same process for the remaining lids to make a matching set, then test one by sliding a popsicle stick through the center hole and resting the frozen treat above the crocheted catcher.
Variations & Tips
Color-coded sets: Make each catcher in a different cotton yarn color so children can quickly tell which frozen treat belongs to them. This is one of those small hosting tricks that saves confusion later.
Best yarn choice: Stick with 100% cotton rather than acrylic. Cotton absorbs drips better, washes well, and feels more stable in summer heat.
Hole spacing tip: Evenly spaced holes make the crochet look much neater. I like to mark opposite sides first, then fill in between them so the spacing stays balanced.
Center opening size: Test the hole with an actual popsicle stick before you start crocheting. Too tight, and the treat is awkward to slide in; too loose, and the catcher will wobble.
Edge depth: If you want a flatter coaster-style catcher, stop after the second round. If your popsicles melt quickly in the heat, add the third round for a deeper little bowl.
Cleaning: Hand wash or place the catchers in a mesh bag on a gentle cycle, then lay flat to dry. Since the center is plastic, they hold their shape nicely once dry.
Kid-safe finishing: Run your finger around every cut and punched edge before use. Any rough plastic spot should be trimmed or sanded smooth so little hands stay comfortable.
Other uses: These also work for ice pops, yogurt pops, and even some cake pop sticks. I always enjoy a project that earns its keep in more than one way.