
There’s something mighty satisfying about turning a few humble supplies into something solid and useful for the yard. This project makes heavy rectangular yard blocks using plastic pencil boxes as molds and wet cement as the weight, and it’s the sort of practical little build I’ve always loved—simple, sturdy, and easy on the budget. Around here, I’m forever needing something to hold down a garden cover, edge a flower bed, prop a sign, or keep a tarp from wandering off in the wind, and these blocks do the job beautifully.
I especially like this project for beginners because it asks so little of you: just a mold, a cement mix, and a bit of patience while everything cures. If you enjoy making useful things with your hands, this is one of those straightforward weekend projects that feels a little like old-fashioned farm ingenuity—using what you have and making it last.
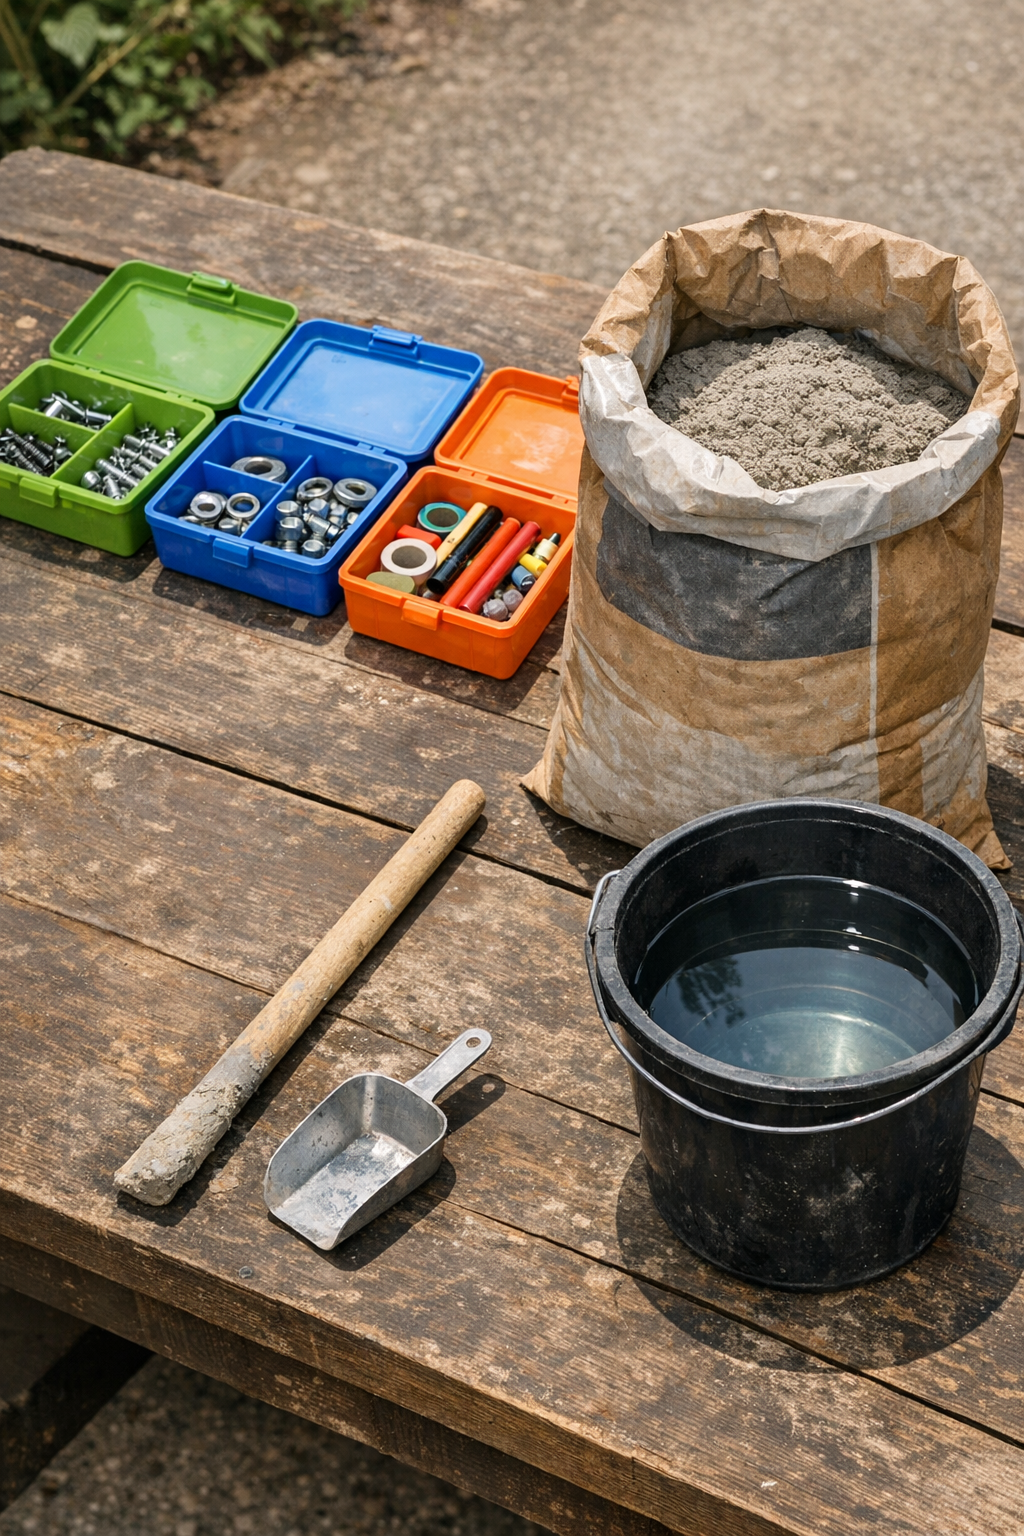
Materials
Instructions
1. Set your cardboard or drop cloth on a flat, level surface outdoors or in a well-ventilated workspace, and place the three plastic pencil boxes on top with the lids removed.
2. Lightly coat the inside of each pencil box with cooking spray or mold release so the cured blocks come out more easily.
3. In a bucket or mixing tub, combine the concrete mix with water a little at a time until it reaches a thick, scoopable consistency, similar to stiff oatmeal.
4. Fill each pencil box about three-quarters full with the wet concrete, then tap the boxes firmly against the table several times to release trapped air bubbles.
5. Add more concrete until each mold is filled nearly to the top, leaving about 1/4 inch of space so the surface can be leveled neatly.
6. Smooth the tops with a small trowel, putty knife, or scrap stick, and tap the sides once more to settle the mix evenly.
7. Let the molds sit undisturbed until the concrete firms up, following the cure time on your mix; for fast-setting concrete, this is often several hours before handling.
8. Once the blocks are firm, gently flex or peel the plastic pencil boxes away from the concrete and slide each block out carefully to avoid chipping the corners.
9. Set the blocks in a shaded spot to finish curing for 24 to 48 hours so they gain strength before you use them in the yard.
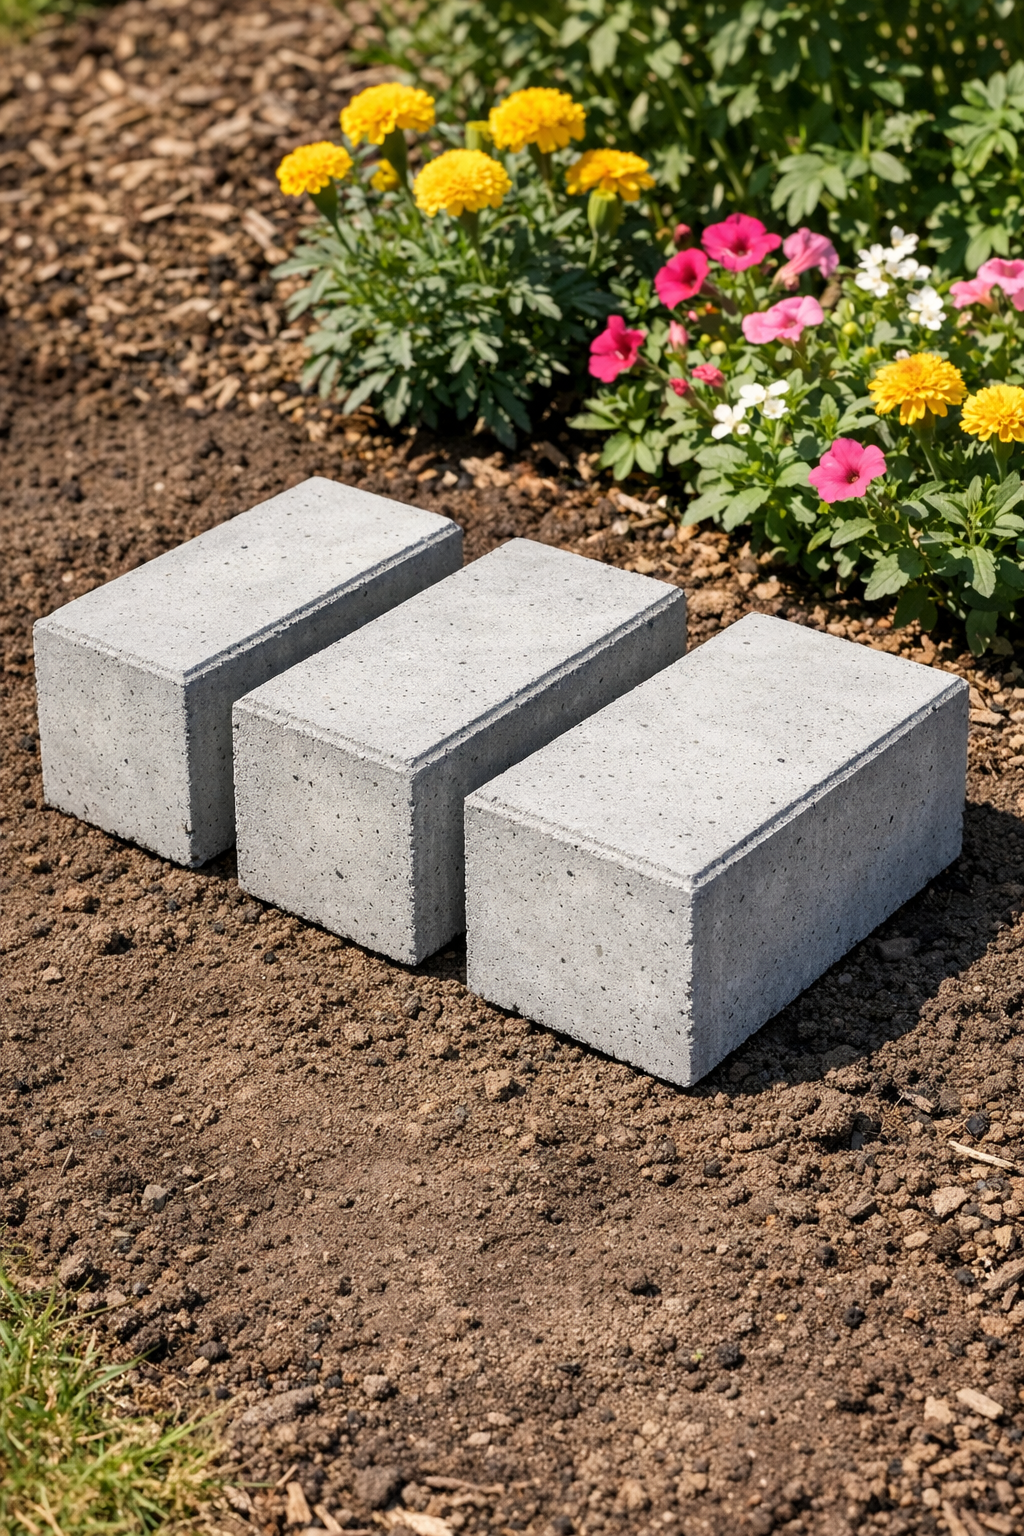
10. Place the finished heavy rectangular blocks wherever you need weight and stability, such as along garden edges, over landscape fabric, or around light outdoor setups that need holding down.
Variations & Tips
Add a handle groove: Before the concrete fully sets, press a short dowel or thick stick lightly across the top surface to create a shallow finger hold for easier lifting.
Make them smoother: If you want cleaner edges, tap the molds longer after filling and run your leveling tool across the top twice instead of once.
Use for garden organization: These blocks work nicely as simple spacers, low edging weights, or anchors for lightweight fencing and row covers.
Adjust the weight: Fill the molds slightly less for lighter blocks or all the way to the top for the heaviest version the boxes can hold safely.
Let curing do the work: Around my house, I’ve learned not to rush cement projects; a full day or two of curing makes these far less likely to crack when moved.
Protect your molds: If you want to reuse the pencil boxes again, unmold the blocks gently and avoid twisting the plastic too sharply at the corners.