
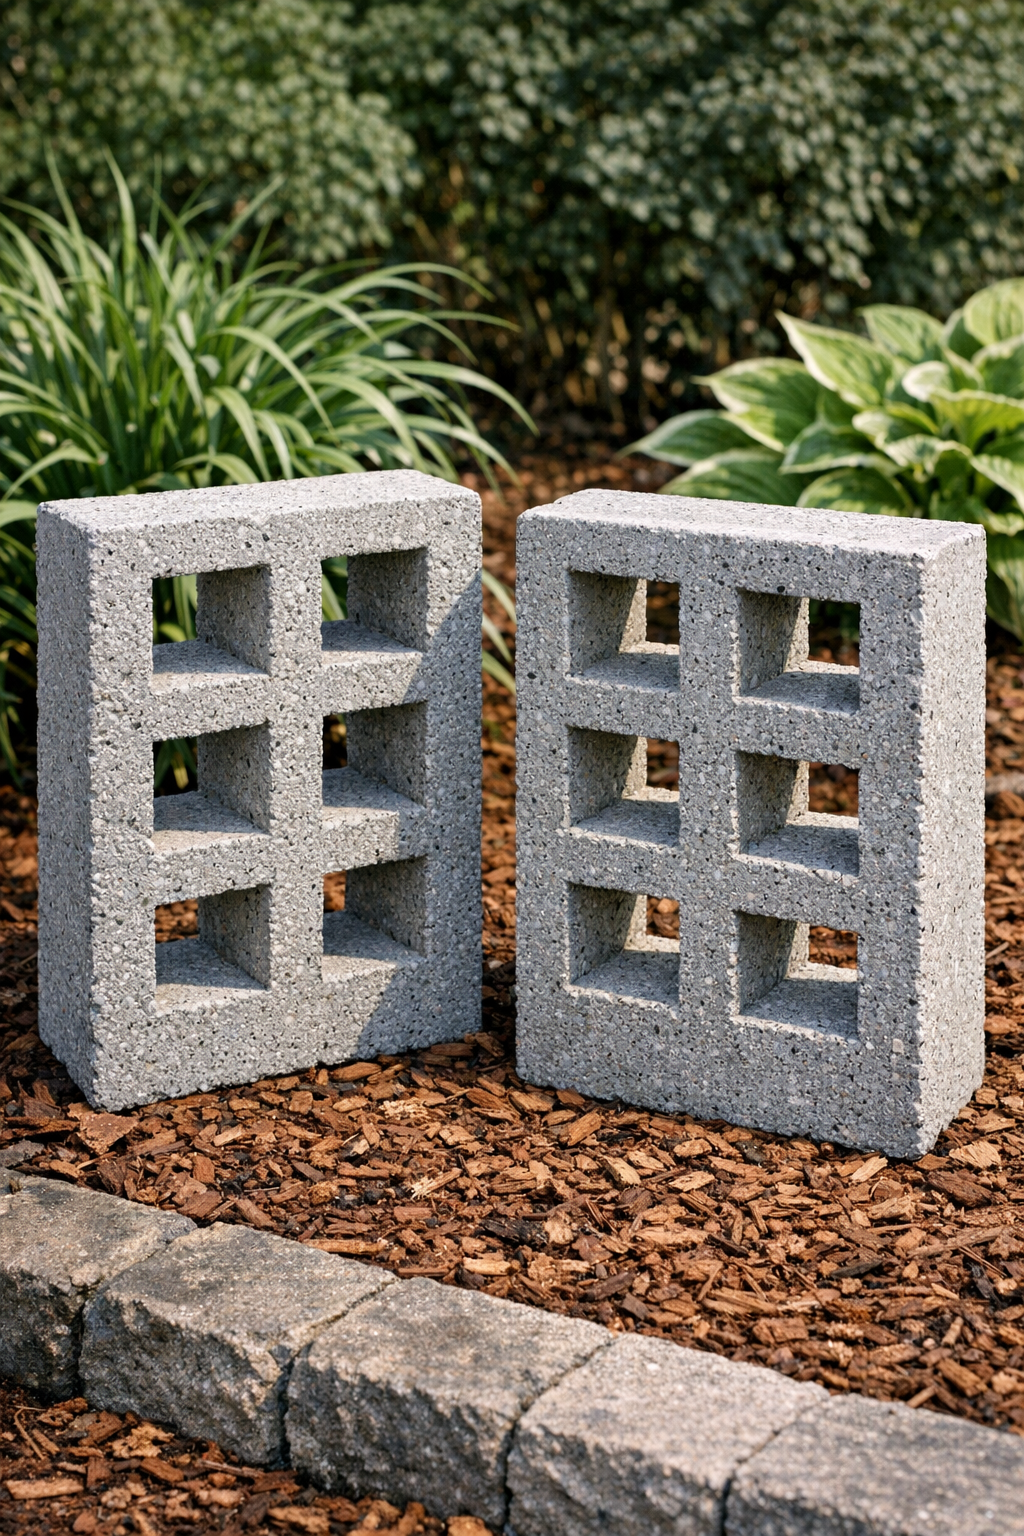
I love a weekend project that looks much more expensive than it really is, and these heavy lattice-style landscape blocks are exactly that kind of DIY. By using plastic milk crates as the mold and wet cement as the structure, you get a sturdy garden accent that looks like a chunky decorative concrete screen once it’s finished.
This is a great project if you want to edge a garden bed, add weight and texture around a patio, or make a simple yard feature without buying pricey cast-stone pieces. I’m always looking for practical projects I can squeeze into a busy week, and this one is especially satisfying because the crate does most of the design work for you.
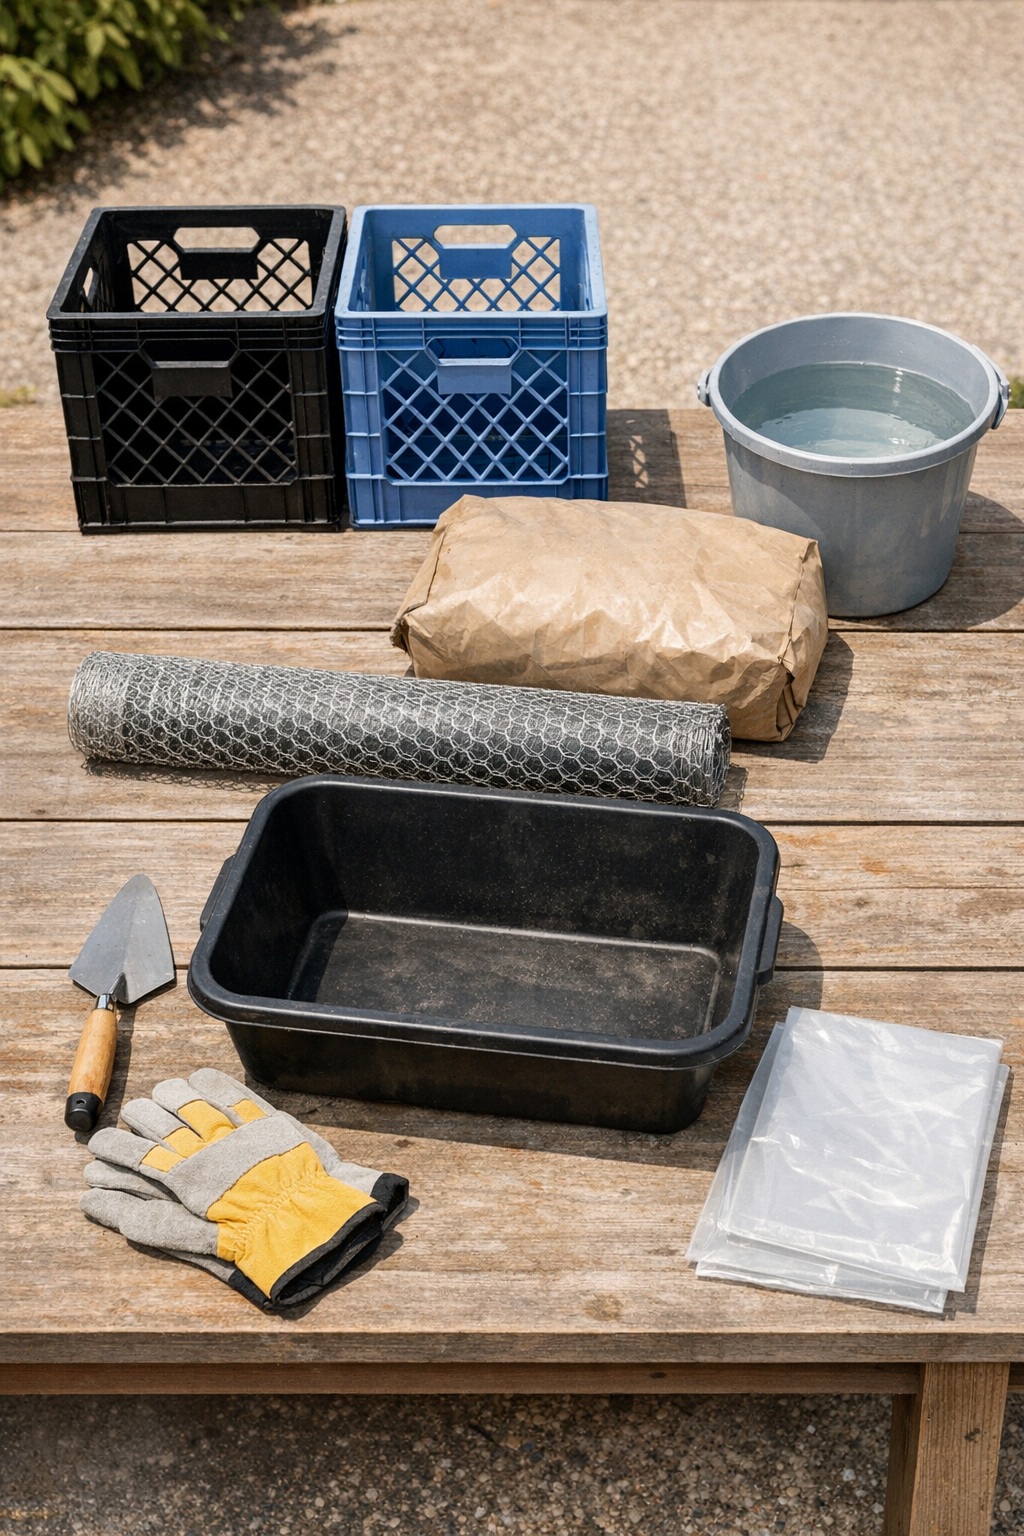
Materials
2 plastic milk crates, standard 13 inch x 13 inch size
Instructions
1. Set the milk crates upside down on a plastic-covered, level work surface outdoors or in a well-ventilated area. Put on gloves and a dust mask before opening the cement mix.
2. Cut the chicken wire into two squares sized to fit across the bottom panel of each crate with about 1 inch of overhang trimmed away. This wire is the secret item that reinforces the cement so the finished blocks hold together much better.
3. Mix the cement in a tub with water a little at a time until it reaches the texture of thick peanut butter. You want it wet enough to spread but stiff enough that it won’t immediately slump through the crate openings.
4. Spread a 1/2-inch layer of wet cement across the bottom of the first upside-down crate, pressing it into the grid pattern. Cover the entire bottom surface evenly, including the edges.
5. Press one cut piece of chicken wire into the wet cement, keeping it centered and fully embedded. Smooth a little more cement over the mesh so it is completely covered.
6. Add a second thin coat of cement over the first until the total thickness is about 3/4 inch to 1 inch. Smooth the surface with the trowel, but don’t worry about making it perfectly flat.
7. Repeat the same cement and wire process on the second crate. If the cement starts drying while you work, lightly mist the surface with water to keep it workable.
8. Let both pieces sit undisturbed for 24 to 48 hours until the cement feels hard to the touch. If the weather is hot or windy, loosely cover them with plastic so they cure more slowly and crack less.
9. Once cured, carefully flex the plastic crate and ease the cement block free from the crate bottom. Work slowly around the edges so you don’t chip any corners.
10. Stand the finished blocks upright in the garden, lean them against a bed edge, or partially bury the base for extra stability. Let them continue curing for several more days before putting weight or pressure on them.
Variations & Tips
Use a stronger mix: If you want a tougher finished block, choose a concrete mix with small aggregate instead of plain mortar. I’ve found it holds up better outdoors, especially in Midwestern freeze-thaw weather.
Make them thicker: For a heavier border piece, increase the cement thickness to a full 1 inch. Just remember it will take longer to cure and will be a little trickier to remove from the crate.
Try hardware cloth instead of chicken wire: If you have galvanized hardware mesh on hand, it gives a little more structure and lies flatter in the cement. Either one works, but flatter mesh is easier for beginners.
Keep the edges neat: If any rough bits show after demolding, rub them lightly with a masonry stone or the edge of a scrap brick once the cement has mostly cured. It’s a quick cleanup step that makes the project look more finished.
Use them in pairs: Since this tutorial makes two blocks, I like placing them symmetrically on each side of a flower bed or pathway. It gives the yard a pulled-together look without much extra effort.
Don’t rush the cure: This is the part that’s hardest for me because I always want to see the final result right away, but giving the cement extra time really pays off. A slower cure usually means fewer cracks and a sturdier landscape piece.