
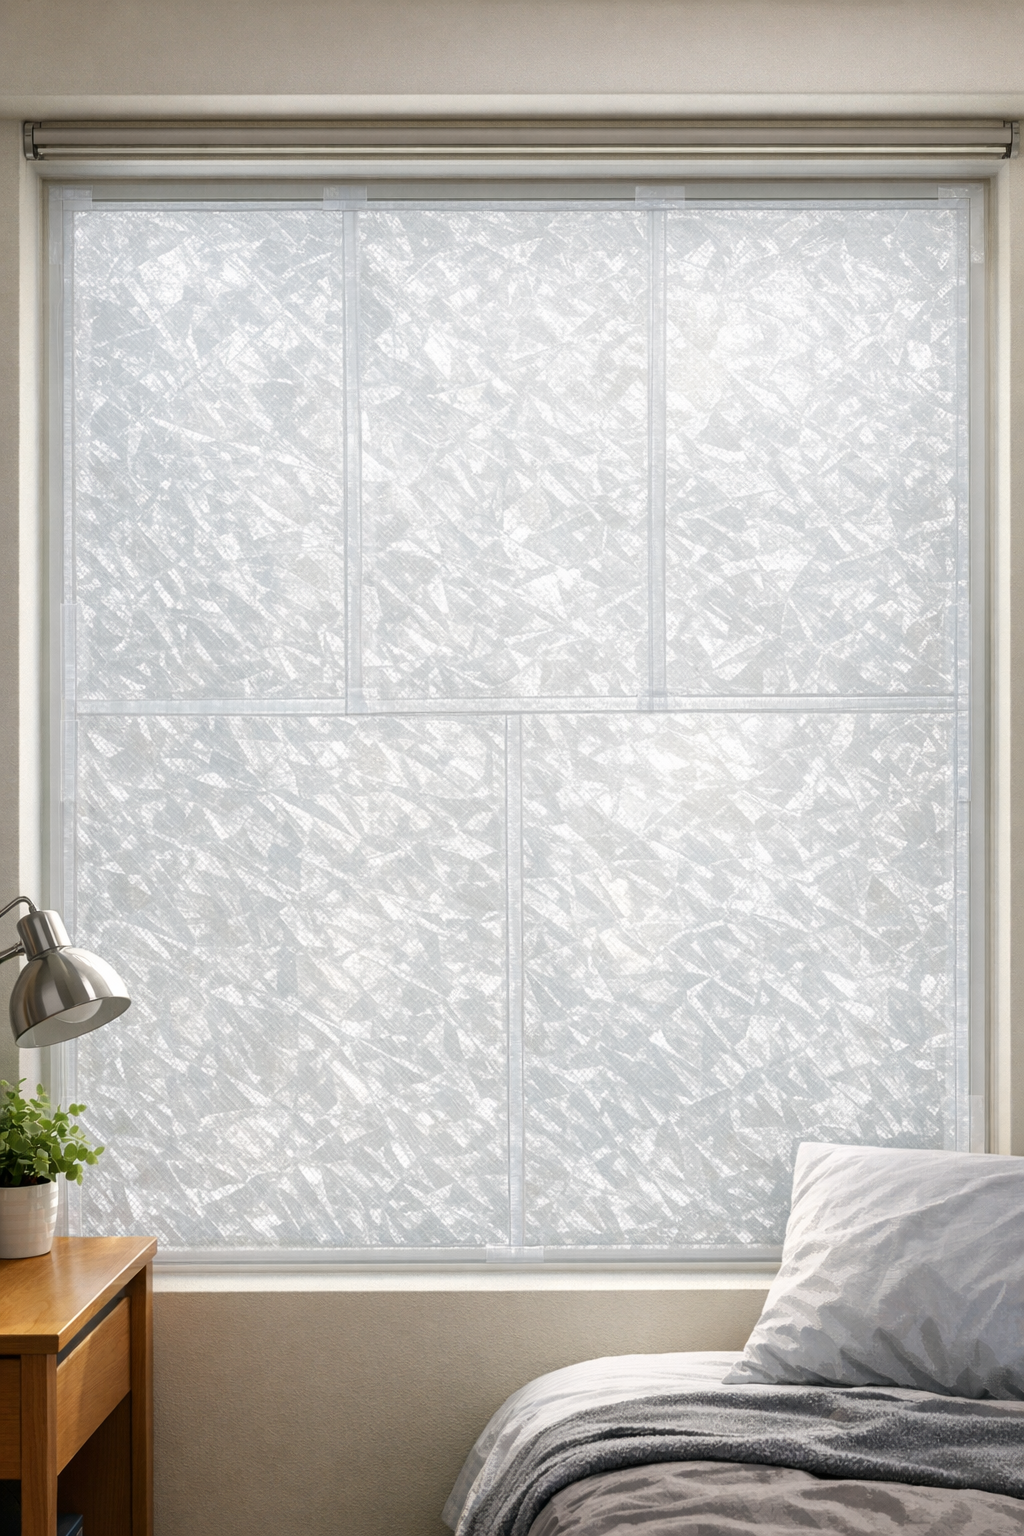
If you’ve ever wanted a little more privacy in a dorm room without spending much money or making anything permanent, this is one of those clever little projects that feels almost too simple to work. By fusing crinkled plastic sandwich bags between sheets of parchment paper and pairing that frosted panel with basic clear tape, you can make lightweight privacy screens that soften the light and blur the view through a window or glass panel.
I love projects like this because they use everyday materials, go together quickly, and make a shared space feel a little more comfortable. This is especially nice for dorms, bedrooms, or even a study nook where you want light to come in but don’t necessarily want the whole room on display.
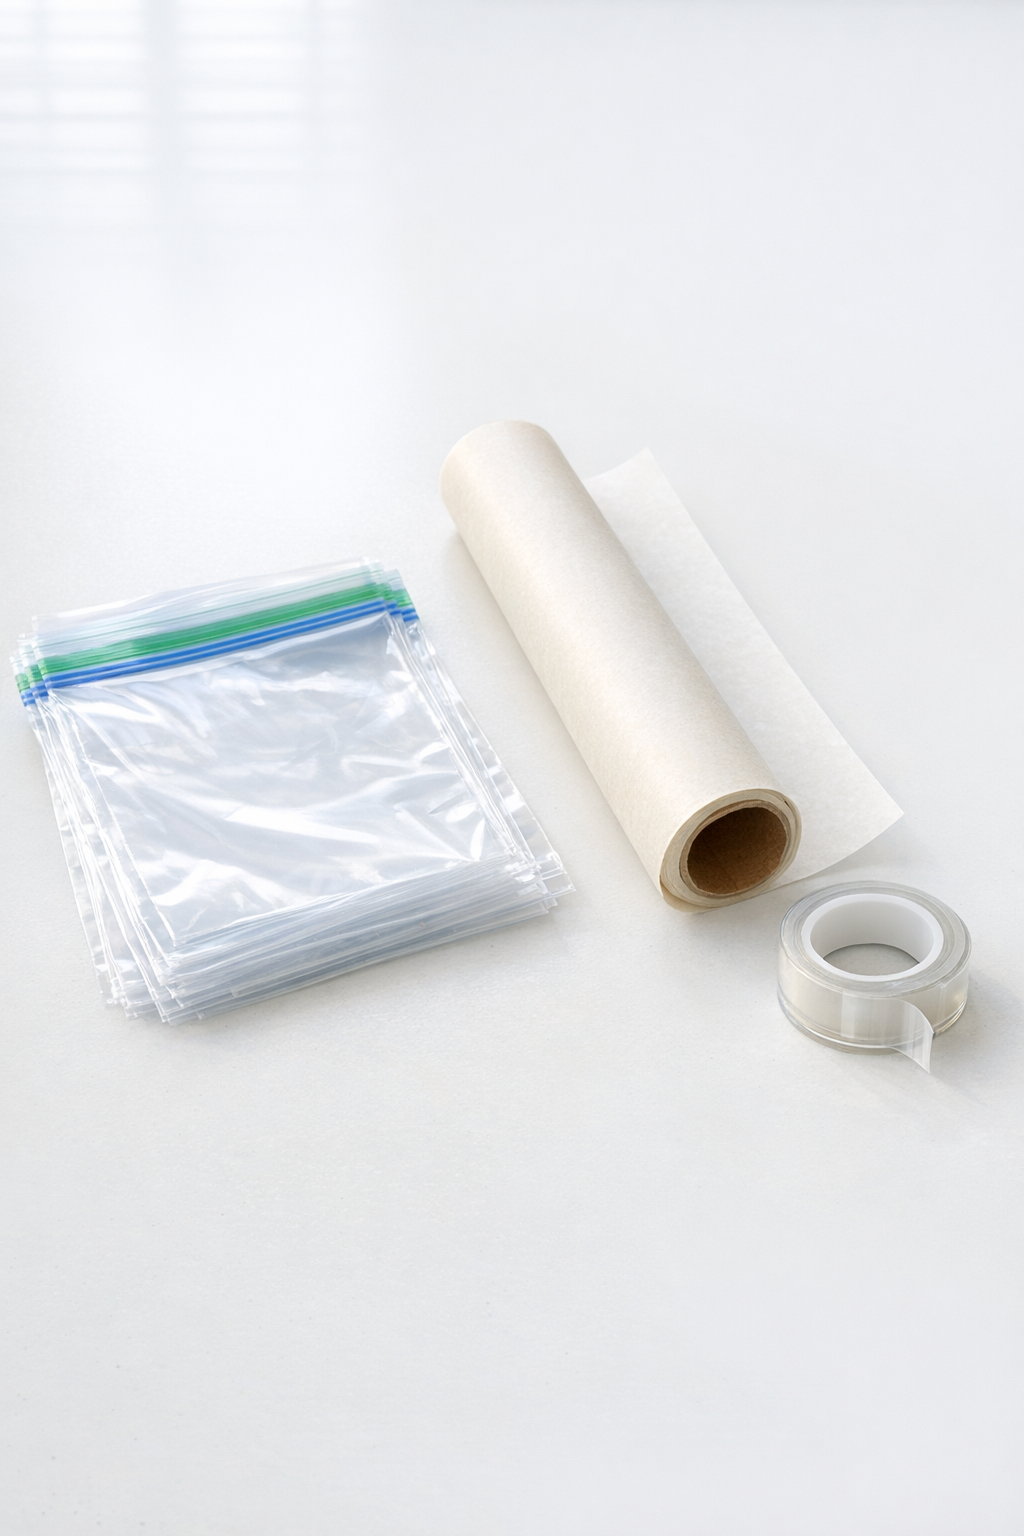
Materials
40 to 60 clear plastic sandwich bags, standard 6 1/2 x 5 7/8 inch size
Instructions
1. Clean the window or glass surface where you want the privacy screen to go, then measure the height and width so you know how large to make each panel.
2. Tear or cut the zipper tops and sealed side seams off the sandwich bags so each bag opens into a flatter sheet of plastic.
3. Crinkle each plastic sheet gently in your hands, then smooth it back out just enough so it will lie mostly flat; those wrinkles are what create the frosted look.
4. Layer 6 to 8 crinkled sheets together, overlapping edges slightly to form a rectangle close to the size you need for one panel.
5. Place one sheet of parchment paper on your ironing surface, set the plastic layers on top, and cover with the second sheet of parchment paper.
6. Using a dry iron on low heat, press slowly over the parchment paper for a few seconds at a time until the plastic layers begin to fuse together; check often so you don’t overmelt them.
7. Let the fused panel cool for 30 to 60 seconds, then peel back the parchment and check that the layers are bonded; if needed, cover again and press a little more.
8. Repeat the layering and ironing process until you have enough frosted plastic panels to cover the desired area of the window or glass.
9. Hold a finished panel up to the window and trim it carefully, if needed, so it fits the space with a small margin around the edges.
10. Attach the panel with small loops or strips of clear tape along the top edge first, then smooth and secure the sides and bottom so it hangs flat.
11. If your window is wider or taller than one panel, overlap additional panels slightly and tape them in place until the full area is covered.
12. Step back and check the coverage from both inside and outside, adding a bit more tape anywhere the panel lifts or where you want a cleaner finish.
Variations & Tips
For smaller windows: Make several narrow panels instead of one large one. I find smaller sections easier to iron evenly and much easier to tape up without wrinkles.
For picky decorators: If someone in the room wants a tidier look, trim every panel into matching rectangles before hanging. That simple step makes the whole project look more intentional and less makeshift.
Heat setting tip: Start with the lowest iron setting and increase only if needed. In my experience, plastic changes fast, and a little patience saves you from holes or overly shiny melted spots.
More privacy: Use 8 to 10 layers of crinkled plastic instead of 6 to 8 if you want the panel cloudier. You’ll still get light, but shapes on the other side will blur more.
More light: Use fewer layers and crinkle the plastic a little less. This is a good option if the room already feels dim and you only want a soft privacy filter.
Temporary dorm-friendly hanging: Keep the tape small and place it along the panel edges so removal is easier later. It helps to test one tiny piece in a corner first if you’re worried about residue on the frame or glass.
Patch and repair: If a corner tears, just tape a small scrap of fused plastic over the back. That little fix blends in nicely once the panel is backlit.