
I’m always looking for simple ways to stretch what I already have at home, especially when it helps in the yard and keeps a few things out of the trash. This DIY landscaping fabric made from used synthetic dryer sheets is one of those little projects that feels surprisingly practical once you see it come together. By layering and ironing the sheets between two basic materials, you can make a flexible weed barrier that works well for small garden paths, under containers, or around tucked-in landscape spots.
I like this project for anyone who enjoys a thrifty fix and doesn’t mind a bit of hands-on prep. It’s especially handy for small-space gardeners, raised-bed growers, or busy families like mine who want a quick backyard solution without making a special trip to the store.
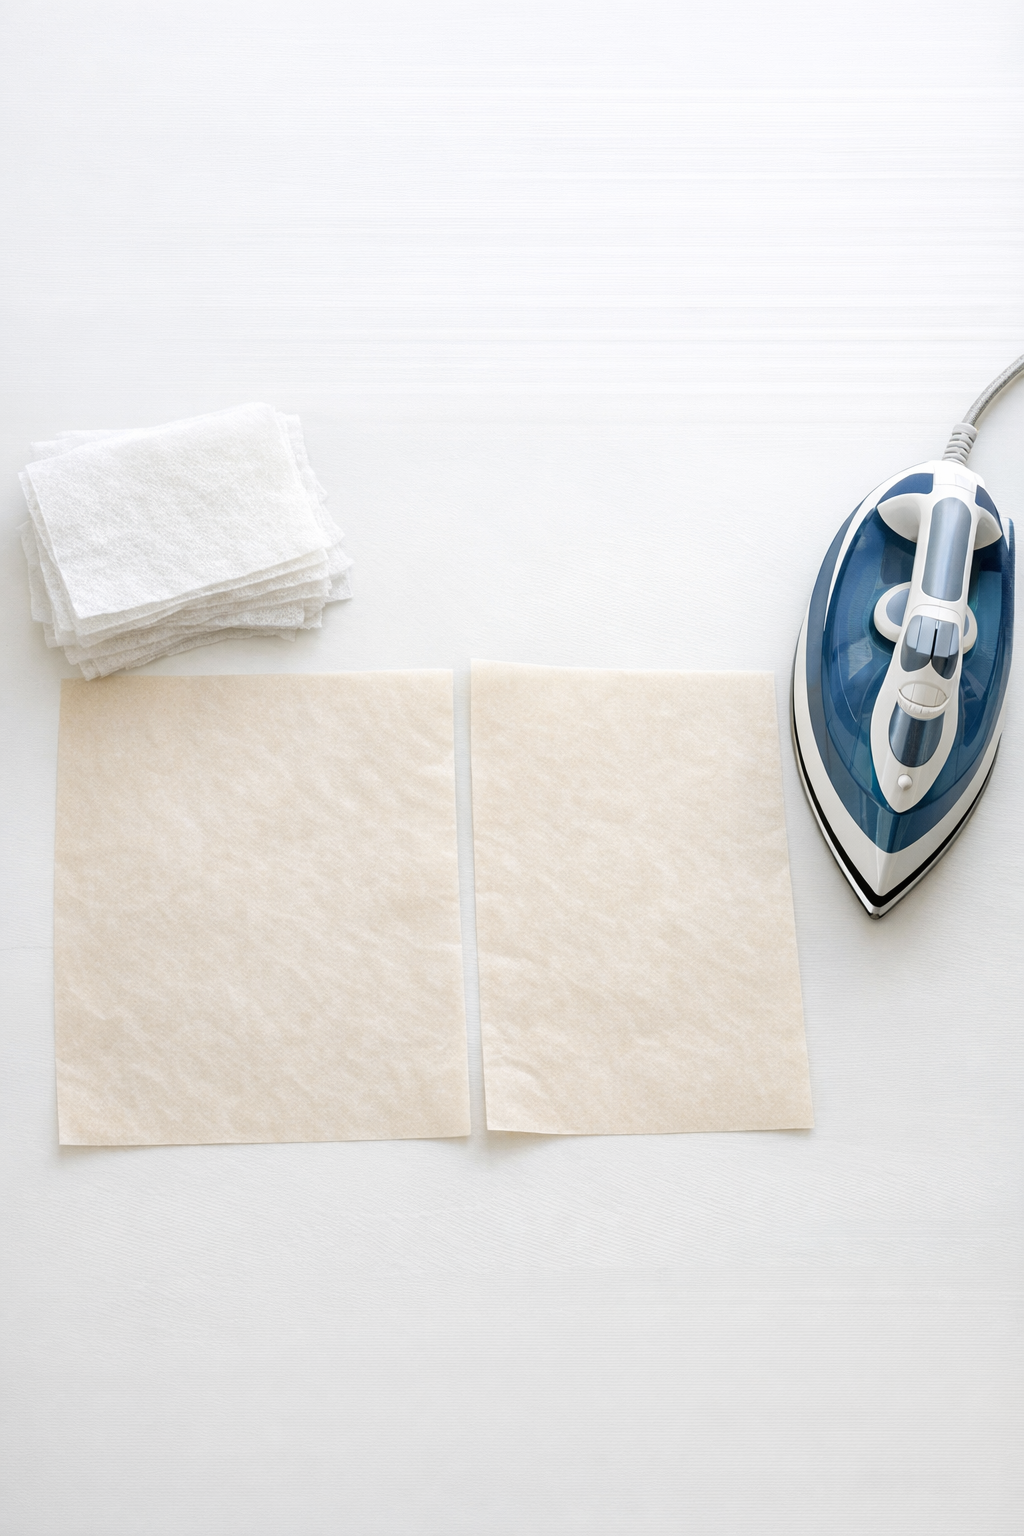
Materials
30 used synthetic dryer sheets, fully dry and free of heavy lint buildup
Instructions
1. Sort through the used dryer sheets and choose ones that are synthetic, clean, and mostly intact; shake off any loose lint so the finished fabric bonds more evenly.
2. Lay one sheet of parchment paper flat on an ironing board or heat-safe surface, then overlap the dryer sheets in rows until you form a rectangle in the size you want.
3. Add a second layer of dryer sheets across the first in the opposite direction, overlapping each piece by about 1 inch to help reduce weak spots and make the fabric more tear-resistant.
4. Place the second sheet of parchment paper over the top, sandwiching the dryer sheets completely so the iron never touches them directly.
5. Press the iron down for 8 to 10 seconds at a time, lifting and moving section by section instead of sliding, until the whole surface has been heated once.
6. Let the piece cool for 30 seconds, peel back one corner, and check whether the layers are lightly fused; if they separate too easily, cover again and press those spots for another 5 to 8 seconds.
7. Repeat the pressing and cooling process until the entire sheet feels like one flexible piece, then trim ragged edges if you want a neater rectangle.
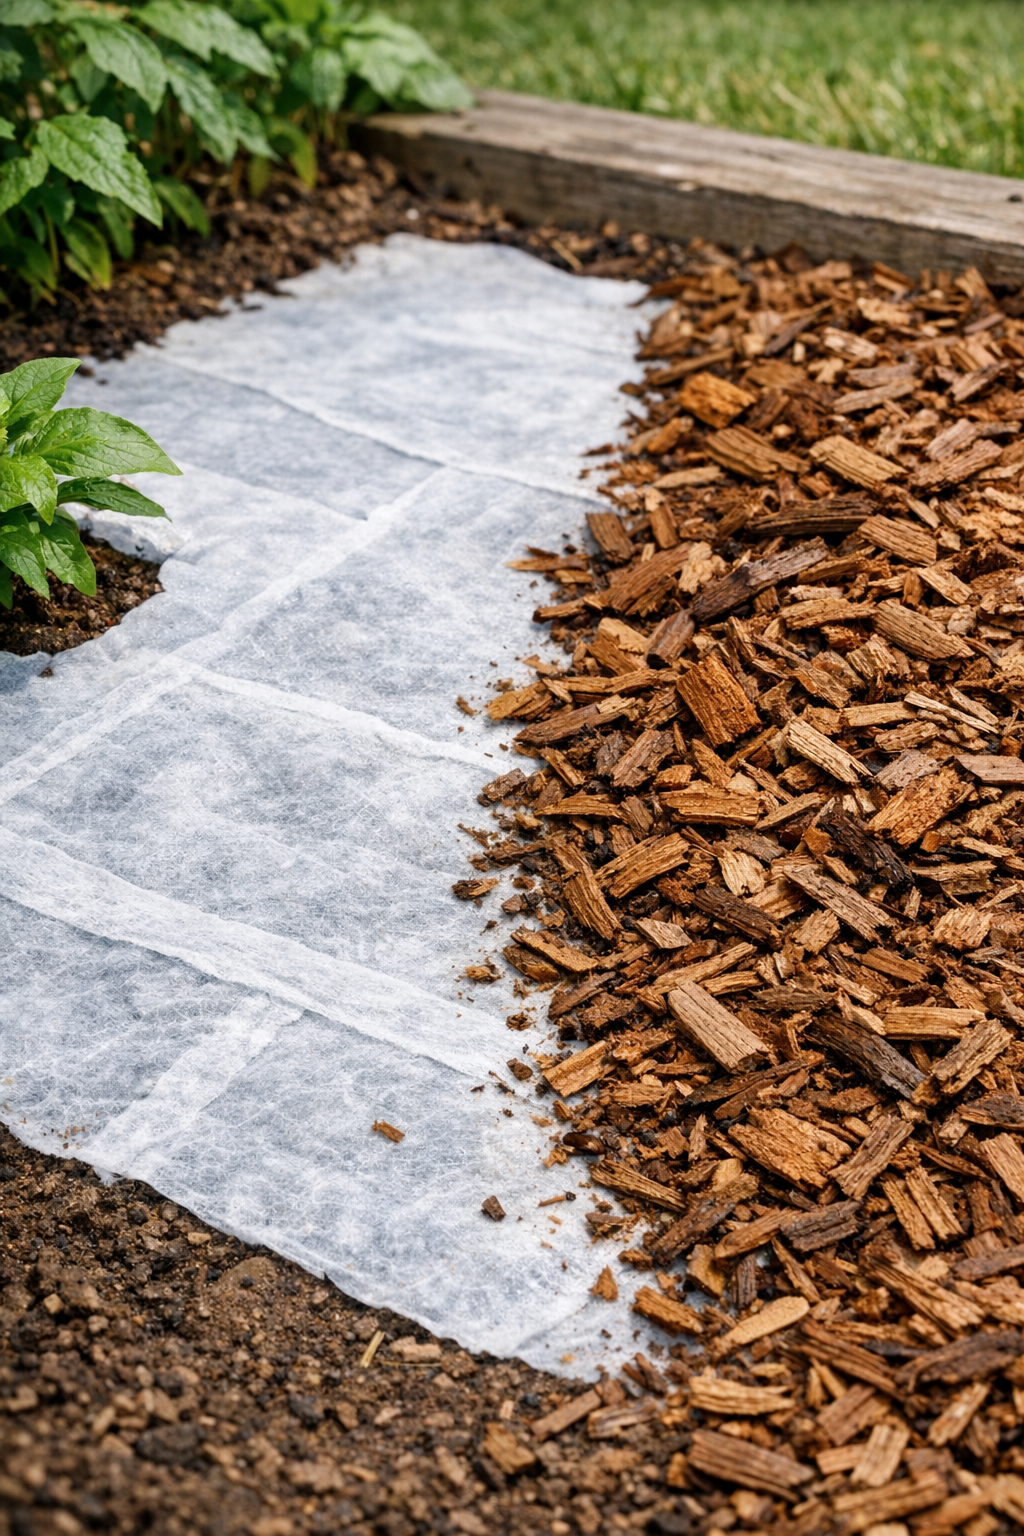
8. Use the finished piece right away by laying it over cleared soil and covering it with mulch, gravel, or a thin layer of bark to protect it from sun and wear.
Variations & Tips
For small spaces: I use this most often under flower pots, around mailbox plantings, or in narrow side-yard strips where I only need a modest piece of weed barrier.
For better strength: Add a third layer of dryer sheets before ironing if you want a thicker fabric for spots that will be topped with gravel or walked on lightly.
For easier shaping: Make several smaller panels instead of one big sheet; that’s usually easier to iron evenly, and I find it simpler to fit around plants and corners.
For family garden use: Keep this project for ornamental landscaping areas rather than vegetable beds, since I prefer to use untreated natural barriers like plain cardboard or straw around anything we’re planning to eat.
For picky gardeners who like things tidy: If mixed-looking dryer sheets bother you, stack similar colors together so the final piece looks more uniform when you’re placing it.
Heat tip: Start with the lowest iron setting that will bond the synthetic fibers, because too much heat can scorch the parchment or make the sheet stiff and uneven.
Durability tip: This works best when it’s covered from sunlight with mulch or gravel, since direct weather exposure will wear it down faster over time.
Storage tip: If you make extra panels, store them flat in a dry spot with parchment between layers so they stay smooth and ready for the next garden chore.