
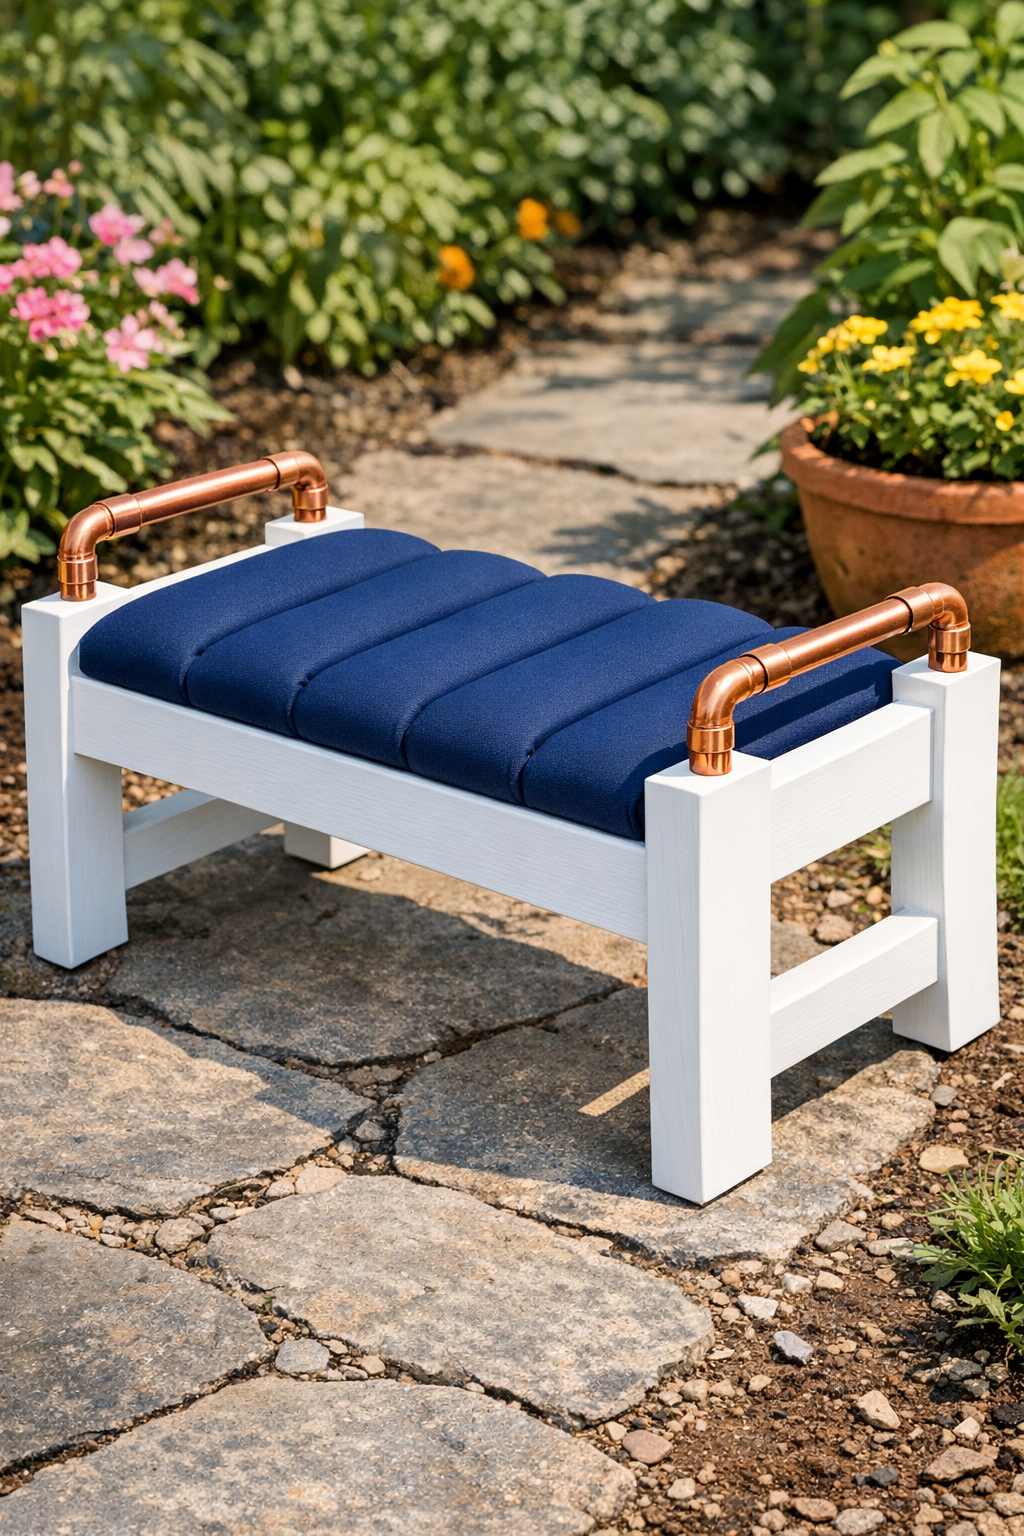
If you spend much time planting, weeding, or edging beds, a good garden kneeler can make all the difference. This version uses inexpensive foam pool noodles tucked under durable outdoor fabric inside a simple wooden frame, so you get a soft cushion with a sturdy base that’s easy to move around the yard.
I love projects like this because they solve a real everyday problem without costing a fortune. As a mom, I’m always drawn to practical builds that make outdoor chores a little easier on the knees and a little more enjoyable, and this one is beginner-friendly if you’re comfortable with basic measuring, cutting, and using a drill.
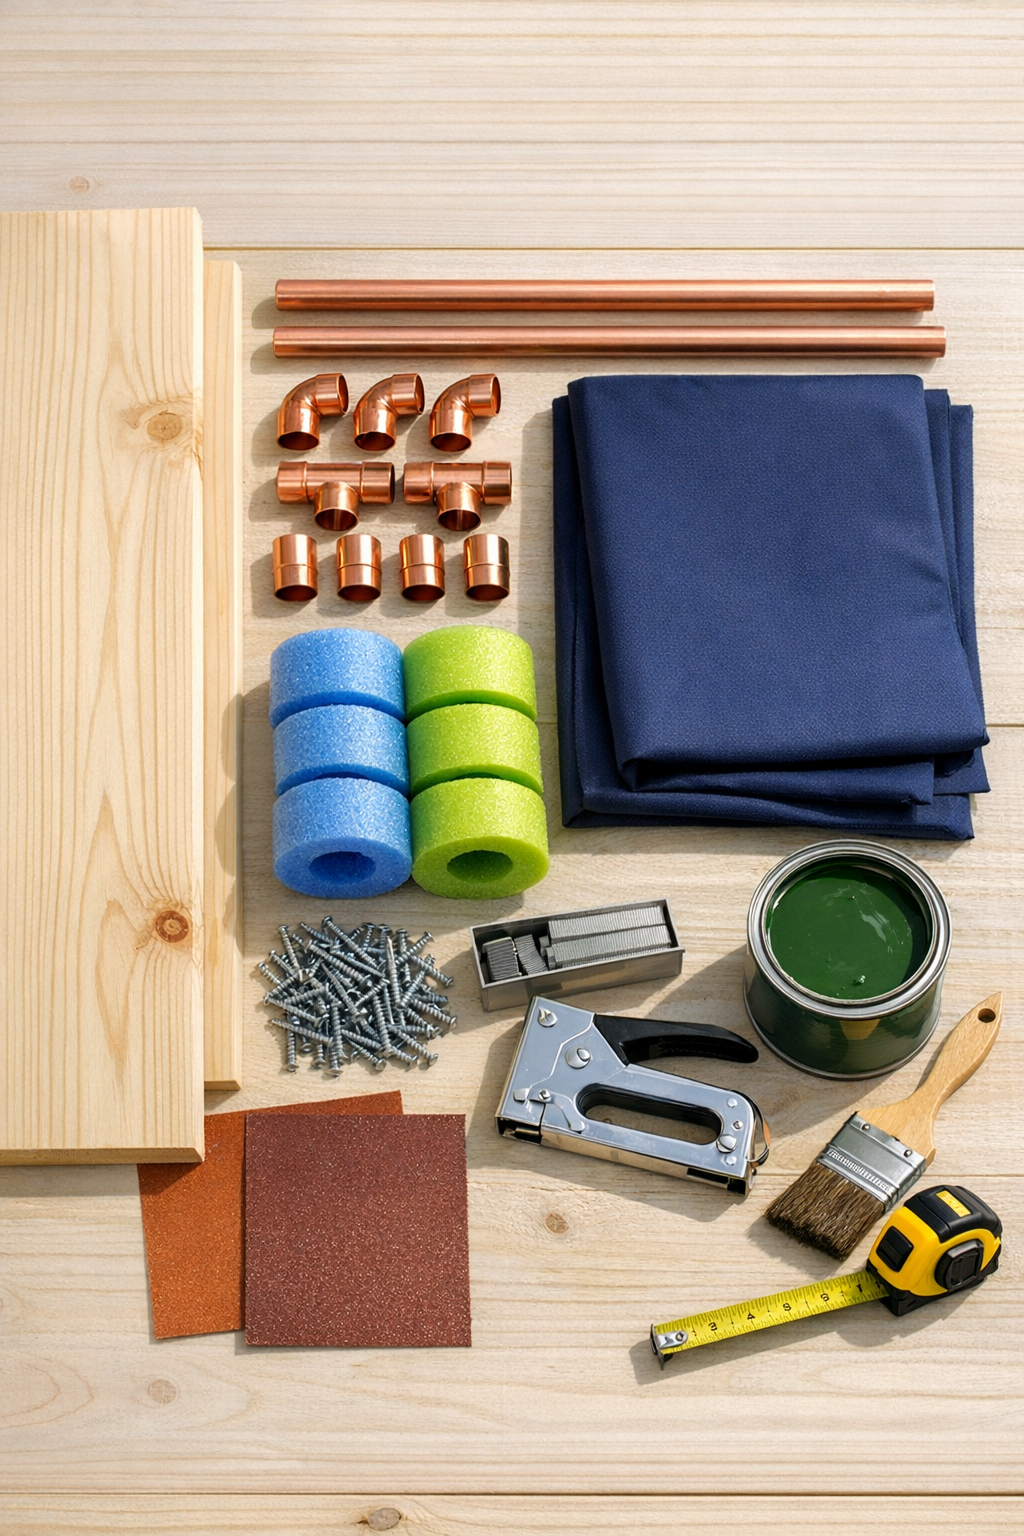
Materials
2 pine boards, 1 in. x 4 in. x 18 in. for the long frame sides
Instructions
1. Cut your pine boards to size if they aren’t pre-cut, then sand every edge and corner with 120-grit sandpaper so the kneeler feels smooth in your hands and won’t snag the fabric.
2. Arrange the 18-inch and 10-inch boards into a rectangle, with the short boards fitting between the long sides, then drill pilot holes and fasten the frame together using the 1-1/4 inch exterior screws.
3. Position the two 10-inch support slats inside the frame, spacing them evenly across the width to help hold the foam in place, then screw them into the long sides with the 2-inch screws.
4. Paint or seal the entire wood frame, including the inside edges and support slats, and let it dry fully before adding the cushion. I like doing this step early so the kneeler holds up through muddy spring weather.
5. Cut the pool noodles into 10-inch lengths so they fit snugly across the width of the frame, then test-fit enough pieces to fill the opening from end to end.
6. Lay the outdoor fabric face down, center the frame upside down over it, and place the cut pool noodle pieces tightly inside the frame so the foam sits proud and creates a cushioned top.
7. Pull the fabric up and over the foam on one long side first, staple it to the inside lower edge of the frame, then pull the opposite side tight and staple that side so the top stays smooth.
8. Fold the fabric neatly at the short ends as if wrapping a gift, then staple the ends securely to the inside of the frame, adding extra staples anywhere the fabric feels loose.
9. Assemble each handle using one 12-inch copper pipe, two elbow fittings, and two short side pieces cut from scrap copper pipe if needed to create a U-shape, then cap the pipe ends for a finished look.
10. Attach the copper handles to the two short ends of the wooden frame by drilling pilot holes and fastening them with pipe straps or screws through the fitting base area, keeping both handles centered and even.
11. Press on the kneeler with your hands to check that the cushion feels firm and secure, then tighten any loose screws or add a few more staples before taking it out to the garden.
Variations & Tips
For softer cushioning: Use four pool noodles instead of three, or choose thicker-diameter noodles if your frame depth allows it.
For picky weather: Pick a mildew-resistant outdoor fabric and use exterior-rated staples and screws so the kneeler stays nice through damp mornings and summer rain.
For easier carrying: Make the copper handles a little taller if you want more room for gloved hands, especially if you’ll be moving the kneeler from bed to bed.
For a simpler build: Skip the copper and use cutout handholds in the short end boards instead, though I do think the handles make this one extra handy.
For a kid helper version: Build a shorter frame and let the kids help choose the fabric; this is a sweet way to make gardening feel more inviting for the whole family.
To keep the top smooth: Pull the fabric firmly from opposite sides before stapling the ends, and don’t be shy about removing a staple and redoing a section if you see wrinkles.
To make it last longer: Store the kneeler in a shed, garage, or covered porch when you’re done for the day so the wood, foam, and fabric all stay in better shape season after season.