
I love a project that turns something headed for the donation pile into a piece that looks surprisingly intentional in the garden, and this one absolutely does that. In this tutorial, I’m using old metal cheese graters as molds and packing them with wet cement to make heavy, punctured garden pieces that have loads of texture and a really cool industrial-meets-rustic look.
If you’re like me and want outdoor décor that can handle Midwest weather without a lot of fuss, this is a great weekend project. It’s especially good for anyone who likes upcycling, concrete crafts, or adding a little unexpected character to flower beds, porch pots, or tucked-in corners of the yard.
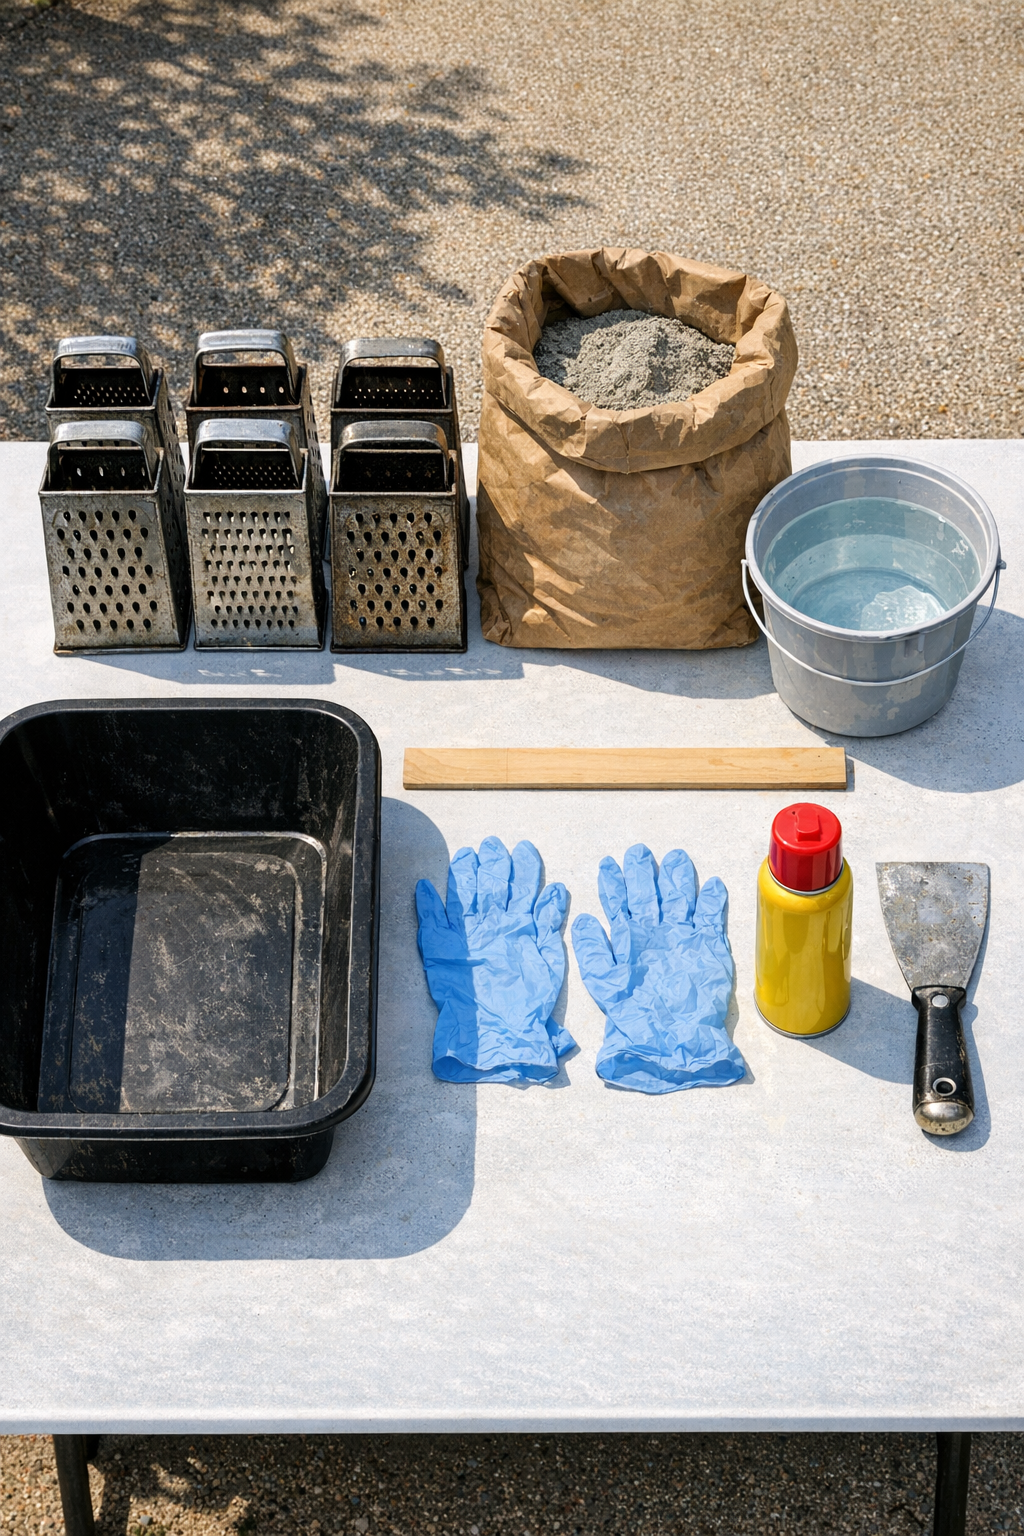
Materials
Instructions
1. Set your drop cloth or cardboard on a flat outdoor surface, and place the cheese graters upright so they don’t wobble. If one rocks a little, gently bend the base until it sits steady.
2. Coat the inside of each grater lightly with cooking oil or nonstick spray so the cement releases more easily later. Use just a thin layer so it doesn’t pool at the bottom.
3. In the mixing tub, combine the cement mix with water a little at a time until it reaches a thick peanut-butter-like consistency. It should hold its shape but still be soft enough to press firmly into the grater.
4. Scoop the wet cement into the first grater a few inches at a time, pressing it down with the stir stick or putty knife to remove air pockets. Fill all the way to the top and smooth the opening level.
5. Repeat with the second grater, packing the mix tightly so the finished pieces feel solid and heavy. Tap each side gently with the handle of the putty knife to help settle the cement.
6. Let the filled graters sit undisturbed until the cement is firm enough to hold its shape, following your mix’s cure timing. In my experience, checking too early just makes a mess, so I usually wait at least 24 hours.
7. Once cured, carefully flex the metal grater sides outward with gloved hands and ease the cement form out slowly. If it sticks, tap the metal lightly and work around all four sides instead of pulling from one side only.
8. Set the pieces aside to finish curing for another 24 to 48 hours before placing them outdoors. If you want a cleaner look, smooth any rough edges lightly with the putty knife while the cement is still slightly green.
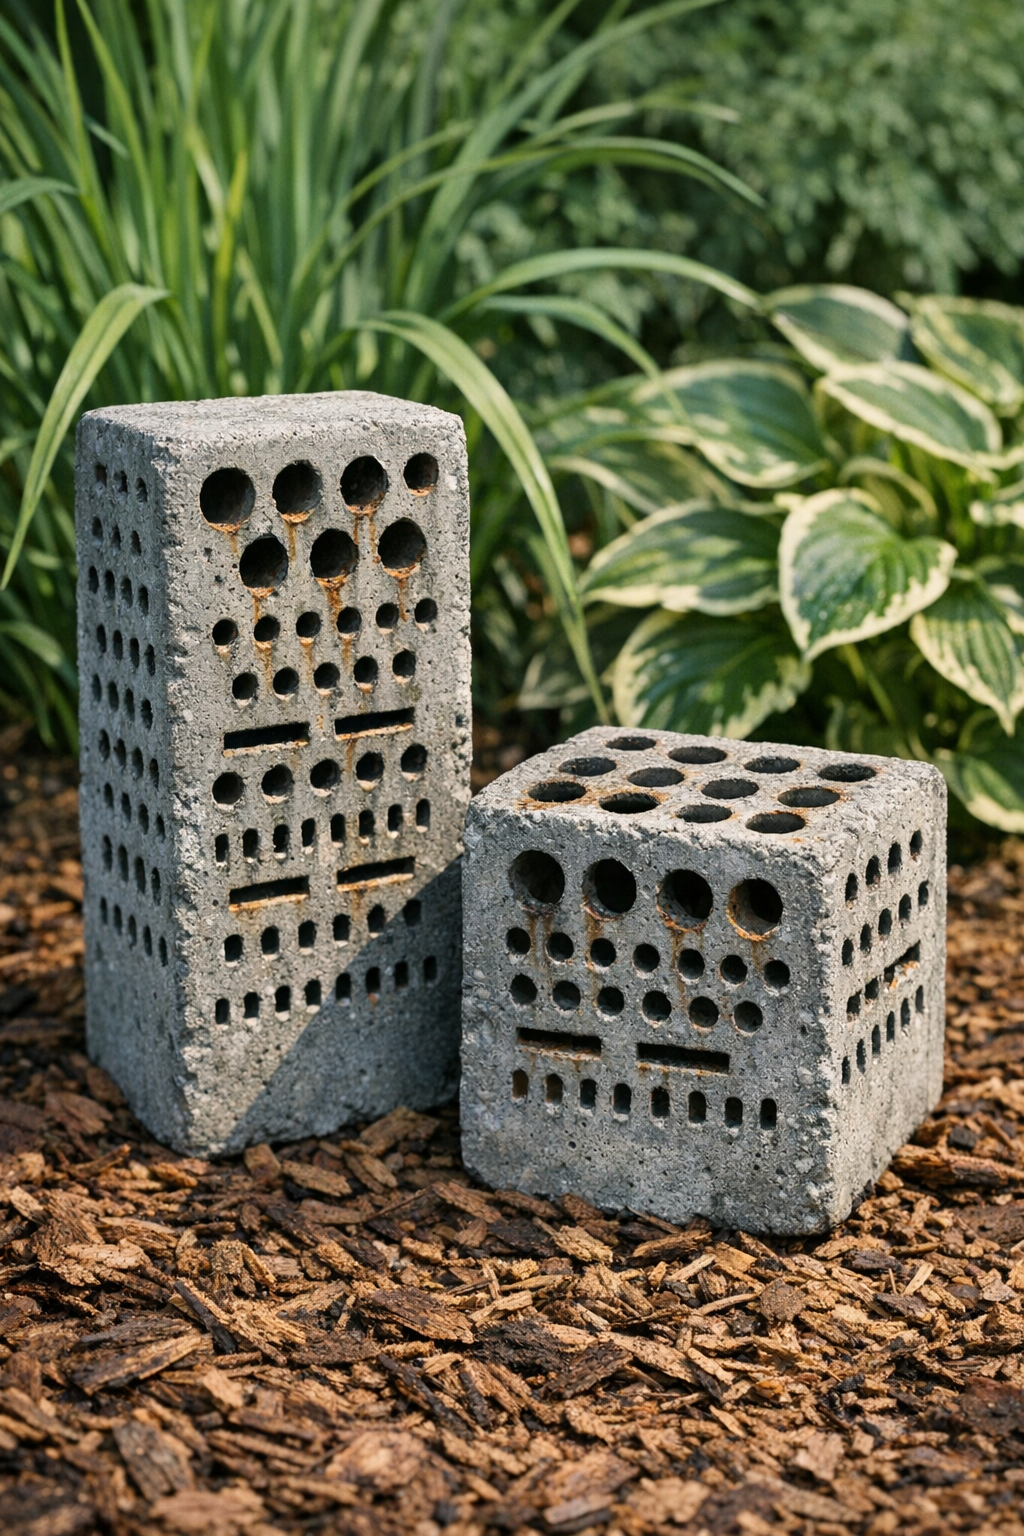
9. Arrange the finished punctured cement pieces in a garden bed, beside planters, or on a porch step as sculptural accents. Their weight helps them stay put, and the hole pattern catches light in such a pretty, unexpected way.
Variations & Tips
Use different grater shapes: Taller or narrower graters give you slightly different finished forms, which looks really nice if you group two or three together instead of making identical pieces.
Add drainage-style texture: If a little cement pushes into the grater holes, leave it. That rough, punctured texture is what gives these pieces their charm and makes them look more sculptural in the garden.
Try a weathered finish: After full curing, you can dry-brush a bit of gray, charcoal, or mossy green outdoor paint over the surface for an aged stone look. I’d keep it subtle so the texture still does the talking.
Make placement easy: I like setting these near low plants or at the edge of mulch beds where they won’t get hidden. They’re heavy, but putting them on level ground first saves you from awkward repositioning later.
Work in small batches: If you’re squeezing this project into a busy afternoon, mix enough cement for one grater at a time. That’s usually how I handle concrete projects after work, because it keeps the mix from setting up before I’m ready.
Safety note: Wear gloves and avoid breathing cement dust while mixing. Fast cleanup also helps, because once concrete hardens on tools or metal, it’s much less fun to deal with.