
I love a budget-friendly build that actually holds up, and this one has become one of my favorite tricks for greenhouse projects. By layering inexpensive plastic drop cloths and carefully fusing them with parchment paper and a household iron, you can make thick, surprisingly rigid faux glass-style panels that let in light while standing up much better than a single flimsy sheet.
This project is especially good for gardeners, homesteaders, and anyone trying to stretch a budget on a cold frame, hoop house, or small backyard greenhouse. I also like it for families because the materials are easy to find, the technique is simple once you get the feel for it, and you can make custom panel sizes without buying pricey greenhouse glazing.
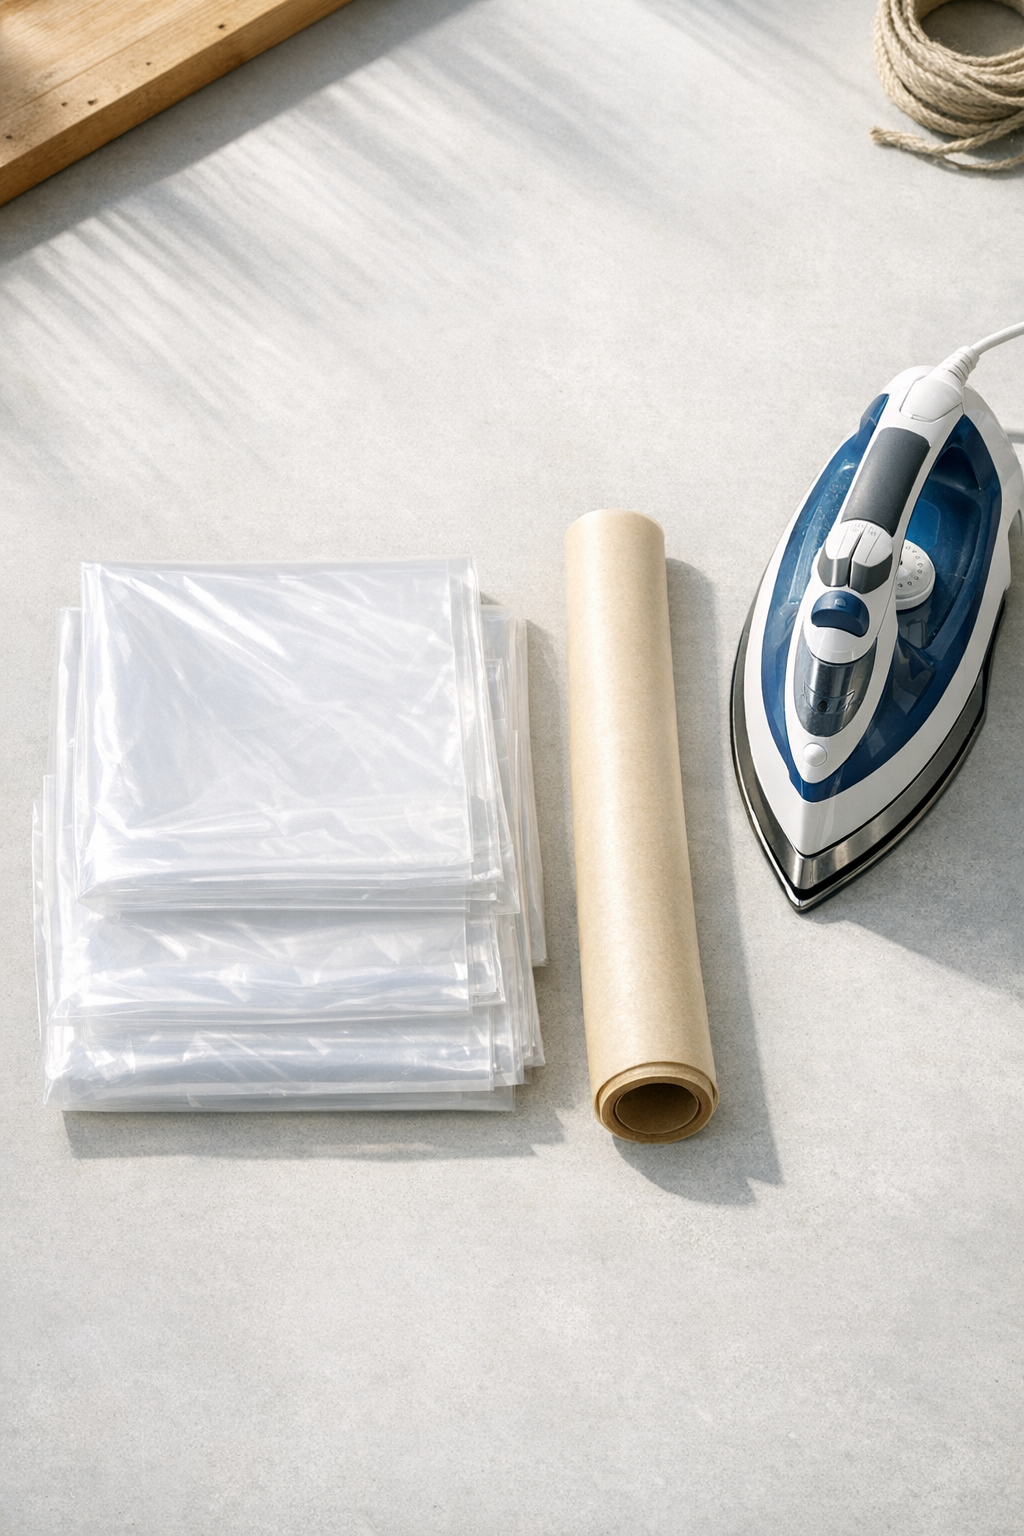
Materials
Instructions
1. Cut three matching pieces of plastic drop cloth to the exact panel size you want, such as 36 x 48 inches, and smooth each layer flat on a large heat-safe work surface.
2. Stack the three plastic layers evenly, lining up all edges as closely as possible so the finished panel seals uniformly.
3. Place one sheet of parchment paper under the stacked plastic and one sheet on top, making sure all plastic is completely covered anywhere the iron will touch.
4. Preheat the iron to a low or synthetic setting with the steam turned off, then test one corner with light pressure for 3 to 5 seconds to check that the plastic fuses without shrinking badly.
5. Press the iron slowly across the surface in short passes, lifting and setting it down instead of dragging hard, and work from the center outward to push trapped air toward the edges.
6. Continue overlapping your passes until the entire panel is fused, then press around the perimeter one more time to strengthen the edges.
7. Let the panel cool completely for 2 to 3 minutes before lifting the parchment paper, because warm plastic can stretch or warp if handled too soon.
8. Peel back the parchment paper and inspect the panel; if you find loose spots, bubbles, or thin areas, cover it again and re-press those sections for a few seconds.
9. Trim any uneven edges with scissors or a utility knife once the panel is fully cool and firm.
10. Repeat the process for as many panels as you need, keeping each one the same size if they will fit into a frame together.
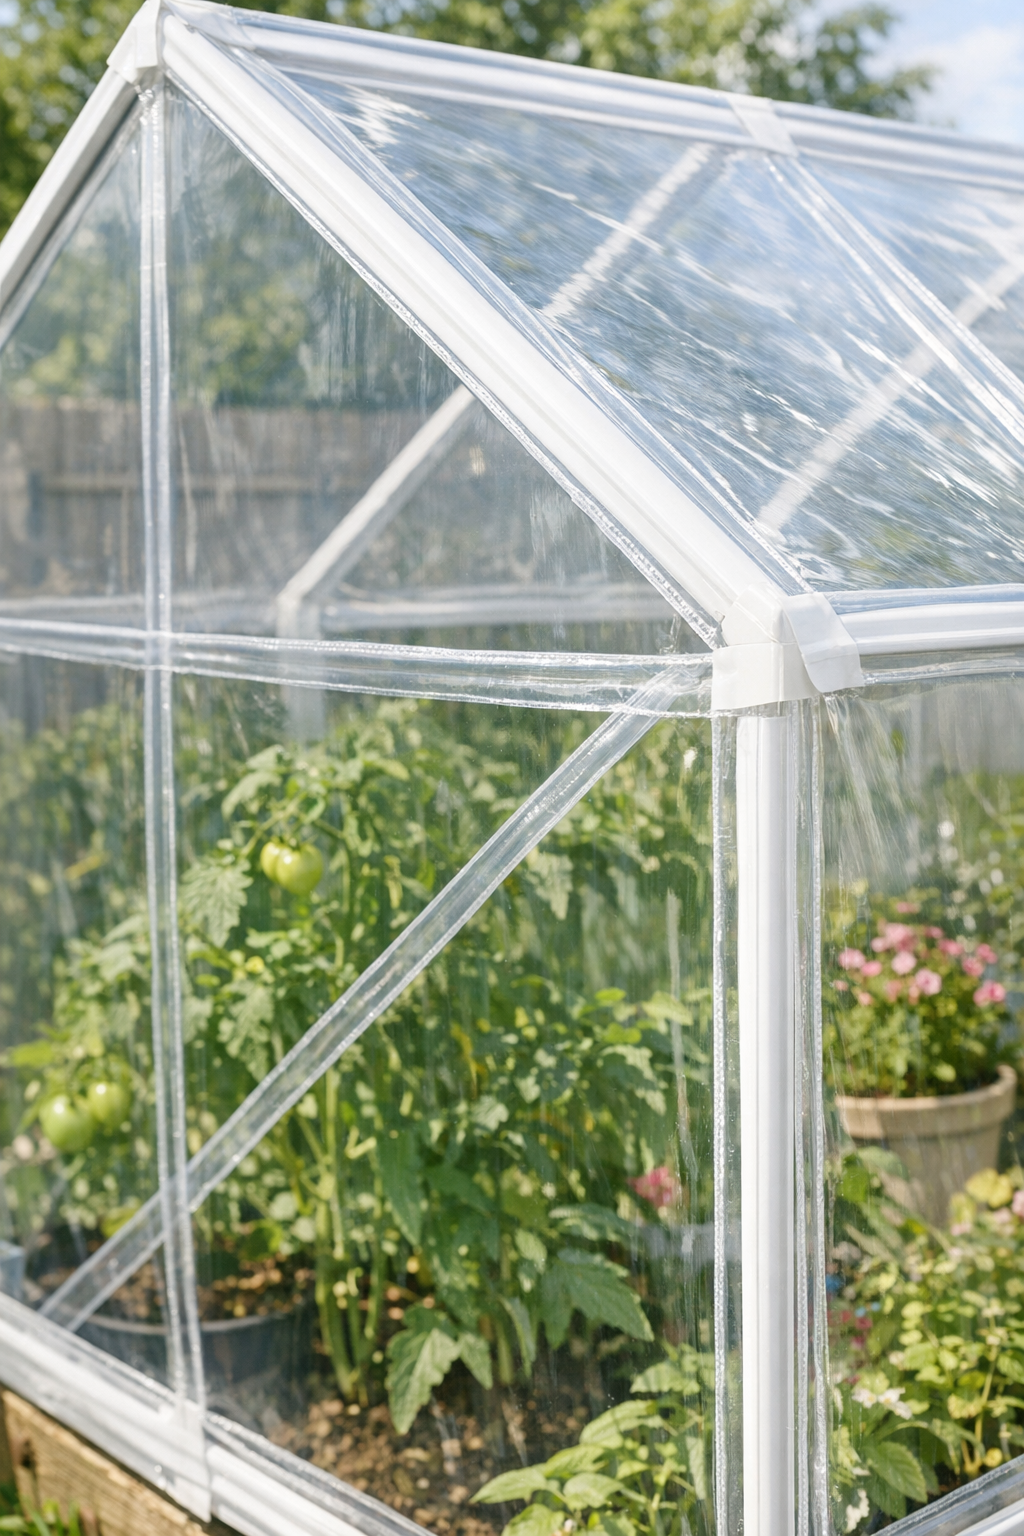
11. Install the finished panels into your greenhouse frame using battens, channels, or clips that support the edges without puncturing the center whenever possible.
12. If you want extra stiffness for larger openings, fuse a second finished panel and use both in separate framed sections rather than trying to make one oversized sheet.
Variations & Tips
For smaller frames: If this is your first try, start with a 12 x 18 inch test panel. I always recommend a small sample first because irons heat differently, and it helps you learn the sweet spot before committing to a full greenhouse side.
For clearer panels: Work on the flattest surface you have and smooth every layer before pressing. Wrinkles and trapped air are what make the panel look cloudy and uneven.
For extra strength: Use three layers for a good all-purpose panel, but for windy spots you can experiment with four layers on small sections. Just increase pressing time a little and test carefully so the plastic does not over-shrink.
For picky perfectionists: If one spot looks messy, do not worry. I treat this like making family dinner on a busy night—sometimes rustic still works beautifully, and little imperfections disappear once the panel is installed in the frame.
Heat control tip: Keep the iron moving in short, steady passes and never let it sit too long in one place. Too much heat too fast can create holes, ripples, or brittle spots.
Safety tip: Open a window or work in a well-ventilated area, and keep children and pets away from the ironing station while the panel is being fused. The project is simple, but the iron and heated plastic still need careful handling.
Best use tip: These panels are a great fit for seasonal greenhouses, cold frames, seed-starting covers, and other light-duty garden structures. For a permanent full-size greenhouse, I would still use a stronger purpose-made glazing product where long-term weather exposure is intense.