
I love a backyard project that looks playful at night but is still inexpensive enough to pull together on a random weekend, and these giant glowing ladybugs absolutely fit that category. You’re basically turning simple plastic mixing bowls into oversized garden lights by painting them like ladybugs and setting them over solar path lights, so the whole thing glows warm and cozy after sunset.
This is a great project if you want something cheerful for a flower bed, walkway, or patio border without dealing with wiring or complicated tools. I’m always looking for outdoor ideas that feel high-impact but realistic for a busy week, and this one is especially satisfying because the materials are easy to find and you can make all 15 in an assembly-line style.
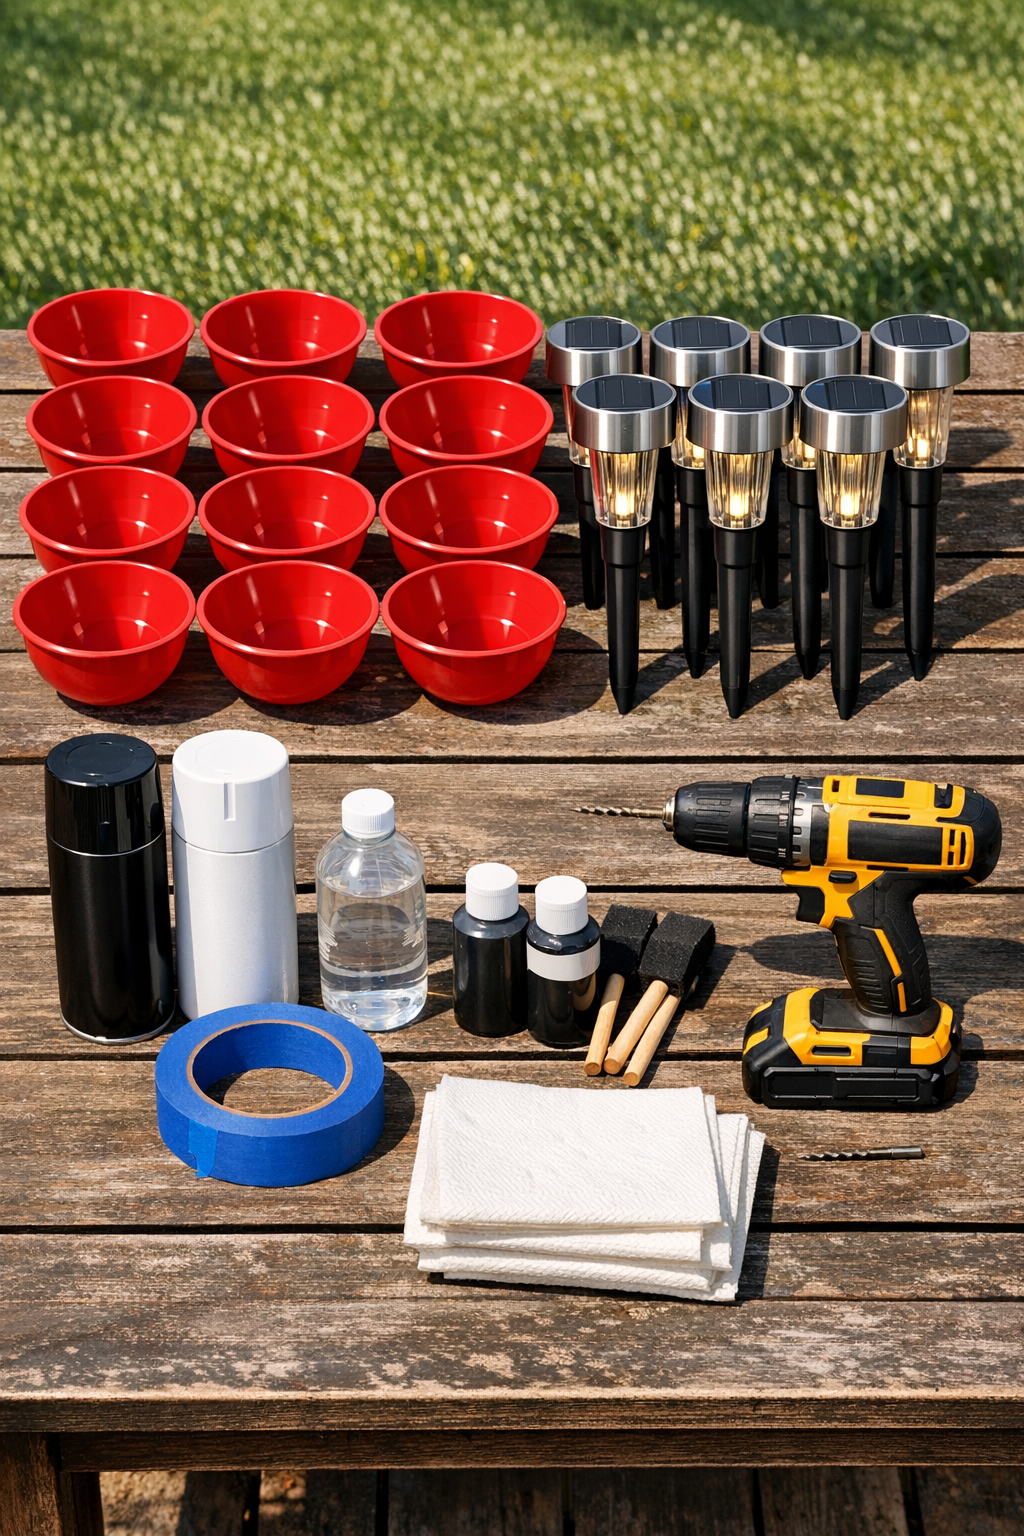
Materials
Instructions
1. Wash the 15 bowls with warm soapy water, rinse them well, and let them dry completely. Wipe each bowl with rubbing alcohol so the primer sticks better.
2. Turn the bowls upside down on a drop cloth and drill a centered 1/4-inch hole in the top of each one. Test one bowl over a solar light first, and widen the hole slightly only if the light top needs more room.
3. Spray all bowls with a light coat of plastic-bonding primer and let them dry according to the can directions. Add a second light coat if the plastic surface still looks slick or uneven.
4. Spray each primed bowl with red paint in thin, even passes until the color looks solid and glossy. Let the bowls dry fully before adding any black details.
5. Use painter’s tape to mark a straight center line from front to back on each bowl, then spray or paint that line black to create the split between the ladybug wings. Let it dry before handling.
6. Paint a black half-circle near the front edge of each bowl to form the ladybug head. Use a foam brush for clean edges and keep the head sized at about one-quarter of the bowl width.
7. Add black spots across the red section of each bowl, varying the size slightly so they look natural. Aim for 5 to 7 spots per bowl and keep them spaced evenly on both sides of the center line.
8. If you want extra weather protection, spray the painted bowls with a clear outdoor sealer and let them cure completely. This step is worth it if your yard gets strong sun or a lot of rain like mine does in the middle of summer.
9. Assemble the solar lights according to their package directions and place them where they’ll get full sun during the day. Turn each light on and check that the warm white glow is visible before covering it.
10. Set one painted bowl over each solar path light by guiding the drilled hole over the light top or upper post, depending on the light shape. Adjust the bowl so it sits low and stable, with the glow centered underneath.
11. Press the light stakes firmly into the ground and add a small stone or landscape staple beside any bowl that shifts in wind. Space the ladybugs about 18 to 24 inches apart so they read as a group without looking crowded.
12. Wait until evening to do a final check and rotate any bowls so the black head and center line face the direction you want. Once they light up, you’ll have a whole cluster of glowing oversized ladybugs scattered through the yard.
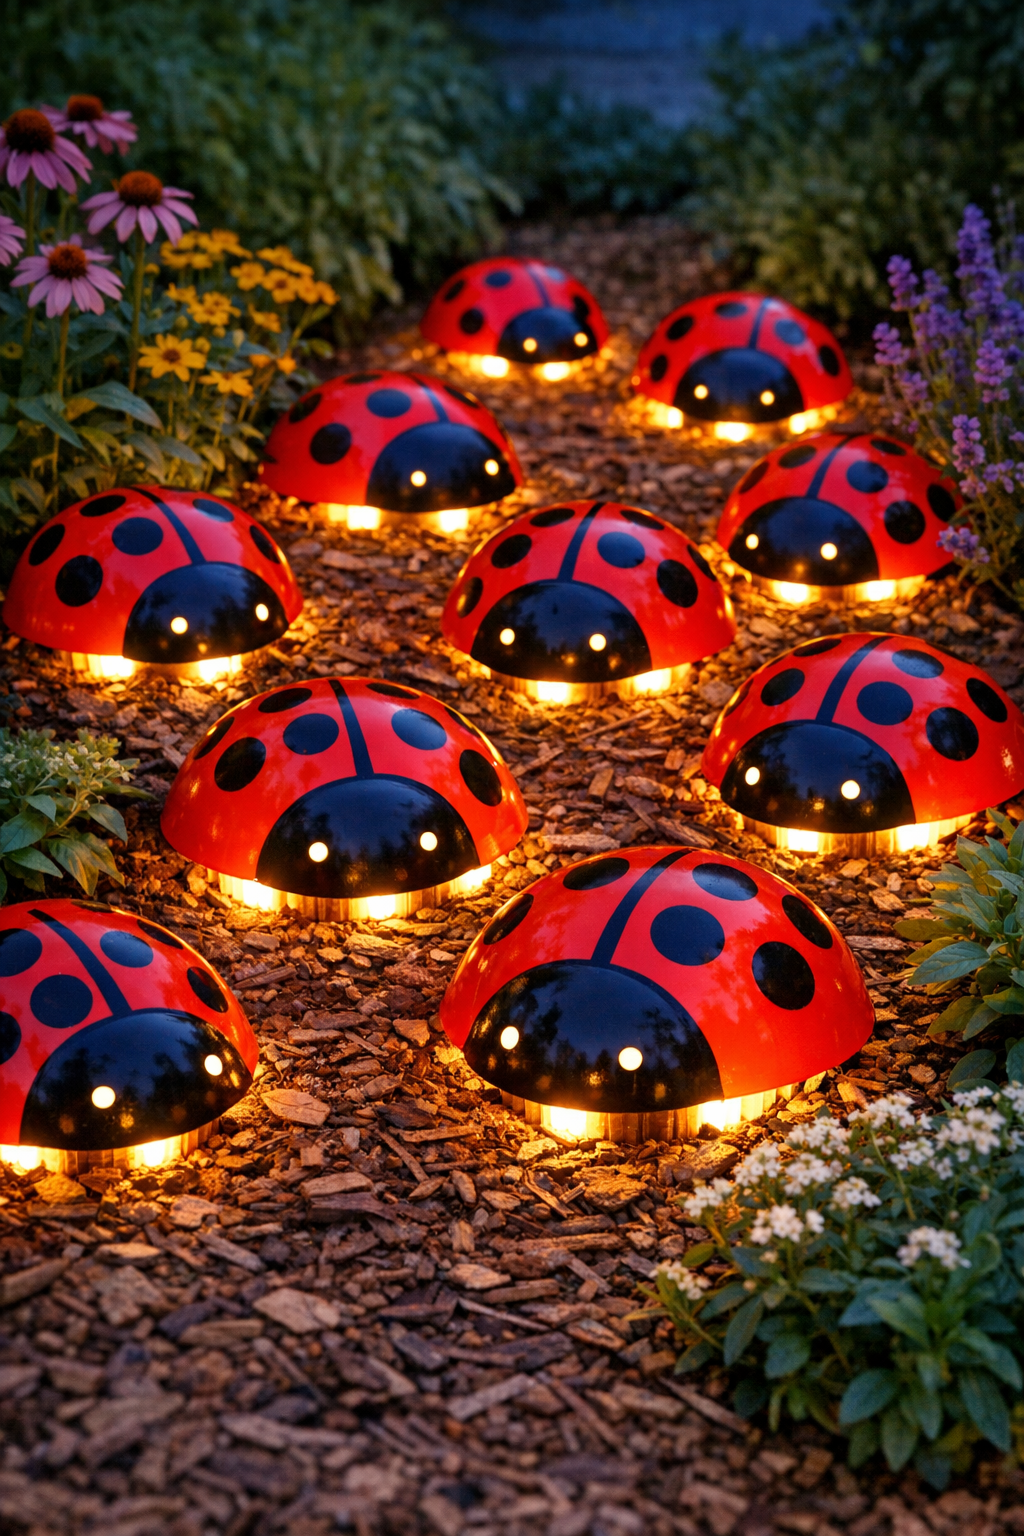
Variations & Tips
Use one test bowl first: Before painting all 15, make one full sample and fit it over your exact solar light style. I’ve learned the hard way that a five-minute test saves a lot of frustration later.
Choose the right bowl plastic: Lightweight bowls are easiest to drill and paint, but avoid anything too flimsy that collapses when handled. A slightly sturdier dollar-store mixing bowl usually works best.
Try a different finish: Glossy red gives the most classic ladybug look, but a satin finish can look a little more modern and hides minor paint imperfections better.
Cluster by planting beds: These look cutest tucked into mulch around flowers, hostas, or along a path edge. I like grouping a few close together and then scattering the rest so the yard feels whimsical instead of overly formal.
Secure for windy areas: If your yard gets gusty, add two tiny ground staples on opposite sides of the bowl or nest a small stone inside the rim where it won’t block much light. Stability matters more than perfection outdoors.
Swap in patterns: You can vary the spot layouts so each ladybug feels a little different, or make a few with smaller dots for a more playful mixed set. Keeping the same red and black palette still makes the whole collection look cohesive.
Keep the glow warm: Warm white solar lights create the nicest cozy look under the red bowls. Cool white tends to feel harsher and doesn’t give that soft glowing garden effect that makes this project special.