
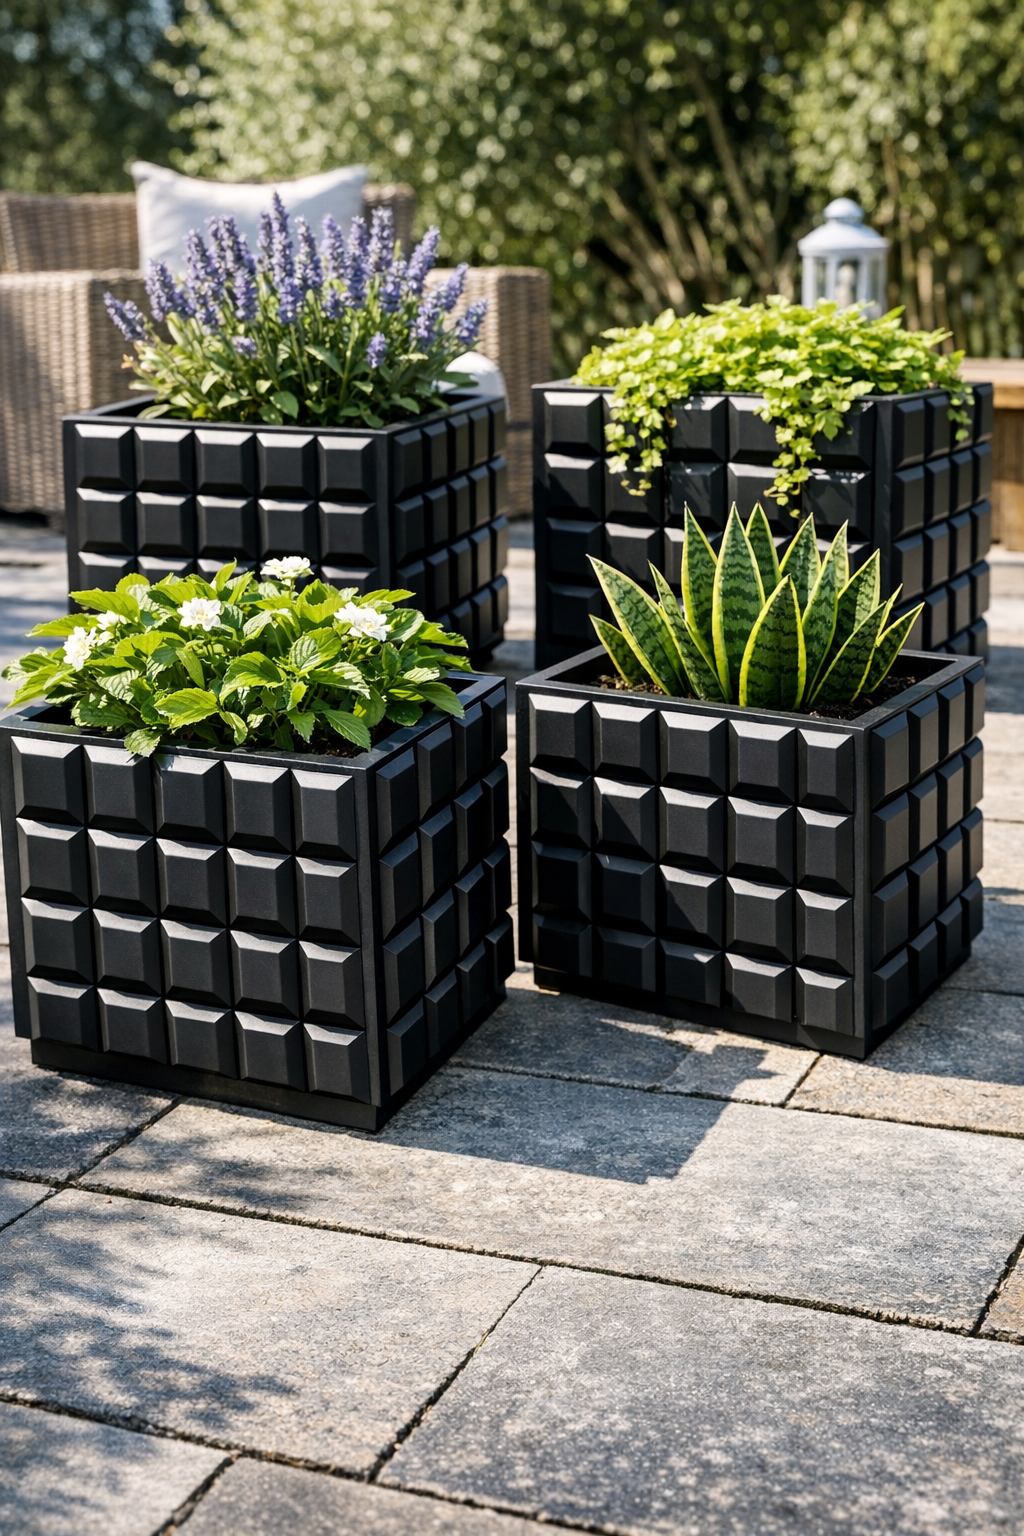
If you love a budget project that looks far more expensive than it is, these modern geometric patio planters are such a satisfying make. I’m taking 40 inexpensive plastic ice cube trays, giving them a matte black finish, and gluing them onto simple square wooden boxes to create bold planters with tons of texture and that clean, high-contrast look that works beautifully on a porch or patio.
I’m especially fond of projects like this because they give plain basics a whole new personality without requiring fancy tools or advanced building skills. If you’re comfortable with spray paint, measuring, and a little patient gluing, you can absolutely make these in an afternoon and end up with four eye-catching planters that look right at home beside a front door, on deck steps, or around an outdoor seating area.
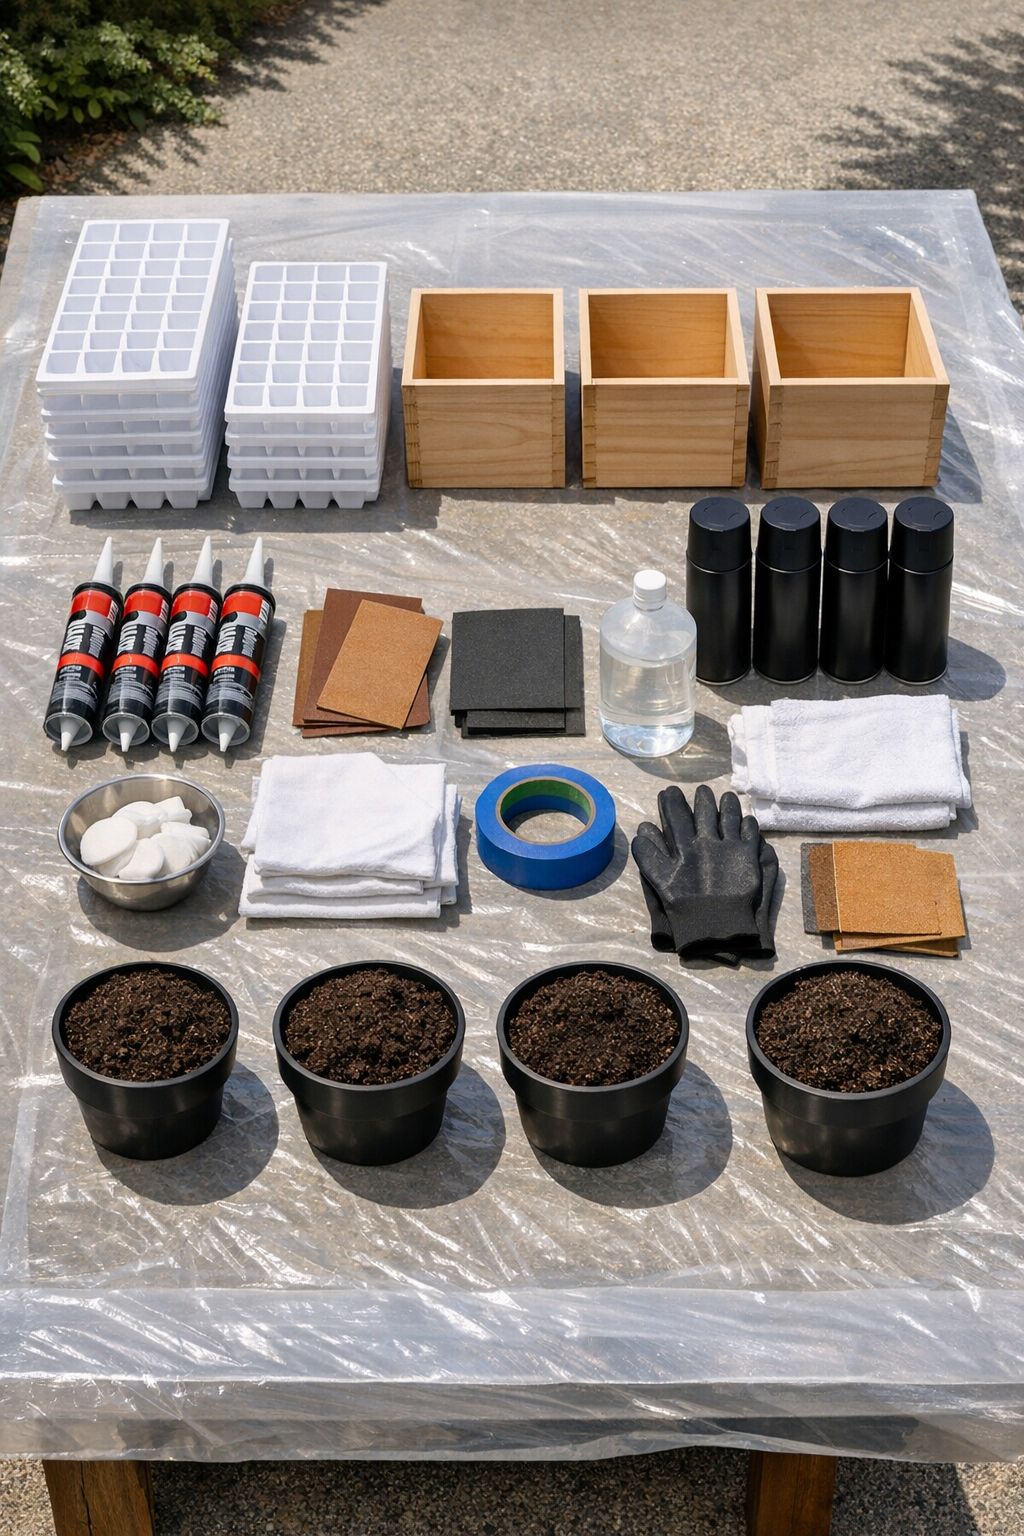
Materials
Instructions
1. Set up your work area outdoors or in a very well-ventilated space with the drop cloth spread flat. Put on gloves and make sure the ice cube trays and wooden boxes are completely clean and dry.
2. Lightly sand the outside of each plastic ice cube tray with 120-grit sandpaper to help the paint stick better. Wipe away the dust with a rag dampened with rubbing alcohol.
3. If your wooden boxes have any rough spots, give the outside surfaces a quick sanding and wipe them clean. Tape off the top inside edges if you want to keep the planter interiors free from overspray or adhesive smudges.
4. Spray the ice cube trays with matte black paint in light, even coats, holding the can about 8 to 10 inches away. Let each coat dry before adding the next, and continue until all trays are evenly covered.
5. Let the painted trays cure fully according to the spray paint directions so the finish is less likely to scratch during assembly. While they dry, decide on the tray placement for each box so you know how 10 trays will fit around each planter.
6. Dry-fit the trays against one wooden box and adjust the spacing until the layout looks balanced on all visible sides. I like to center the pattern first, because that keeps the finished planter looking intentional and tidy.
7. Apply exterior construction adhesive to the back of one tray in a generous zigzag pattern. Press it firmly onto the box and hold it in place for a few seconds so it grabs.
8. Continue gluing the remaining trays onto the box, working one side at a time and keeping the edges aligned. Repeat until all 10 trays are attached to the first box.
9. Make the other three planters the same way, using 10 trays per box. Check each box from the front and sides as you go so the rows stay straight and the pattern looks consistent.
10. Allow the adhesive to cure completely before moving the boxes or placing anything inside them. This waiting step is worth it, especially for outdoor projects that will be handled and exposed to weather.
11. Slide a nursery pot or liner into each finished box instead of planting directly into the wood. Fill the pots with potting mix and add your plants.
12. Place the finished planters on your patio, porch, or front step and group them in pairs or staggered heights for the best effect. The matte black geometric finish really stands out once greenery is added.
Variations & Tips
For picky style preferences: If solid black feels too stark for your space, try charcoal, satin black, or even a warm stone color. I love black because it makes the texture pop, but a softer neutral can blend more easily with brick or wood siding.
Use liners every time: I really recommend keeping plants in separate nursery pots or liners rather than filling the wooden boxes with soil directly. It makes watering easier, reduces mess, and helps the boxes last longer.
Check your adhesive label: Not every glue bonds well to slick plastic, so choose an exterior adhesive that specifically works with plastic and wood. If I’m making something for the weather, I never skip that label check.
Make drainage simple: If your nursery pots do not already have drainage holes, add them before planting. That little step can save your plants from soggy roots after a summer rain.
Try a mixed plant look: For a fuller patio display, combine a thriller plant with one mounding plant and one trailing plant in each liner. If you prefer a cleaner look, a single fern, snake plant, or small ornamental grass also looks beautiful in these.
Protect the finish: After the paint and adhesive are fully cured, you can add a clear outdoor matte sealer for extra durability. I find this especially helpful if the planters will sit in strong sun or a spot that gets splashed often.
Work in batches: Painting 40 trays sounds like a lot, but it goes quickly if you line them up and spray them assembly-line style. As a busy mom, I always appreciate any project that rewards a little organization on the front end.