
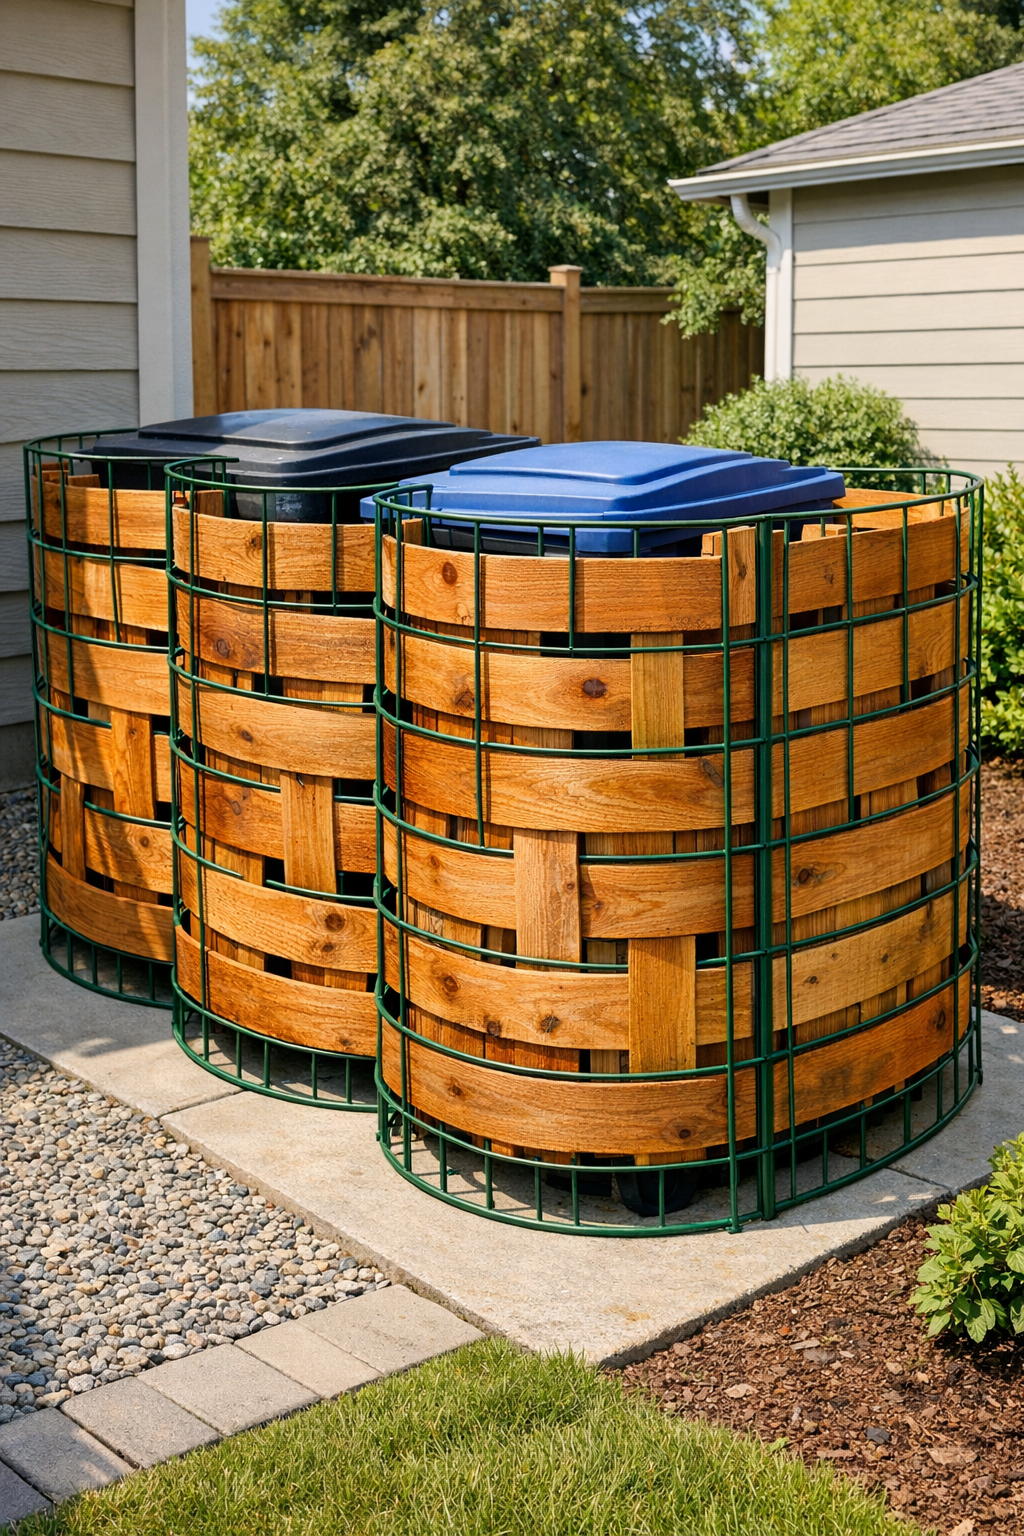
If your trash bins live in full view from the driveway or patio, this is the kind of quick outdoor project that makes the whole side yard feel more finished. I love a solution that looks creative without requiring a full carpentry setup, and weaving cedar fence pickets through metal tomato cages does exactly that. It gives you a lightweight, rustic screen that hides garbage cans while still allowing airflow and easy access.
This is a great weekend DIY if you want something sturdier and prettier than a basic plastic enclosure but simpler than building a framed fence panel from scratch. As someone who is always trying to make the practical parts of my home look a little more intentional, I appreciate projects like this that use easy-to-find materials and don’t take over my whole schedule.
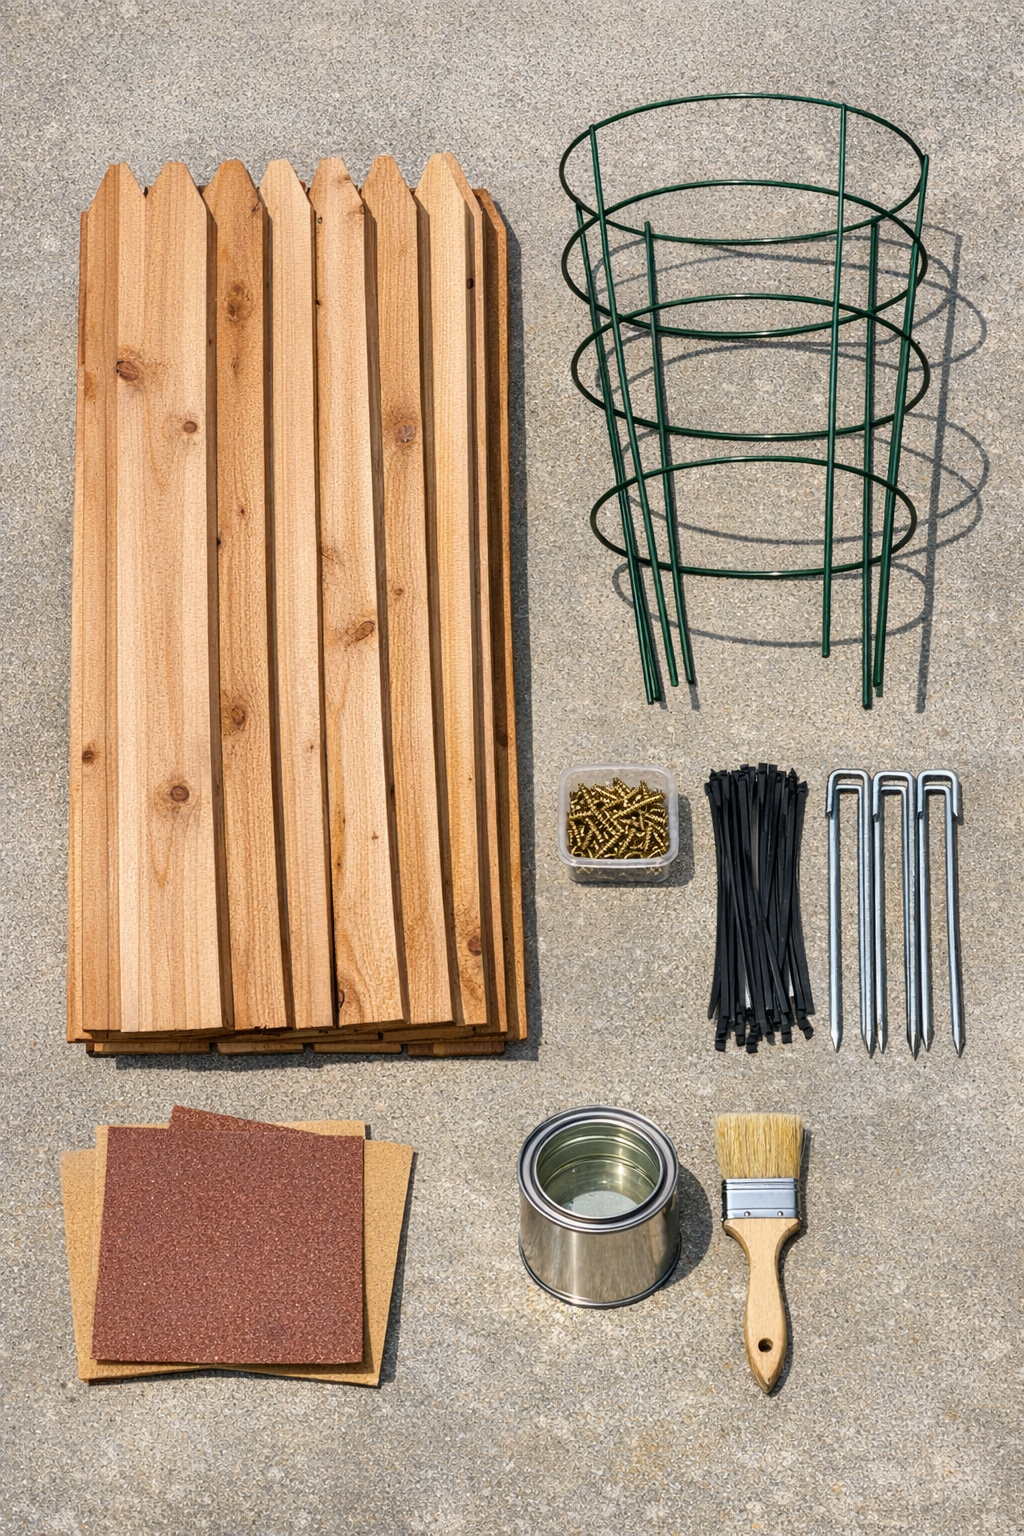
Materials
Instructions
1. Measure the width and depth of your garbage cans together, then decide how many sides of the screen you want to build; for most side yards, three connected panels work well. Leave at least 4 inches of extra clearance so the bins can roll in and out easily.
2. Set up the three tomato cages upside down so the wider rings form the tops of your panels, then space them evenly in a row or in a shallow U shape. Overlap the cage legs slightly where panels meet so the screen can stand as one unit.
3. Sand the cedar pickets lightly, especially along the cut ends and edges, so they are smooth to handle. Brush off the dust and apply a coat of clear exterior sealer if you want to preserve the fresh cedar color longer.
4. Start weaving the first cedar picket through the horizontal rings of one tomato cage, bending the picket gently as you go. Feed it in front of one vertical wire, then behind the next, keeping the bottom edge about 2 inches off the ground.
5. Add a second picket above the first, alternating the weave pattern so the boards lock visually into place. Continue until that panel is filled to the height you want, usually 5 to 7 pickets depending on overlap and spacing.
6. Repeat the weaving process on the second and third tomato cages, checking every few rows that the panels are standing evenly and curving in the direction you want. If needed, trim the last picket in a panel so the top edge looks balanced.
7. Secure the end of every second or third picket to the metal cage with a heavy-duty zip tie on the back side where it won’t show much. Add one exterior screw through overlapping pickets only where extra hold is needed at panel joints.
8. Join the panels together firmly by zip-tying the touching cage wires at the top, middle, and bottom of each connection point. Test the screen by gently pushing from different sides and adjusting the angle until it stands solidly.
9. Move the assembled screen into place around the garbage cans and anchor each panel by driving two landscape stakes beside the cage legs. Tie the cage legs to the stakes with zip ties so the whole screen stays put in wind.
10. Step back and make small adjustments so the pickets look evenly spaced and the opening is easy to use. Once everything is aligned, trim excess zip tie tails for a cleaner finished look.
Variations & Tips
For a wider screen: Use 4 or 5 tomato cages instead of 3 and keep the same weaving method. This works well if you need to hide both trash and recycling bins plus a yard waste cart.
For more privacy: Overlap the cedar pickets a little more as you weave so there are fewer gaps between boards. It uses more pickets, but the finished screen looks fuller.
For easier access: Leave one side shorter or set the panels in a loose L shape instead of a full U. I like this option when I know I’ll be dragging bins out in a hurry before work.
For extra durability: Use stainless steel zip ties or short exterior wire instead of plastic ties in very hot or windy areas. Recheck the anchors after the first big storm.
Cedar aging tip: If you skip the sealer, the cedar will naturally weather to a soft gray over time. I actually like that look in a side yard because it blends in beautifully with garden beds and fencing.
Ground tip: If your side yard is gravel or uneven soil, level the panel positions before anchoring. A little adjustment at the base makes the whole project look much more polished.