
I’m always looking for garage and mudroom fixes that cost almost nothing but actually hold up to real-life use, and these homemade tool hooks check both boxes. This project turns a pile of cheap plastic spoons into surprisingly tough wall hooks with just two other basic household materials, which still feels a little magical the first time you make them.
If you need a simple way to hang hand tools, extension cords, garden gloves, or small workshop items, this is a great weekend project. I like it because it uses easy-to-find supplies, doesn’t require fancy woodworking skills, and gives you a durable result that looks far more intentional than you’d expect from a spoon-based DIY.
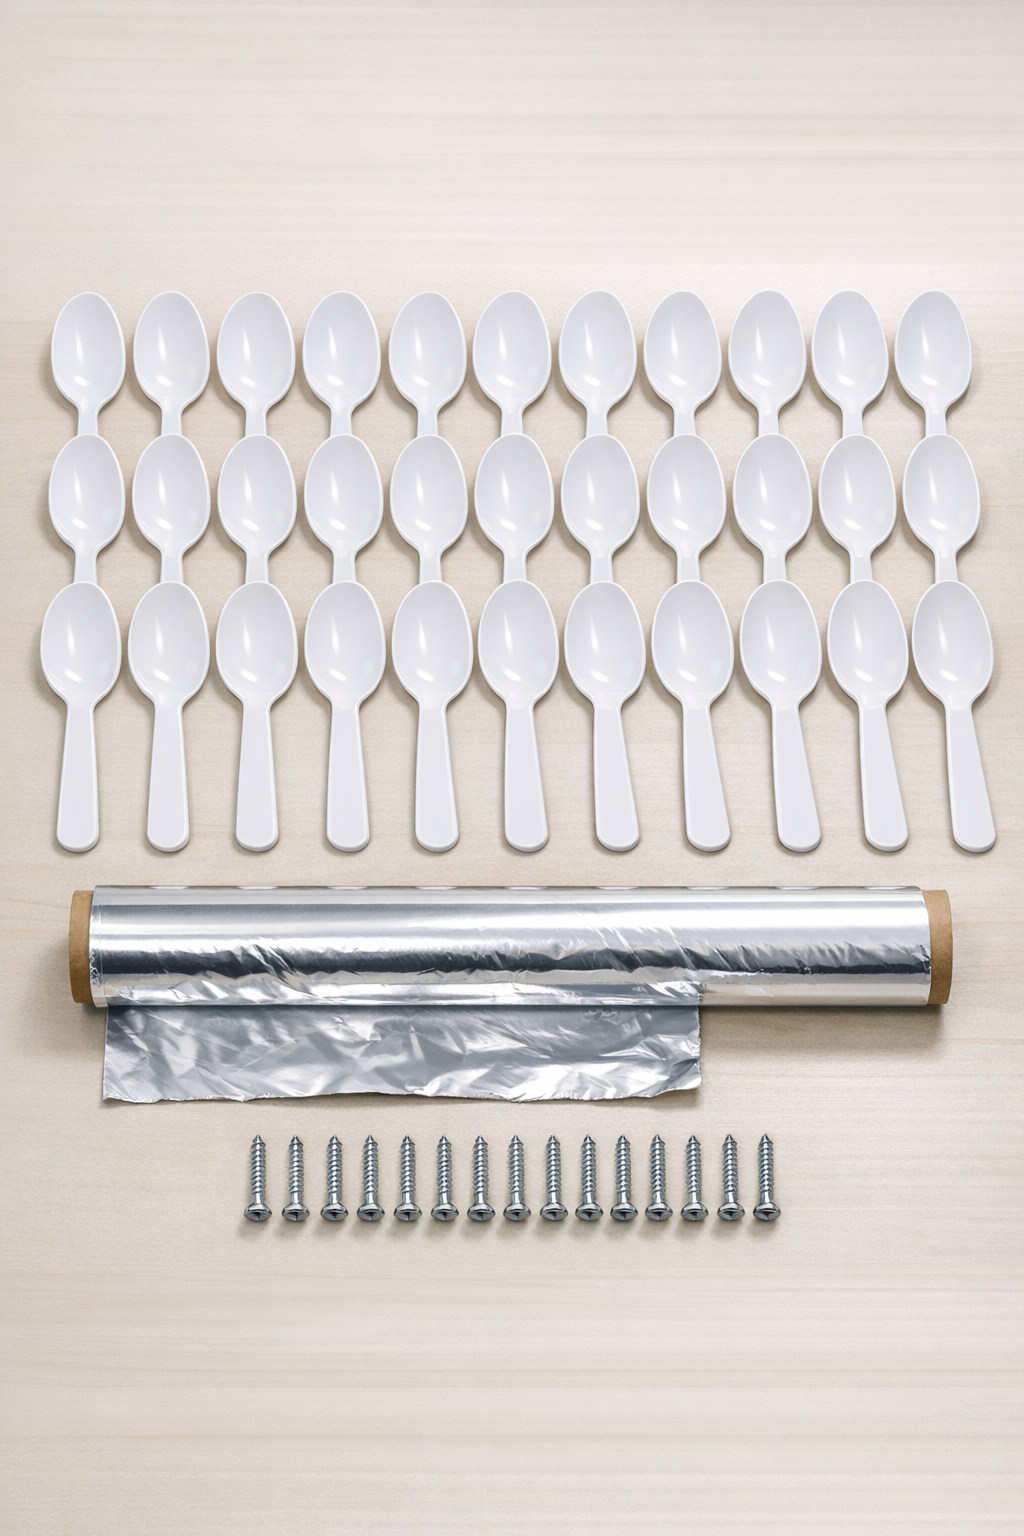
Materials
Instructions
1. Preheat your oven to 375°F and line a small baking tray or oven-safe pan with a double layer of aluminum foil. Leave extra foil hanging over the sides so you can lift the softened plastic out easily.
2. Snap or cut the bowl ends off the spoons and place the handles and bowl pieces together on the foil-lined tray in an even layer. Spread them into rough piles of 4 spoonfuls of plastic for each hook you want to make.
3. Heat the tray for 8 to 12 minutes, just until the plastic softens and fuses into thick puddles. Watch closely during the last few minutes so the plastic melts together without scorching.
4. Remove the tray carefully and, while the plastic is still pliable, use the foil to fold and press each puddle into a thick strip about 1 inch wide and 4 inches long. Work quickly, because the plastic firms up fast.
5. Shape one end of each strip into a curve or hook by bending it over a foil-wrapped spoon handle or by pinching it into a rounded J-shape with the foil protecting your hands. Flatten the opposite end into a mounting tab.
6. Press two screw holes into the flat mounting tab of each hook while the plastic is still warm, spacing them about 3/4 inch apart. A screw tip works well for this, and making the holes now is much easier than drilling later.
7. Let the hooks cool completely for 20 to 30 minutes until hard. If any edge feels sharp, reheat that section briefly on the foil and smooth it by pressing gently with the foil.
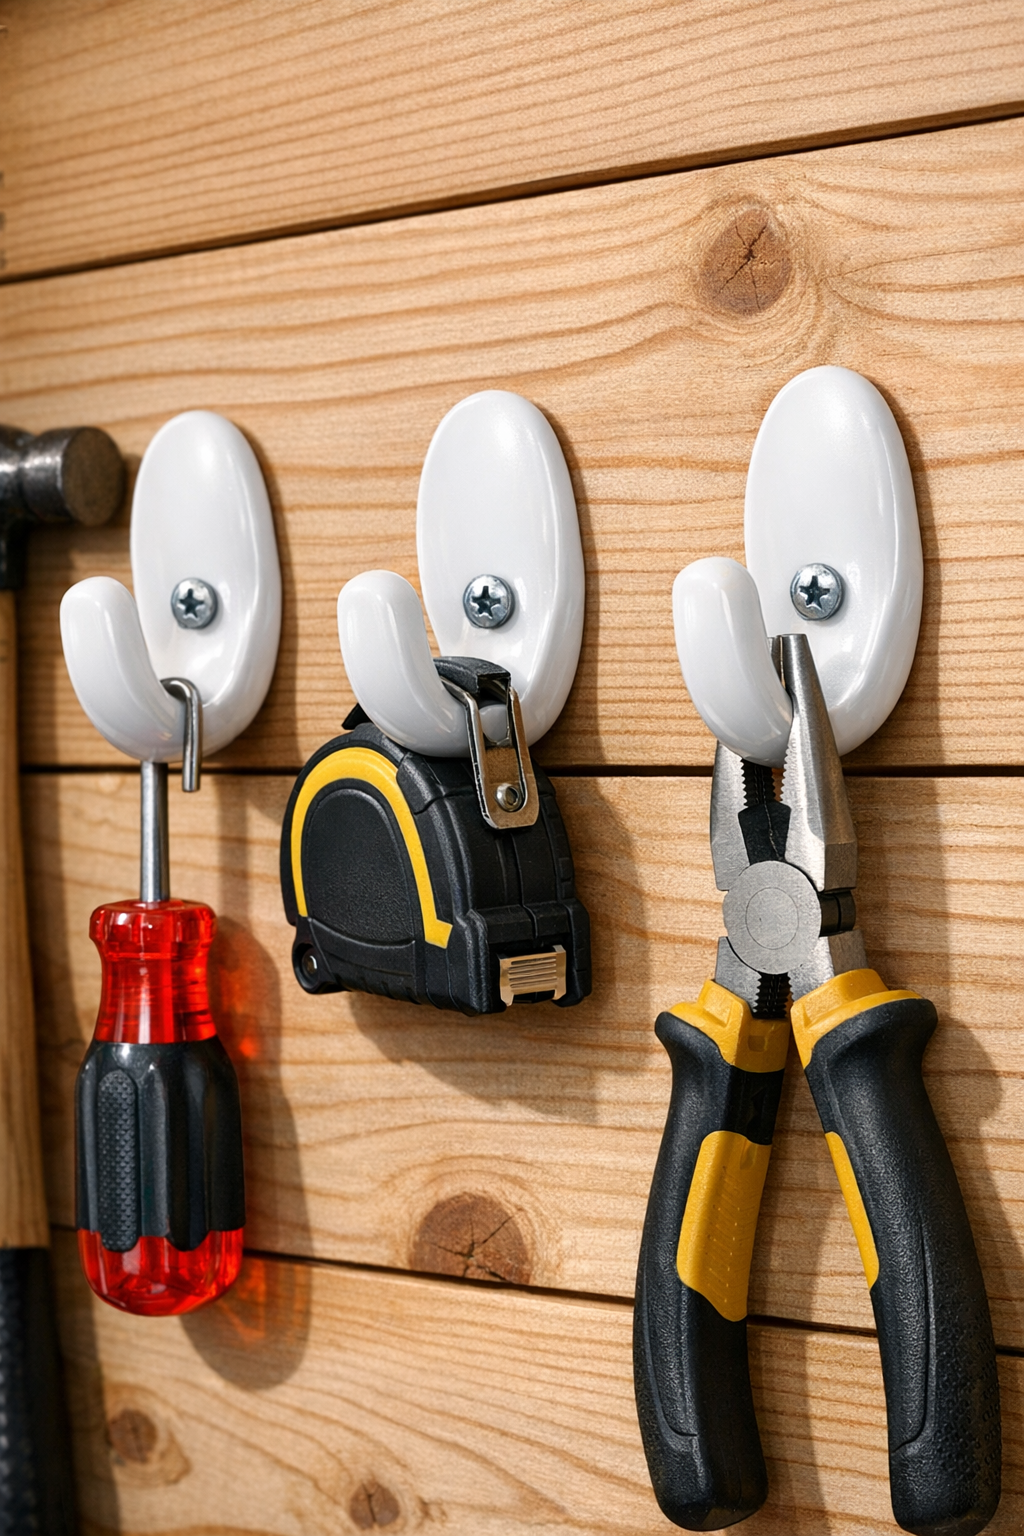
8. Hold each hook against a wall stud, plywood panel, or other solid backing and drive in two #8 x 1 1/2 inch screws through the mounting holes. Test with a lighter item first, then use them for hand tools, cords, or other small-to-medium garage gear.
Variations & Tips
Make thicker hooks: For heavier-duty use, increase each hook to 5 or 6 spoons instead of 4. I’ve found the extra thickness makes a noticeable difference for bulkier items like small hammers or coiled extension cords.
Use a consistent mold: If you want every hook to match, bend each warm piece around the same foil-wrapped handle or metal bar. That keeps the curve uniform and makes the finished row look much more polished.
Mount to solid backing: These hooks are tough, but the wall matters just as much as the hook itself. Always screw into a stud, plywood, or another solid surface instead of plain drywall.
Work in small batches: The melted plastic cools quickly, so I like to make 2 or 3 hooks at a time instead of trying to shape a full tray all at once. It’s much less hectic, especially on a busy evening when you’re squeezing in a project after work.
Keep the shape practical: A deeper J-shape is better for cords and handles, while a shallower curve works well for screwdrivers or small garden tools. Think about what you plan to hang before you do the final bend.
Ventilation matters: Melt plastic only in a well-ventilated area and keep a close eye on the oven the whole time. You want the pieces softened and fused, not overheated.