
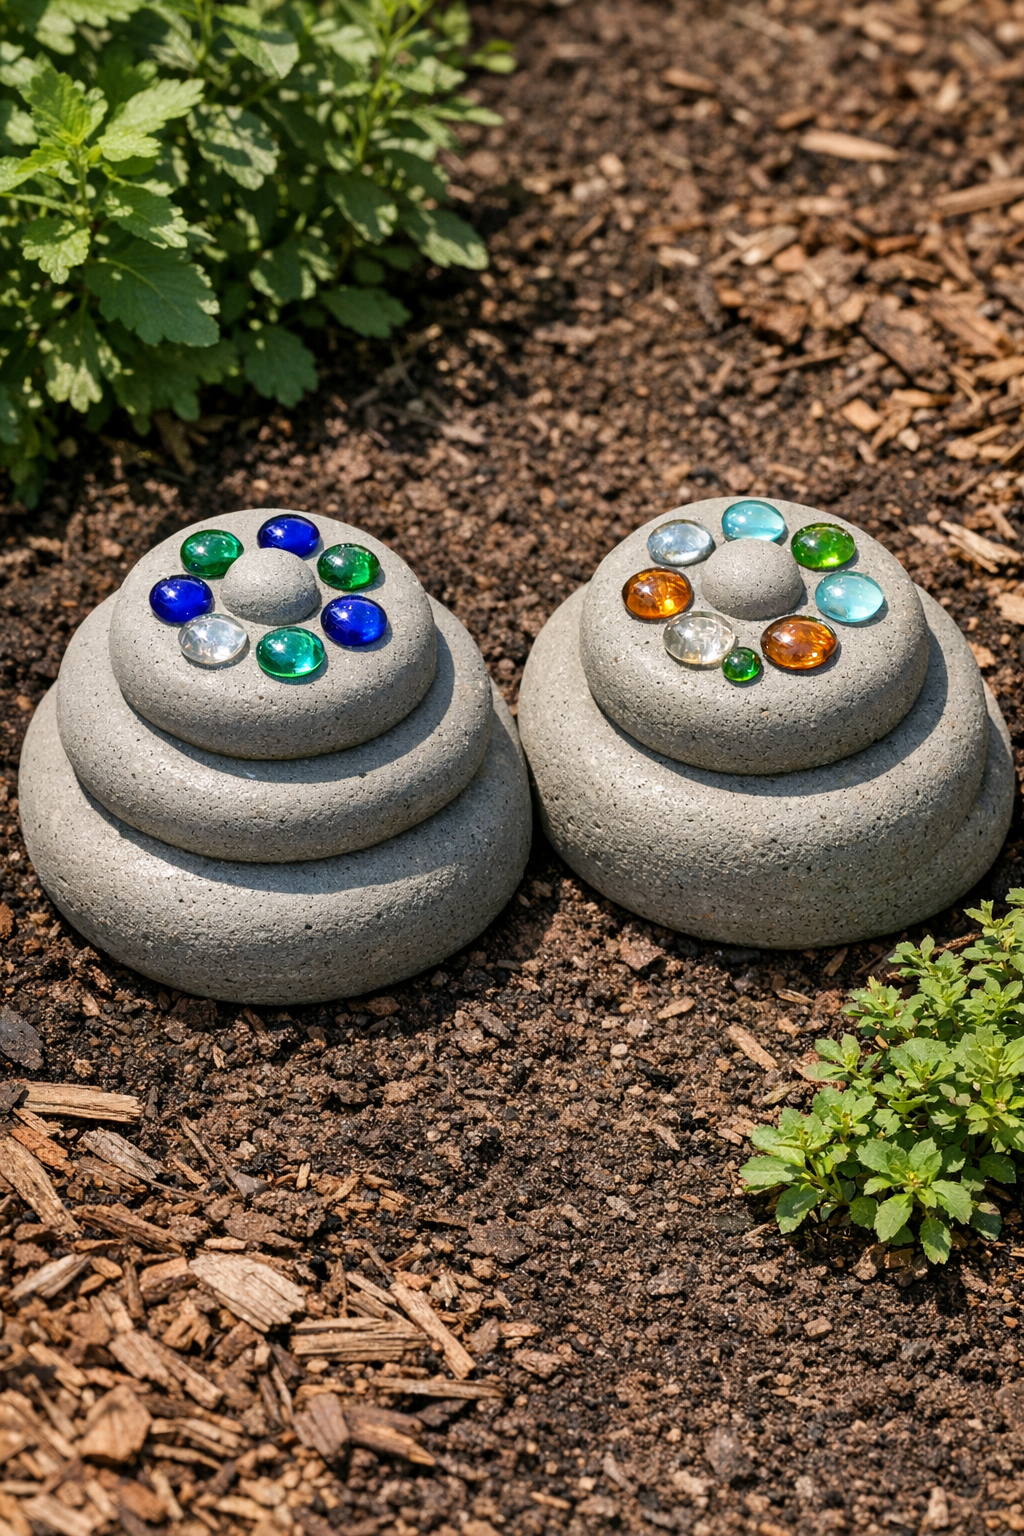
I love a project that looks high-end in the garden but uses simple supplies I can pick up without making a whole day of it. These heavy tiered garden stones are made by pouring cement into silicone pet bowls, and the “secret ingredient” I like to add is decorative glass gems, which give the finished pieces a polished, custom look with hardly any extra effort. The silicone bowls create those soft, rounded tiers so neatly that the results look much fancier than the process feels.
This is a wonderful weekend DIY if you want to dress up a flower bed, edge a path, or add a pair of statement pieces near a porch or birdbath. I especially like projects like this because they’re straightforward, a little messy in the best way, and satisfying from start to finish.
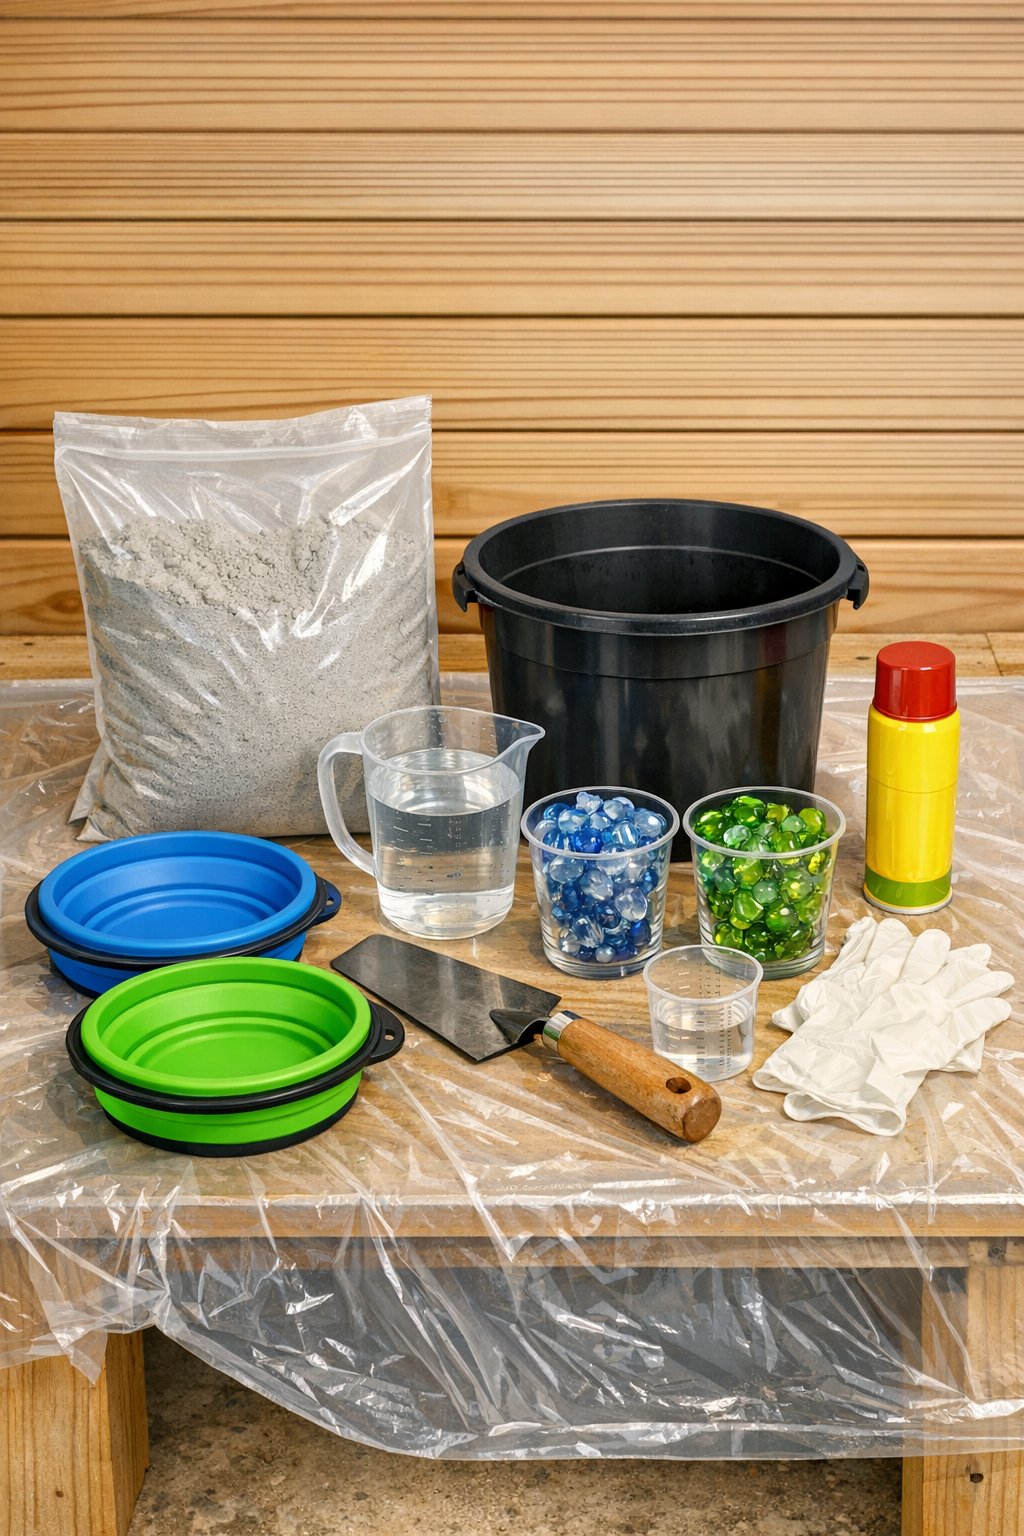
Materials
Instructions
1. Set up your work area on a flat surface outdoors or in a garage, and lay down the plastic drop cloth to catch spills. Lightly coat the inside of both silicone pet bowls with cooking spray so the cement releases easily later.
2. Pour the decorative glass gems into the bottom of each bowl, dividing them evenly and arranging them in a single layer or loose scattered pattern. This little step is what gives the garden stones their pretty finished face once they’re unmolded.
3. In the mixing bucket, combine the cement mix with water a little at a time until it reaches a thick brownie-batter consistency. Stir thoroughly, scraping the sides and bottom so there are no dry pockets.
4. Spoon or pour the wet cement into each silicone bowl, filling them nearly to the top and tapping the bowls gently on the table to release trapped air. Smooth the surface with your trowel so the backs of the stones will sit flat.
5. Let the cement rest for 24 hours in a level spot where it will not be bumped or moved. If the weather is hot or windy, loosely cover the bowls with plastic so the cement does not dry too quickly.
6. Flex the silicone bowls gently to release each stone, then turn them out onto a towel or piece of cardboard. If needed, let them cure another 24 to 48 hours until they feel fully hard and heavy.
7. Place the two finished stones in your garden as a matching pair, or stack one slightly behind the other to show off the tiered shape. I like nestling them near low flowers or along a path where the glass catches the light.
Variations & Tips
For a natural look: Use small river pebbles instead of glass gems if you want the stones to blend into a cottage garden or woodland bed.
For picky style preferences: If your family likes things simple, stick with clear or one-color gems for a cleaner look; if everyone enjoys more color, mix blues, greens, and amber for a cheerful mosaic effect.
For extra strength: Make sure your cement mix is thick, not soupy. A mix that is too wet can weaken the finished stones and make details less crisp.
For easier cleanup: Rinse tools right after mixing and pouring. Cement is much easier to clean before it hardens, and that always saves me a headache later.
For larger stones: Use slightly wider silicone bowls and increase the cement proportionally, but keep the thickness at least 1 1/2 inches so the pieces stay sturdy.
For best placement: Set these on level soil or mulch rather than on wobbly rocks. Once fully cured, they are heavy, and they look nicest when they feel settled into the garden naturally.