
If you want a garden border that looks rustic, stays put, and costs a whole lot less than stone or premade edging, this denim-and-cement project is such a satisfying one to make. You’re basically turning old jean legs into heavy faux logs, then using them to frame a flower bed, walkway, or little vegetable patch. I love projects like this because they use simple supplies, and the finished pieces have that weathered, sturdy look that makes a yard feel thoughtfully finished.
As someone who is always trying to make our outdoor spaces feel welcoming without overspending, I really appreciate how practical this is. These cement-filled denim borders are especially nice for beginners because the process is straightforward, the materials are easy to find, and you only need three finished pieces to make a big visual impact in a small garden area.
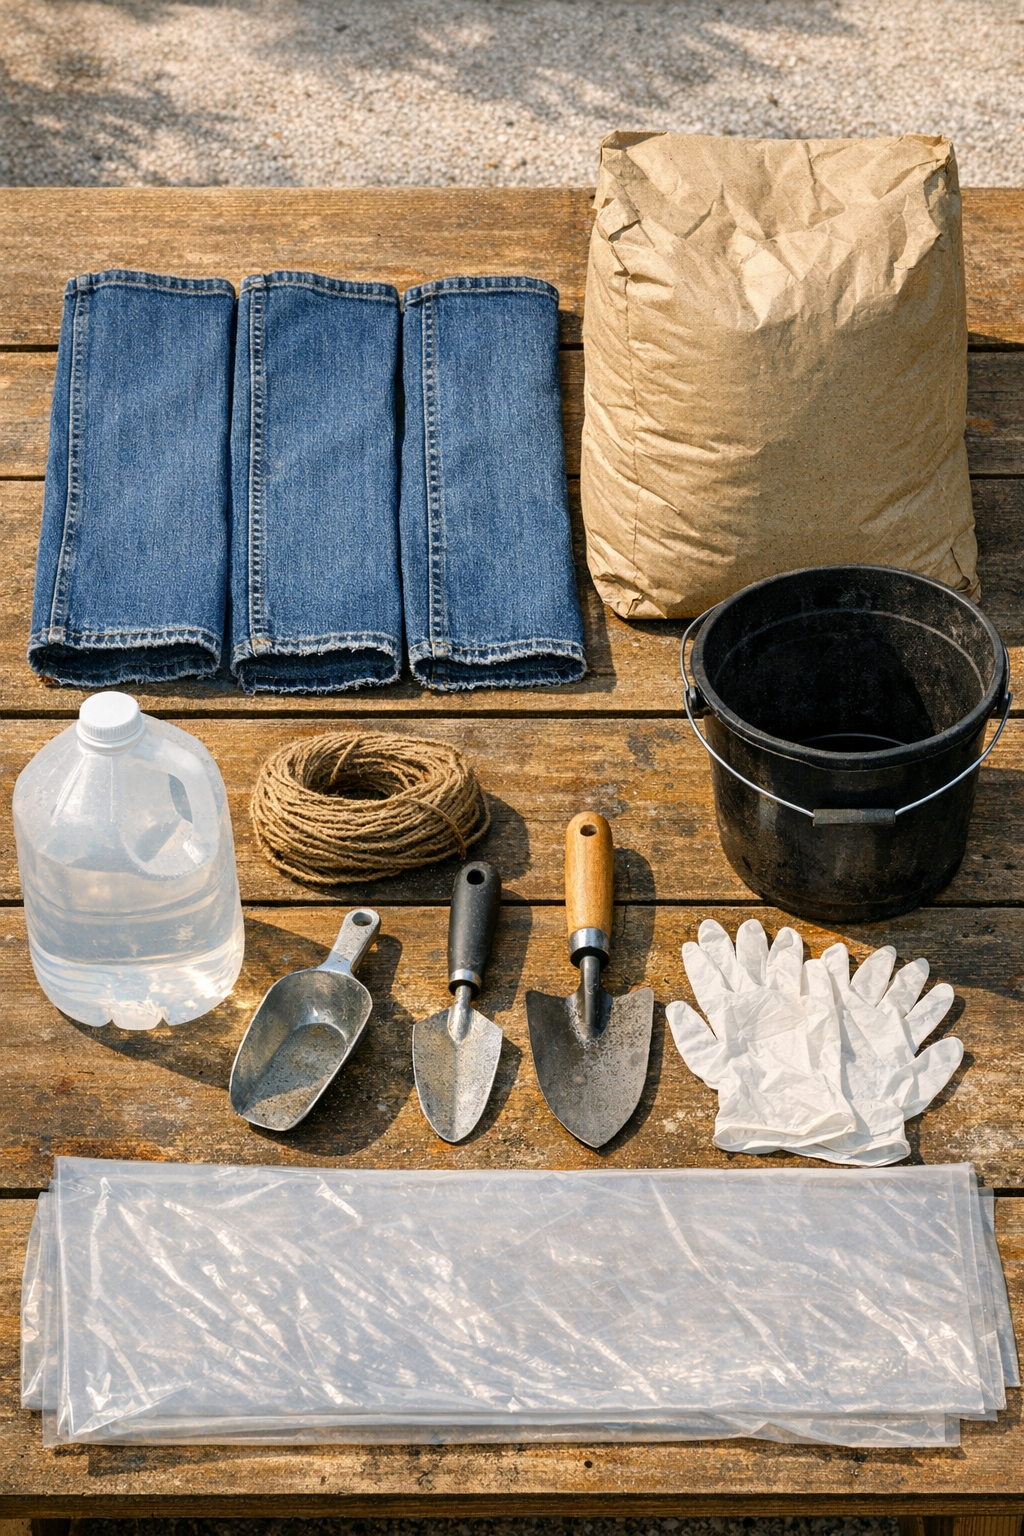
Materials
3 denim pant legs, cut to 30 inches long each, with one end tied or stitched closed
Instructions
1. Cut three denim pant legs to 30 inches each, then tie, clamp, or stitch one end of each leg closed so the cement cannot escape.
2. Spread your plastic sheet on a flat outdoor surface and set the jean legs side by side so filling them will be easier and less messy.
3. In the bucket, mix the cement with water a little at a time until it reaches a thick, scoopable consistency like stiff oatmeal.
4. Put on gloves and use the scoop to fill the first denim leg with cement, stopping every few scoops to tap and pack the mix down with the stick.
5. Fill the leg to within 2 inches of the top, then tie or zip-tie the open end closed and gently roll the piece to even out the shape.
6. Repeat the filling process for the other two jean legs, making each one as similar in thickness as possible so the set looks balanced in the garden.
7. Shape the filled legs into slightly curved, log-like forms on the tarp, then let them rest undisturbed until the cement firms up enough to hold that shape.
8. Allow the pieces to cure for 24 to 48 hours, depending on weather, until they feel fully hard and heavy when lifted.
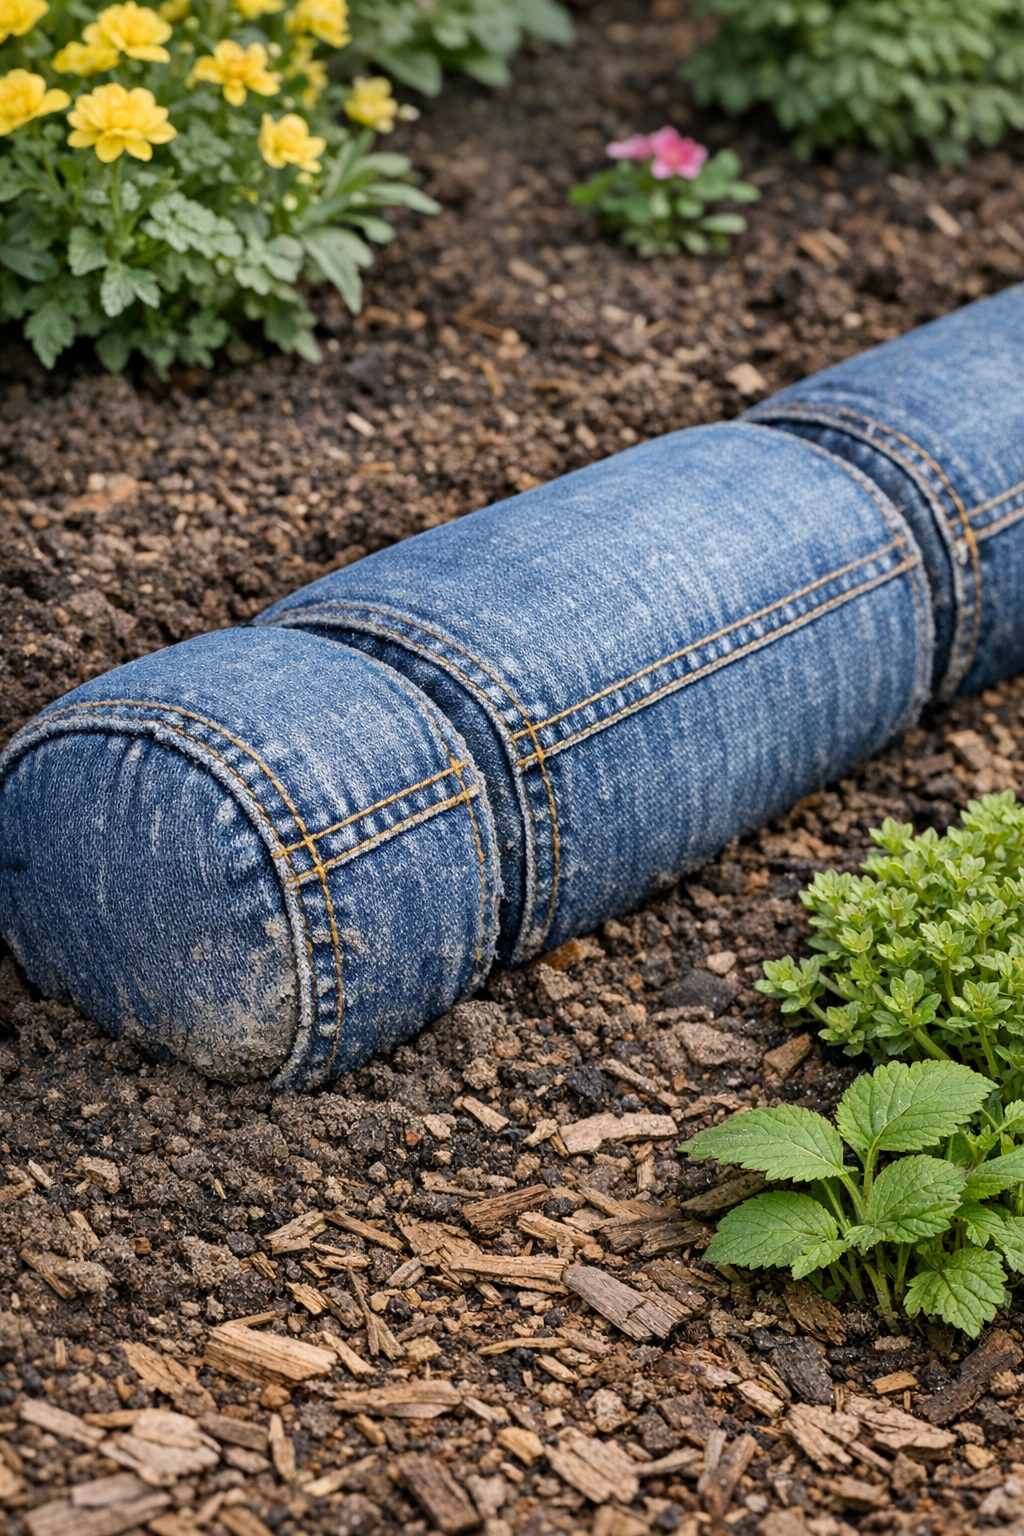
9. Move the cured borders into place along your garden edge, nestling them slightly into the soil so they sit securely and look natural.
Variations & Tips
For a smoother finish: If you want less visible denim texture, rub a little wet cement over the outside while the pieces are still fresh. It creates more of a stone-log look.
For a more rustic border: Leave the denim texture completely visible and let the pieces cure as-is. I think this looks especially charming around cottage-style flower beds.
Length adjustment: You can make these shorter at 18 to 24 inches for tight corners or small beds, or longer at 36 inches if you have very wide pant legs and can move the finished pieces safely.
Kid- and pet-friendly placement: Because these are heavy, I like to place them in a spot where they will not need frequent moving. Set them firmly into the soil so nobody trips over a loose edge.
Color option: Once fully cured, you can dry-brush the surface with gray, brown, or mossy green outdoor paint to help them blend in with stone, bark, or mulch.
Picky-gardener tip: In my house, everyone has opinions about how the yard should look, so I always test one finished border in place before making a whole larger set. It’s an easy way to see whether you prefer the denim texture, a painted finish, or a straighter log shape.