
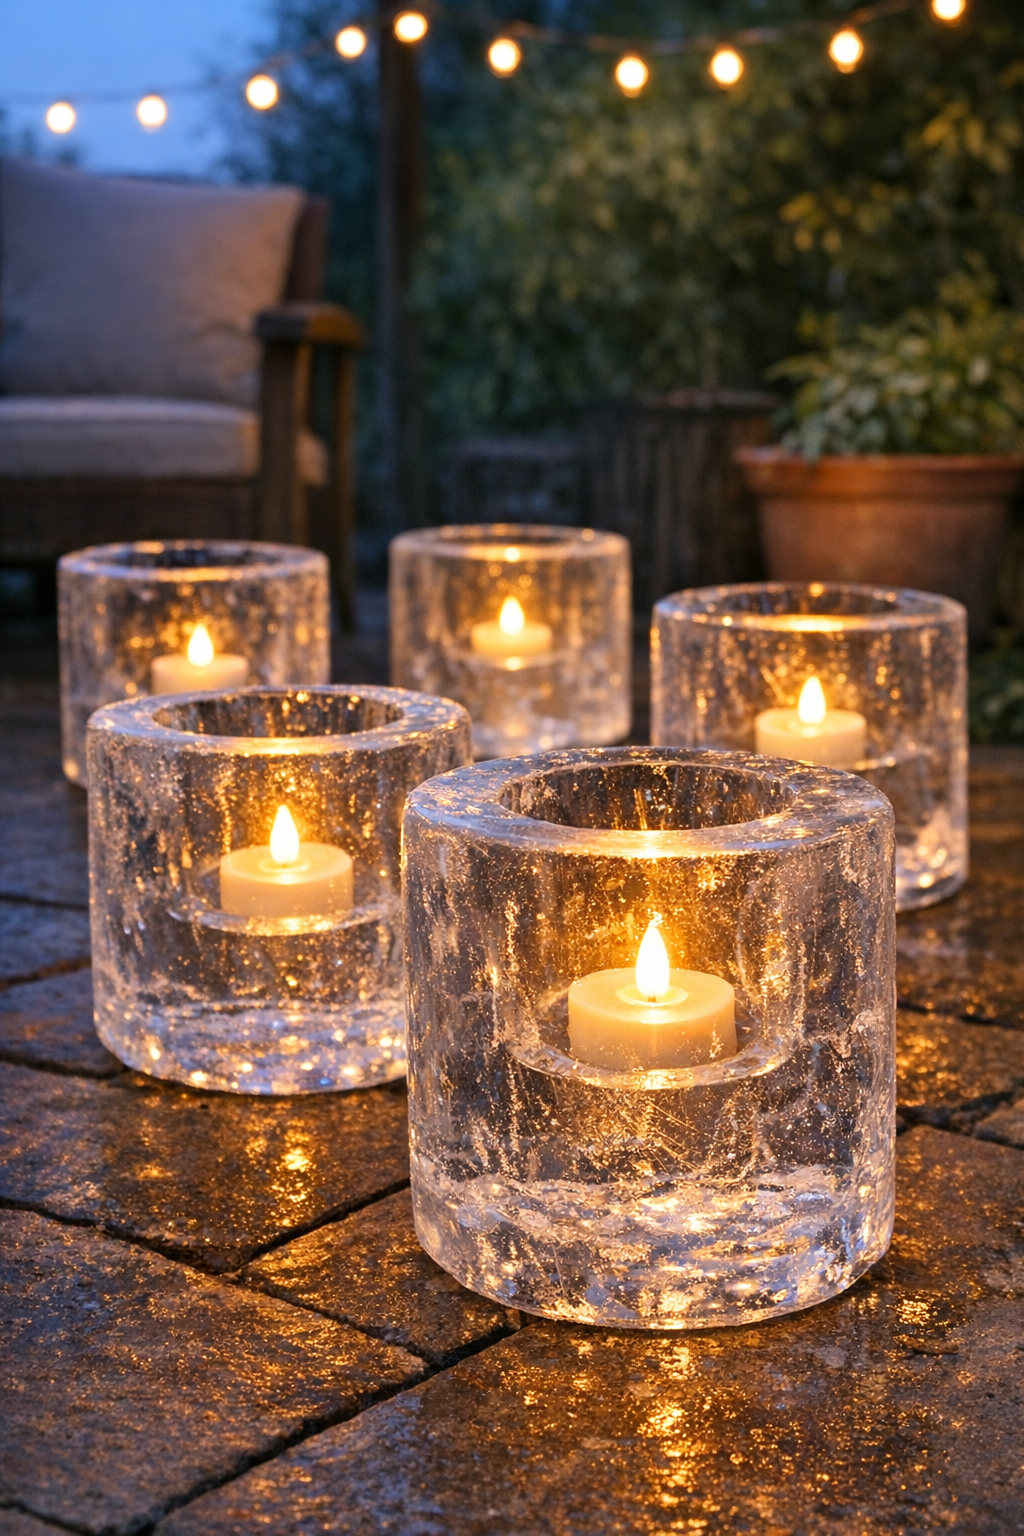
There is something so lovely about simple backyard projects that make an evening feel a little more special, and these patio ice luminaries do exactly that. By freezing water around balloons inside galvanized buckets, you create glowing ice lanterns that look beautiful lining a patio, walkway, or outdoor table when you tuck LED tea lights into the center.
I’m always drawn to projects that feel a bit magical without being complicated, especially in the summer when the kids are in and out and we spend more time outdoors with friends. This is a great DIY for anyone who wants an easy, eye-catching decoration for a cookout, family dinner, or evening on the porch, and it uses inexpensive supplies you can find just about anywhere.
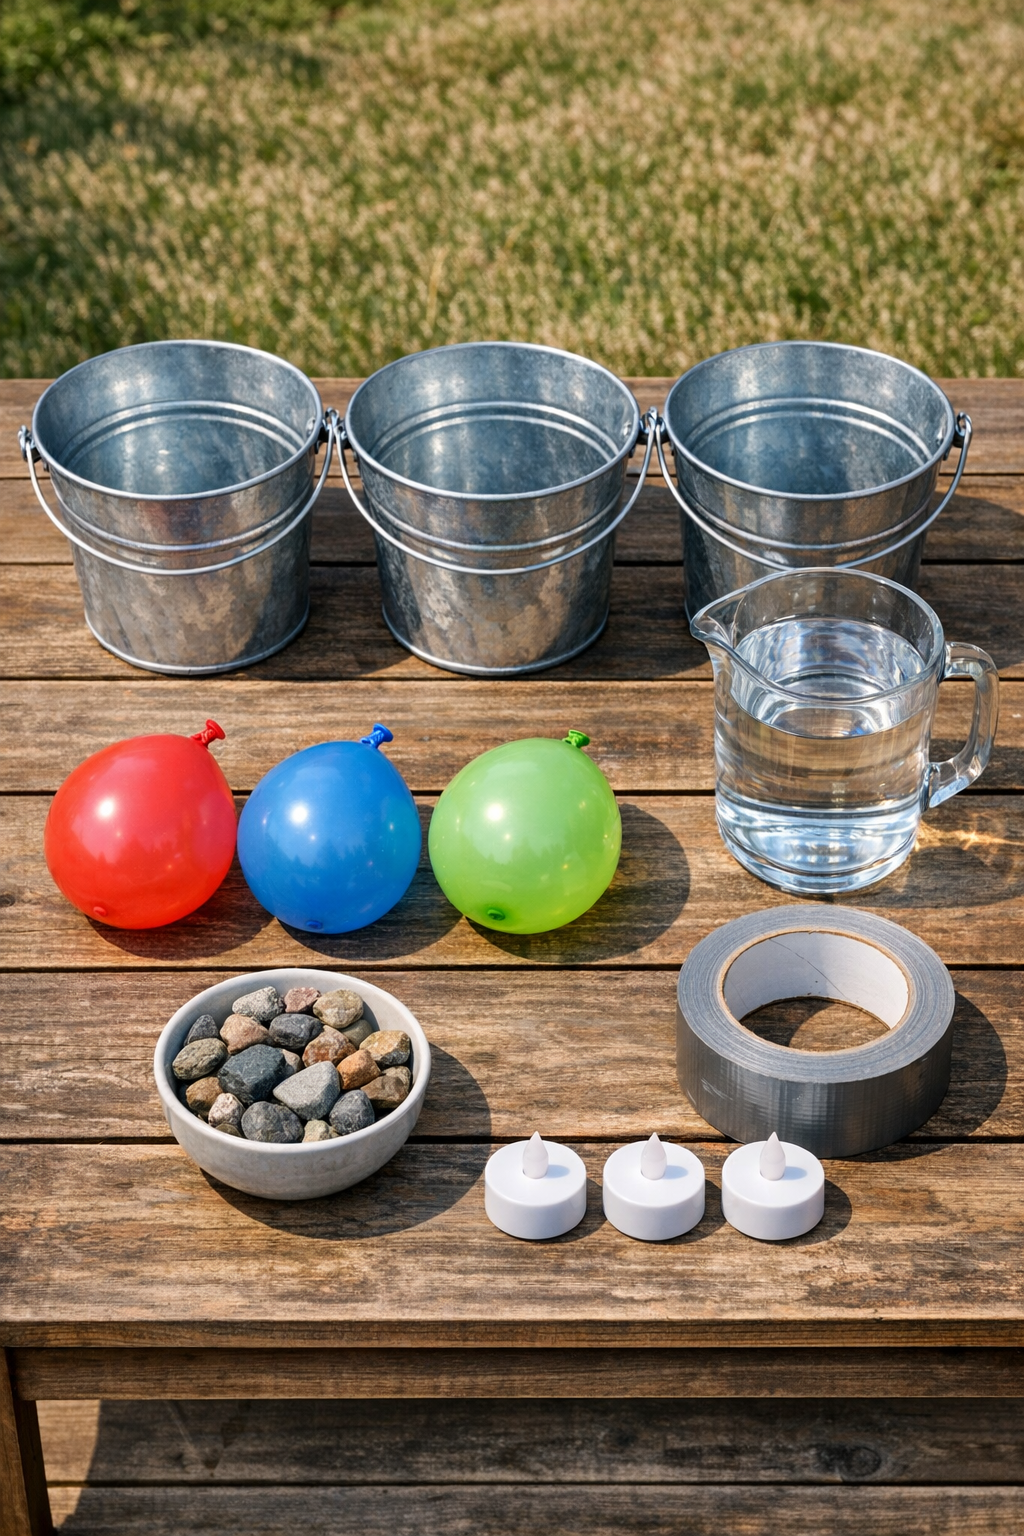
Materials
3 galvanized buckets, 8 to 10 inches wide
Instructions
1. Wash and dry the galvanized buckets so the ice freezes clean and clear, then set them on a tray or baking sheet that fits in your freezer.
2. Fill each bucket with 3 to 4 cups of cold water, stopping well below the rim so the water has room to expand as it freezes.
3. Fill each water balloon partway with air or a small amount of water so it forms a rounded center cavity, then tie it closed.
4. Place one balloon into each bucket so it sits in the middle, then use a few small rocks around it or a short strip of duct tape across the tied end to keep it centered and from floating too high.
5. Set the buckets flat in the freezer and freeze them for 12 to 24 hours, until the water is fully solid all the way through.
6. Remove the buckets from the freezer and let them sit at room temperature for 5 to 10 minutes so the ice loosens slightly from the metal.
7. Snip and remove each balloon from the center cavity, then run a little cool water over the outside of the bucket if needed and gently slide the ice form out.
8. Place each ice luminary on a plate, tray, or directly on a stable outdoor surface, then set an LED tea light into the hollow center.
9. Arrange the finished luminaries on your patio, steps, or along a walkway shortly before guests arrive so they look crisp and glowing for the evening.
Variations & Tips
Add natural color: For a pretty backyard party version, tuck in a few thin lemon slices, mint leaves, or small herb sprigs around the outer edge of the water before freezing. I like this for summer dinners because it makes the table feel dressed up without much extra work.
Use smaller buckets: If your freezer space is tight, switch to mini galvanized pails and smaller balloons. They melt faster, but they’re wonderful clustered down the center of an outdoor table.
Keep the cavity open: If a balloon shifts while freezing, the center opening may end up too small for the tea light. In that case, let the ice sit for a few extra minutes and gently widen the opening with your fingers under cool running water.
Plan for melting: These are best for shorter evening gatherings, so I always set them on trays, pavers, or gravel rather than directly on a wood surface. That little bit of planning saves cleanup later.
Try a picky-eater-style simple version: In my house, simple usually wins, and that applies to décor too. If you want the cleanest look, skip the add-ins and make clear ice luminaries with just water and white LED lights for a classic glow.
Make them the day you need them: Ice luminaries look their best within the first hour or two outdoors, especially on warm summer nights. I recommend freezing them ahead, then unmolding and lighting them right before your backyard gathering starts.