
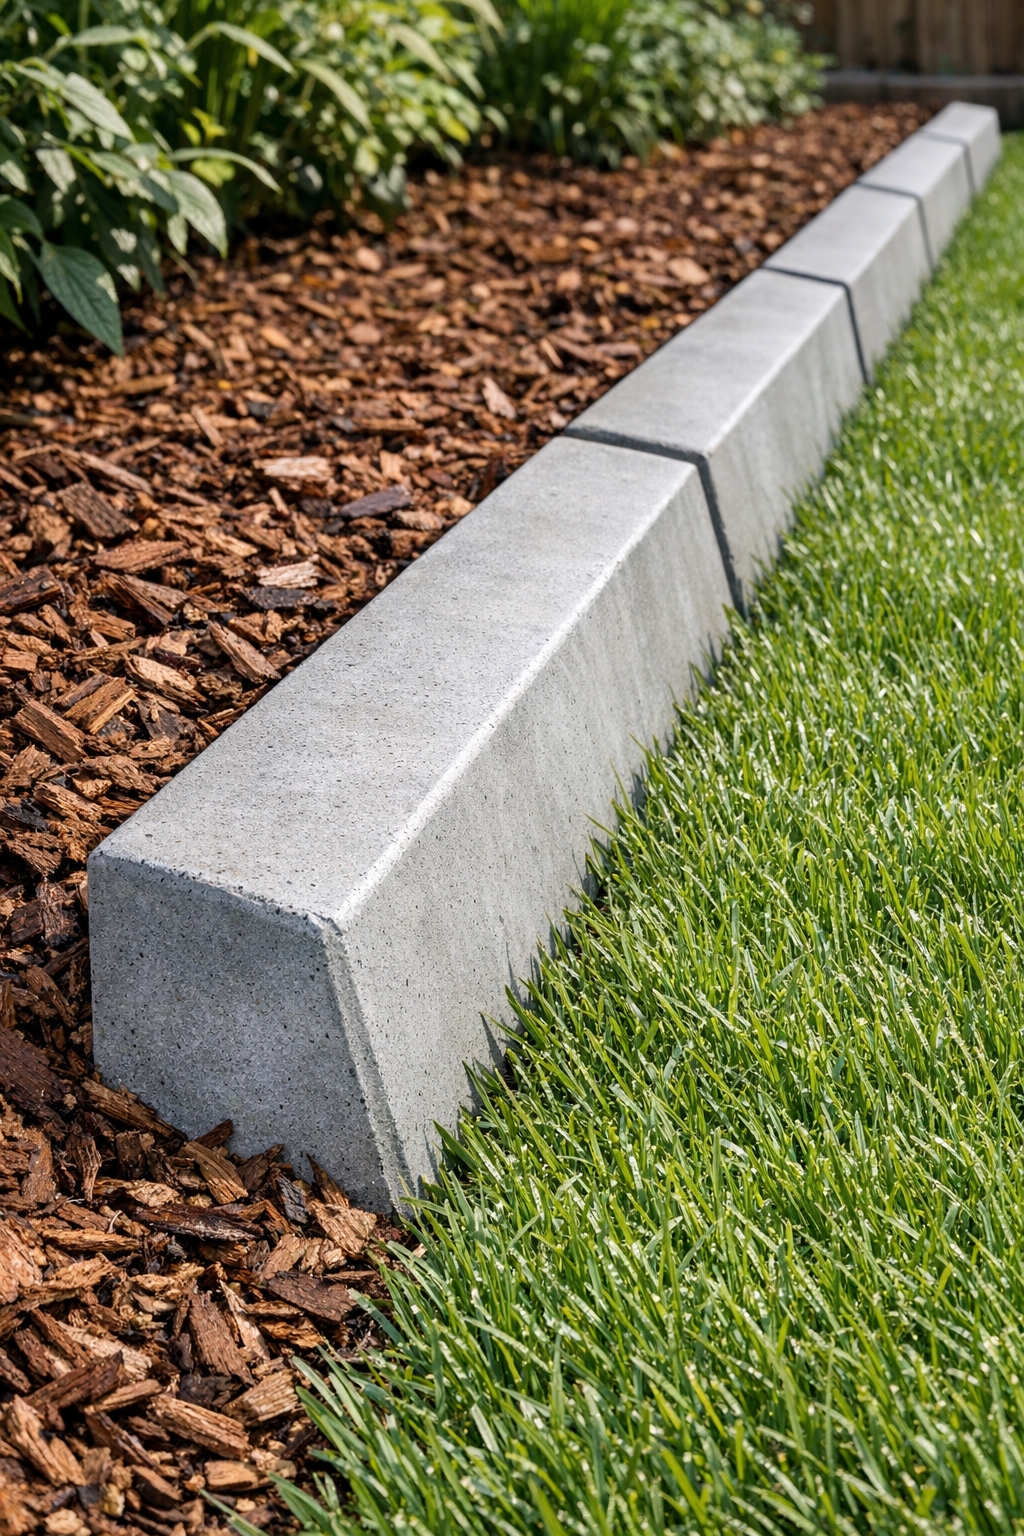
I love a yard project that looks a whole lot fancier than the supply list would suggest, and this one absolutely fits the bill. By using a pair of opened plastic 3-ring binders as angled forms and pouring in cement, you can make sturdy landscape edging with a crisp, slanted profile that helps keep mulch, gravel, or soil right where you want it. The “secret item” here is simple corrugated plastic sheet, which helps create a clean inner face and makes the pieces easier to shape and release.
This is a great weekend project for anyone who wants custom garden edging without paying for premade concrete borders. I especially like it for family yards because the finished pieces are heavy, durable, and tidy-looking, and once they’re set in place, they really make a flower bed look intentional and finished.
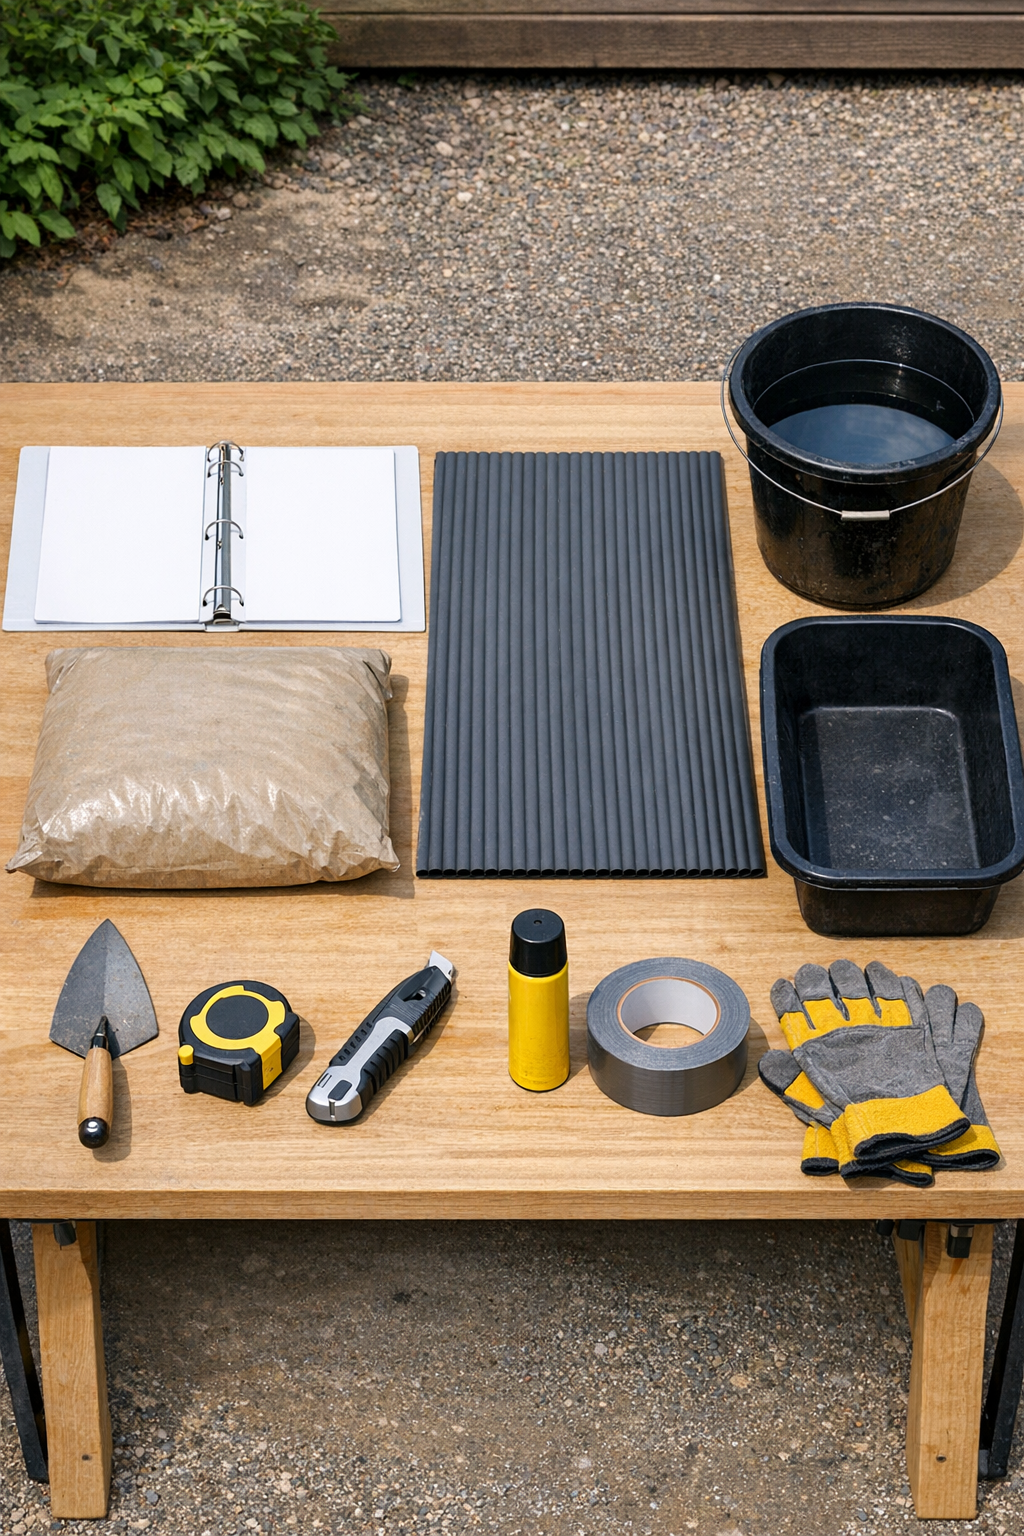
Materials
2 plastic 3-ring binders, 1-inch size, fully opened flat
Instructions
1. Spread the trash bag or drop cloth over a flat outdoor work surface, then open both binders so each one lies wide with its covers forming a shallow V shape.
2. Remove any loose paper inserts from the binder covers and wipe the plastic clean so the concrete won’t pick up dust or debris.
3. Cut the corrugated plastic sheet into two strips measuring 5 x 24 inches, then gently bend each strip so it follows the inside angle of an opened binder.
4. Set one corrugated plastic strip inside each binder cover area to act as the inner form, then tape the ends and seams securely so wet concrete cannot leak out.
5. Lightly coat the inside surfaces of the binders and the corrugated plastic with cooking spray or release oil, keeping the layer thin and even.
6. In a mixing tub, combine the concrete mix with water a little at a time until it reaches a thick oatmeal-like consistency that holds its shape when scooped.
7. Trowel the wet concrete into each prepared binder form, packing it firmly into the corners and along the angled sides to remove air pockets.
8. Fill each form to a thickness of about 2 to 2 1/2 inches, then tap the sides of the binders several times to help settle the mix.
9. Smooth the exposed surface with the trowel, and if you like a rougher garden look, press a small amount of pea gravel lightly into the top surface.
10. Let the concrete set undisturbed for 24 hours, or until the pieces are hard enough to hold their shape without flexing.
11. Peel away the tape, open the binder covers, and gently remove the concrete edging pieces from the forms, supporting them from underneath with both hands.
12. Cure the pieces for another 2 to 5 days in a shaded spot, lightly misting once or twice a day if the weather is hot and dry.
13. Dig a shallow trench along your flower bed or path about 3 inches deep, then place the angled concrete pieces end to end with the sloped face outward.
14. Backfill soil tightly around the base of each piece and tamp it down so the edging sits solidly and keeps its angled shape in place.
Variations & Tips
For longer runs: Make several identical sections over a couple of days instead of trying to pour one extra-long piece. Shorter sections are easier to lift and much less likely to crack.
For picky yard styles: If your family likes a neater, more polished look, smooth the tops carefully with a damp trowel. If you prefer a rustic garden edge, leave a little texture or add a light gravel finish.
Add color: You can mix in concrete pigment or brush on masonry stain after curing if you want the edging to blend with brick, stone, or dark mulch.
Make removal easier: Don’t skip the release spray. I’ve learned the hard way that even a simple plastic form can grip concrete more than you expect.
Keep the angle consistent: Before pouring, check that both binders are opened to the same width. Matching angles make the installed edging look much more professional.
Use safely: Wear gloves when mixing and handling wet concrete, and lift cured pieces carefully with bent knees since they get heavy fast.